Viper Low overrun Service Manual
© 2016, Cornelius Inc - 55 - Publication Number: 621360241LOEWSE
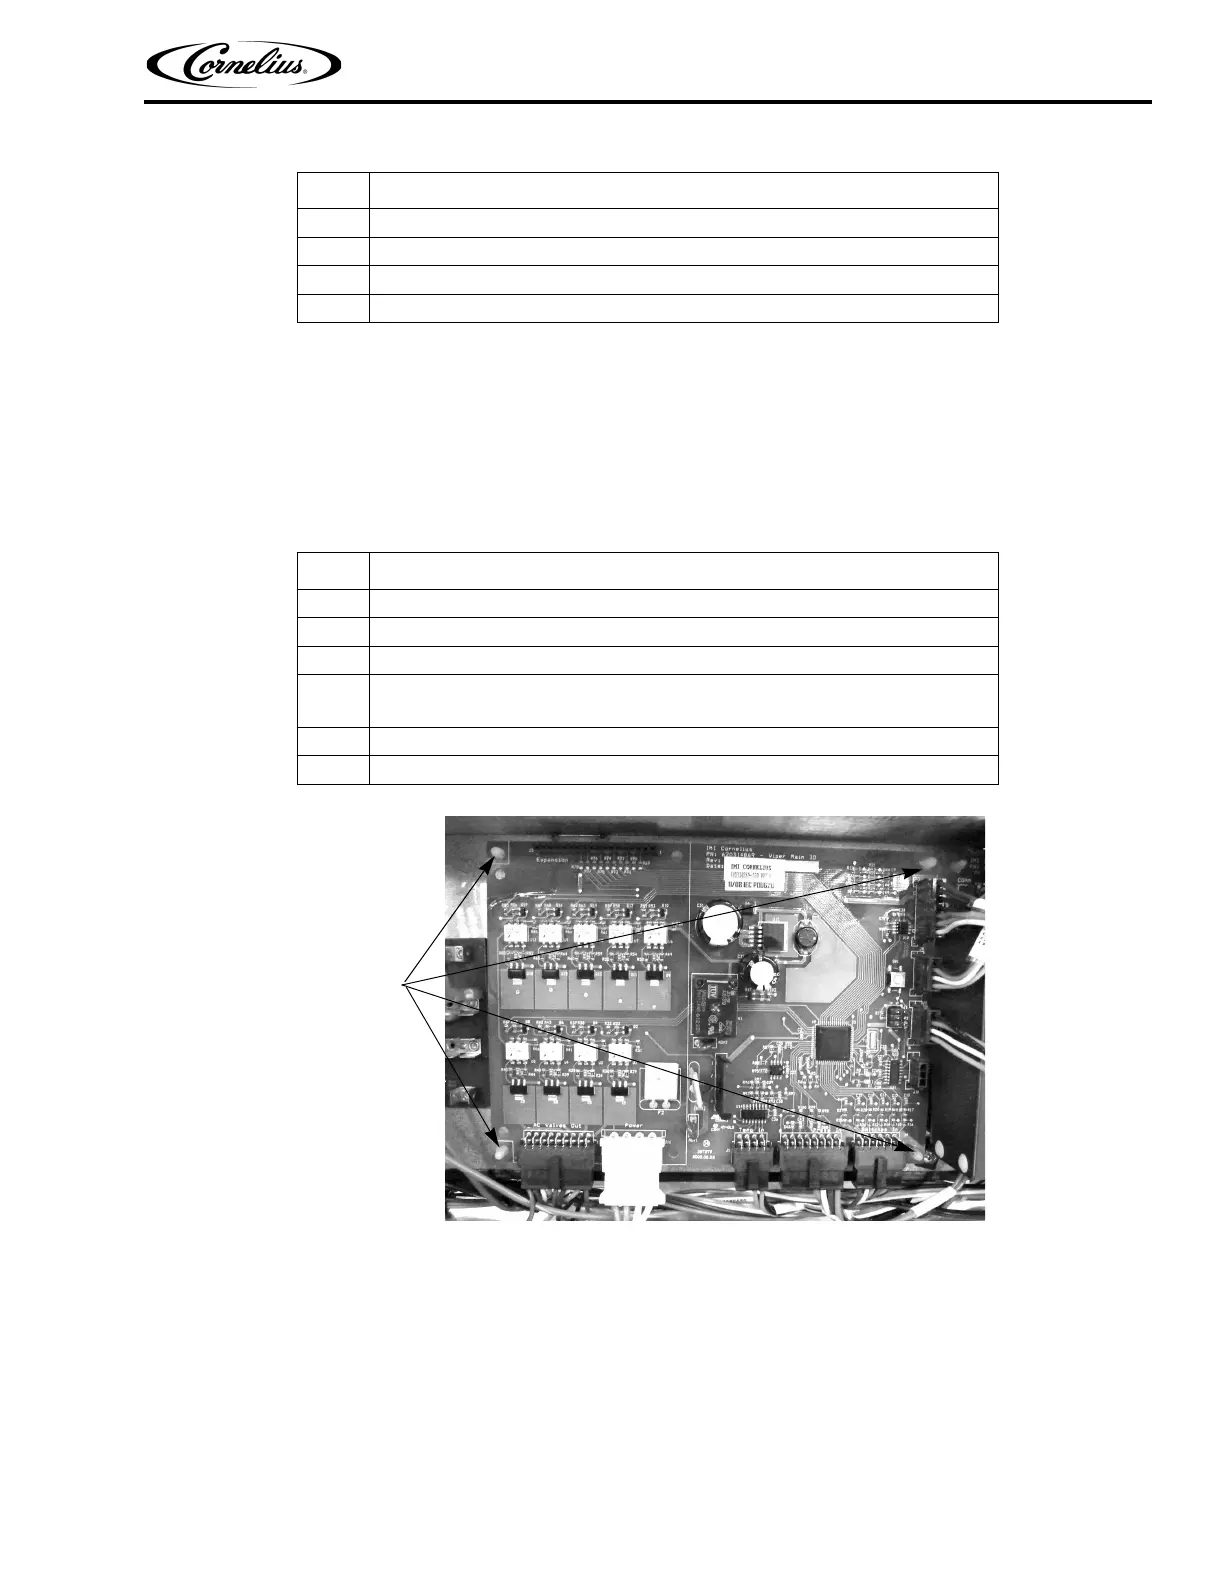
CONTROL BOARD REPLACEMENT
When replacing or testing electronic components, be sure to wear a static strap that is connected to a chassis
ground. This protects the electronic components from any static charge while working on the unit.
The control board is located in the E-Box. It is mounted to the panel on four (4) plastic mounting studs, shown in
Figure 50. To replace the control board, perform the procedure in Table 60.
Figure 50. View of Control Board in E-Box
Software Compatibility
Low overrun software is not compatible with standard Viper software versions. When ordering replacement/service
parts for any unit check the software version of the UI and IO boards and be sure to order the correct board.
MOTOR BOARD REPLACEMENT
When replacing or testing electronic components, be sure to wear a static strap that is connected to a chassis
ground. This protects the electronic components from any static charge while working on the unit.
3 Unplug the two (2) connectors from the display board.
4 Remove the four (4) screws from the corners of the board.
5 Replace the board with a new board.
6 Reverse the procedure to install the new board.
Table 60.
Step Action
1 Disconnect power from the unit.
2 Connect a static strap to your wrist and any convenient chassis ground on the unit.
3 Unplug the eight (8) connectors from the control board.
4
Squeeze each of the mounting studs at the corners of the board while care-
fully lifting the board.
5 Replace the board with a new board.
6 Reverse the procedure to install the new board.
Table 59.
Step Action