67
Page
WORKSHOP
MANUAL
We reserve the right to modify the product and the design.
MAINTENANCE
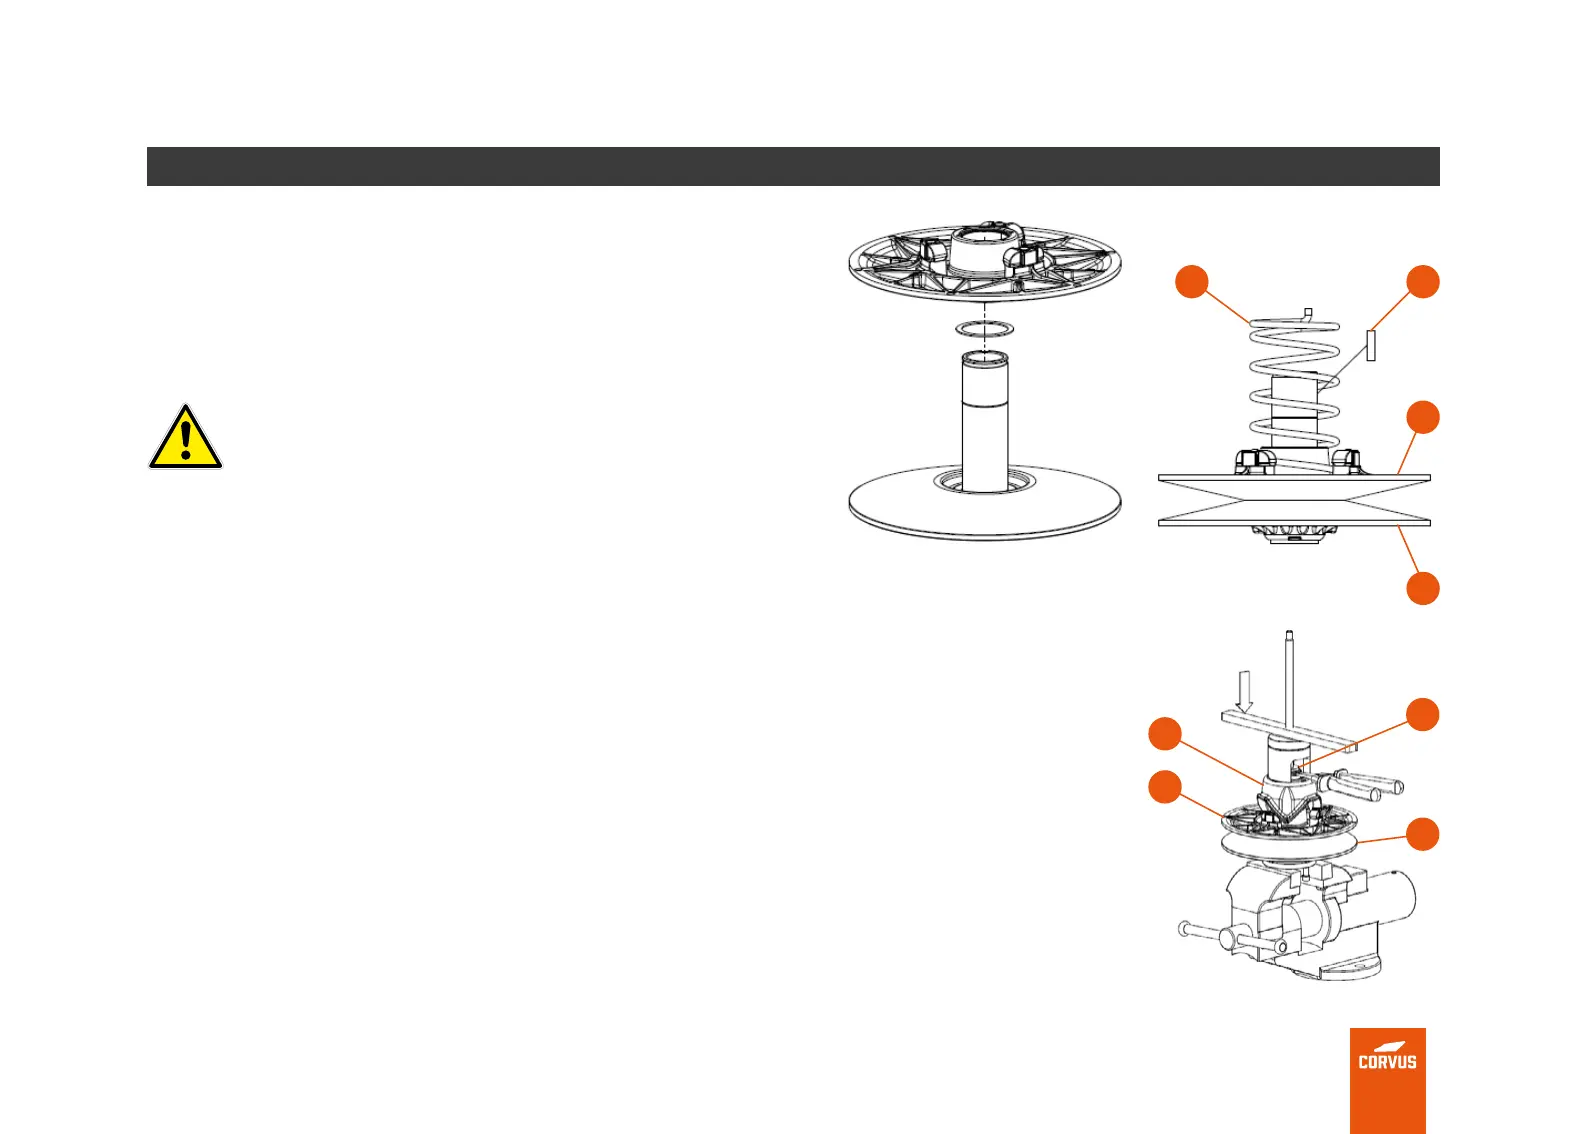
INSTALLING THE DRIVEN PULLEY
Installing the spring in the sliding pulley
Place the spring (6) on the sliding pulley (3) in the same position noted
during the removal steps.
DANGER
THIS REQUIRES THE USE OF THE REMOVAL TOOL TO
ASSEMBLE THE SLIDING PULLEY.
Installing the cam
• Install the pulley on the removal tool.
• Place the spring on the orice of the cam (8) in the same position as
before removal.
• Press the cam (8) down onto the xed shaft of the pulley (1) using the
removal tool. Place the synchronizer block (7) on the groove on the xed
pulley (1).
• Make sure that the xed pulley (1) is locked, rotate the sliding pulley (3)
to the left or to the right to place the friction bushing on the correct side
of the sliding surface of the cam as it was before disassembly.
• Screw the bar of the dismantling tool until the cam (8) is low enough to
install the external circlip (9).
6
8
9
1
7
3
1
3