e) untight the screw holding the dented pulley on the motor axis and move the
pulley away from the motor by the thickness of the damper
f) place back the motor making sure that the pulley fits inside the belt
g) verify the position of the pulley with regard to the belt and adjust as relevant
h) screw the other side of the damper with 2 M3 short screws and 2 M3 nuts
i) re-tension belt and tighten the screws of the right hand side pulley
j) verify that the bed head moves correctly on the Y-axis
Normally, during the re-tension at step i) you have witnessed that the belt can be
tensioned to its full extent because the damper allows the motor to move slightly
sideways (the damper is made of flexible rubber...). This is the cause of the
appearance of new artefacts on the prints and in a perfect world, you would like to
have the effect of the damper AND a non-moving motor.
To try to approach this situation, first workaround is to install a back bracket for the
motor. There are several designs for such bracket; however they are not
interchangeable between the CR-10S, S4 and S5. Here is one that fits the latest S5
models:
https://www.thingiverse.com/thing:3745801
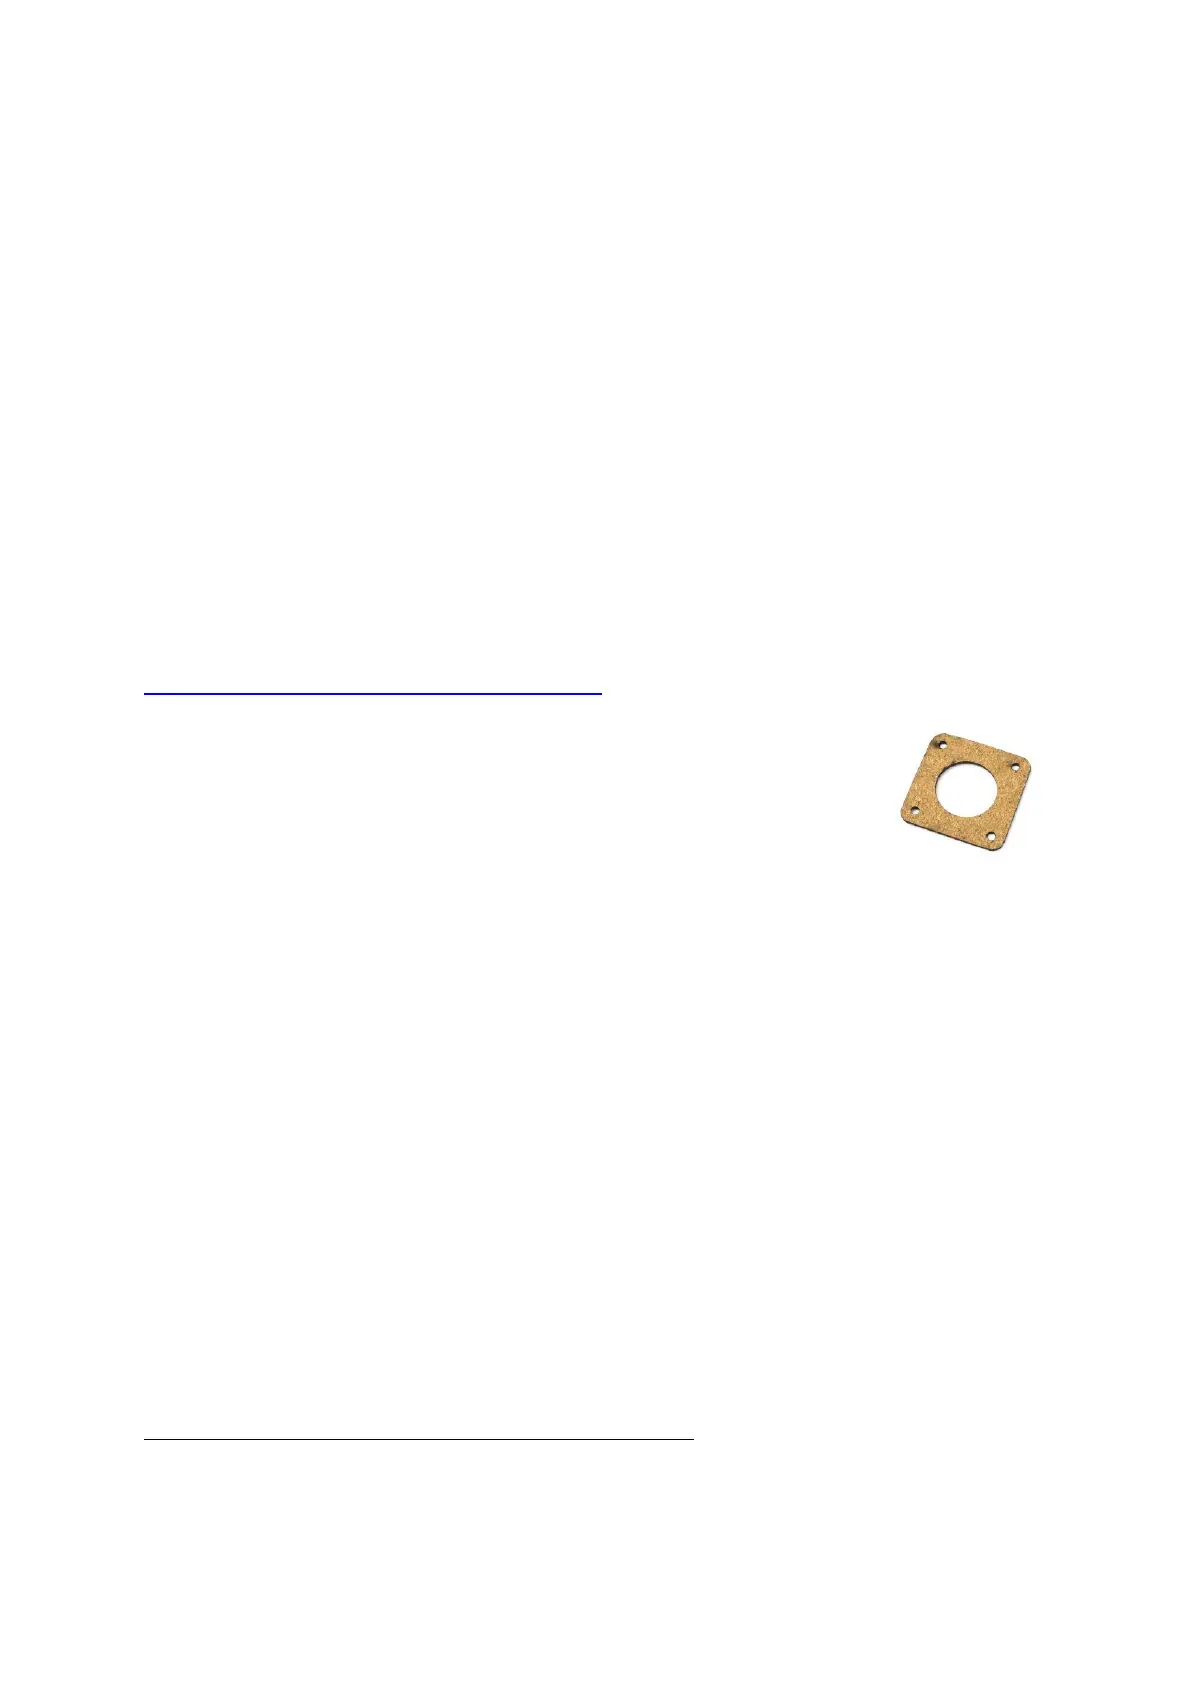
This is debatable if a second dampener is really necessary between
the motor and the back bracket, I leave this decision to you and
made 2 models, depending on your choice. I personally used a thin
cork wood damper that I initially bought as main damper, which I
found inappropriate for that usage.
For this setup you need to buy special screws that are M3x60mm long screws. They
have to go through the bracket, then the cork, then the motor body, and attach to the
front metal component of the motor. the bracket is fixed with M4 screws and T-slot
nuts to the frame. The advantage of this setup is that the motor is well fixed to the
bracket, which slightly helps compensate the tension of the belt on the front damper.
The other setup is to insert a full rubber damper also on the back of the motor. In
this case, the damper is fixed to the motor with special M3x55mm long screws, while
the other side of the damper is fixed to the bracket with short M3 screws and nuts.
Ultimately, I have not been able to reduce both the noise and the skin artefacts at the
same time completely. I have therefore added another mod to the previous ones, to
remove further the skin problems, while slightly increasing the print noise: On the
front damper, I have removed the screws on both sides of the damper and I have
screwed in the motor directly through the damper. the advantage is that the motor
finally stays in its position and do not vibrate at every direction change of the bed.
The inconvenient is that the noise of the motor is not transmitted more to the bed
frame through the screws. This is my own trade off.
Part C: installing heat dissipators on stepper motors
PLEASE NOTE: As is maybe less well documented online, placing a dampener in-
between the motor and the metal holder will reduce the amount of heat dissipated by

 Loading...