on the same holder, for various reasons like preparing for a future dual extrusion
setup, to anticipate a change of filament at mid-print of for the next print, etc.
Here is my remix: https://www.thingiverse.com/thing:3737773
Please follow the instructions provided online.
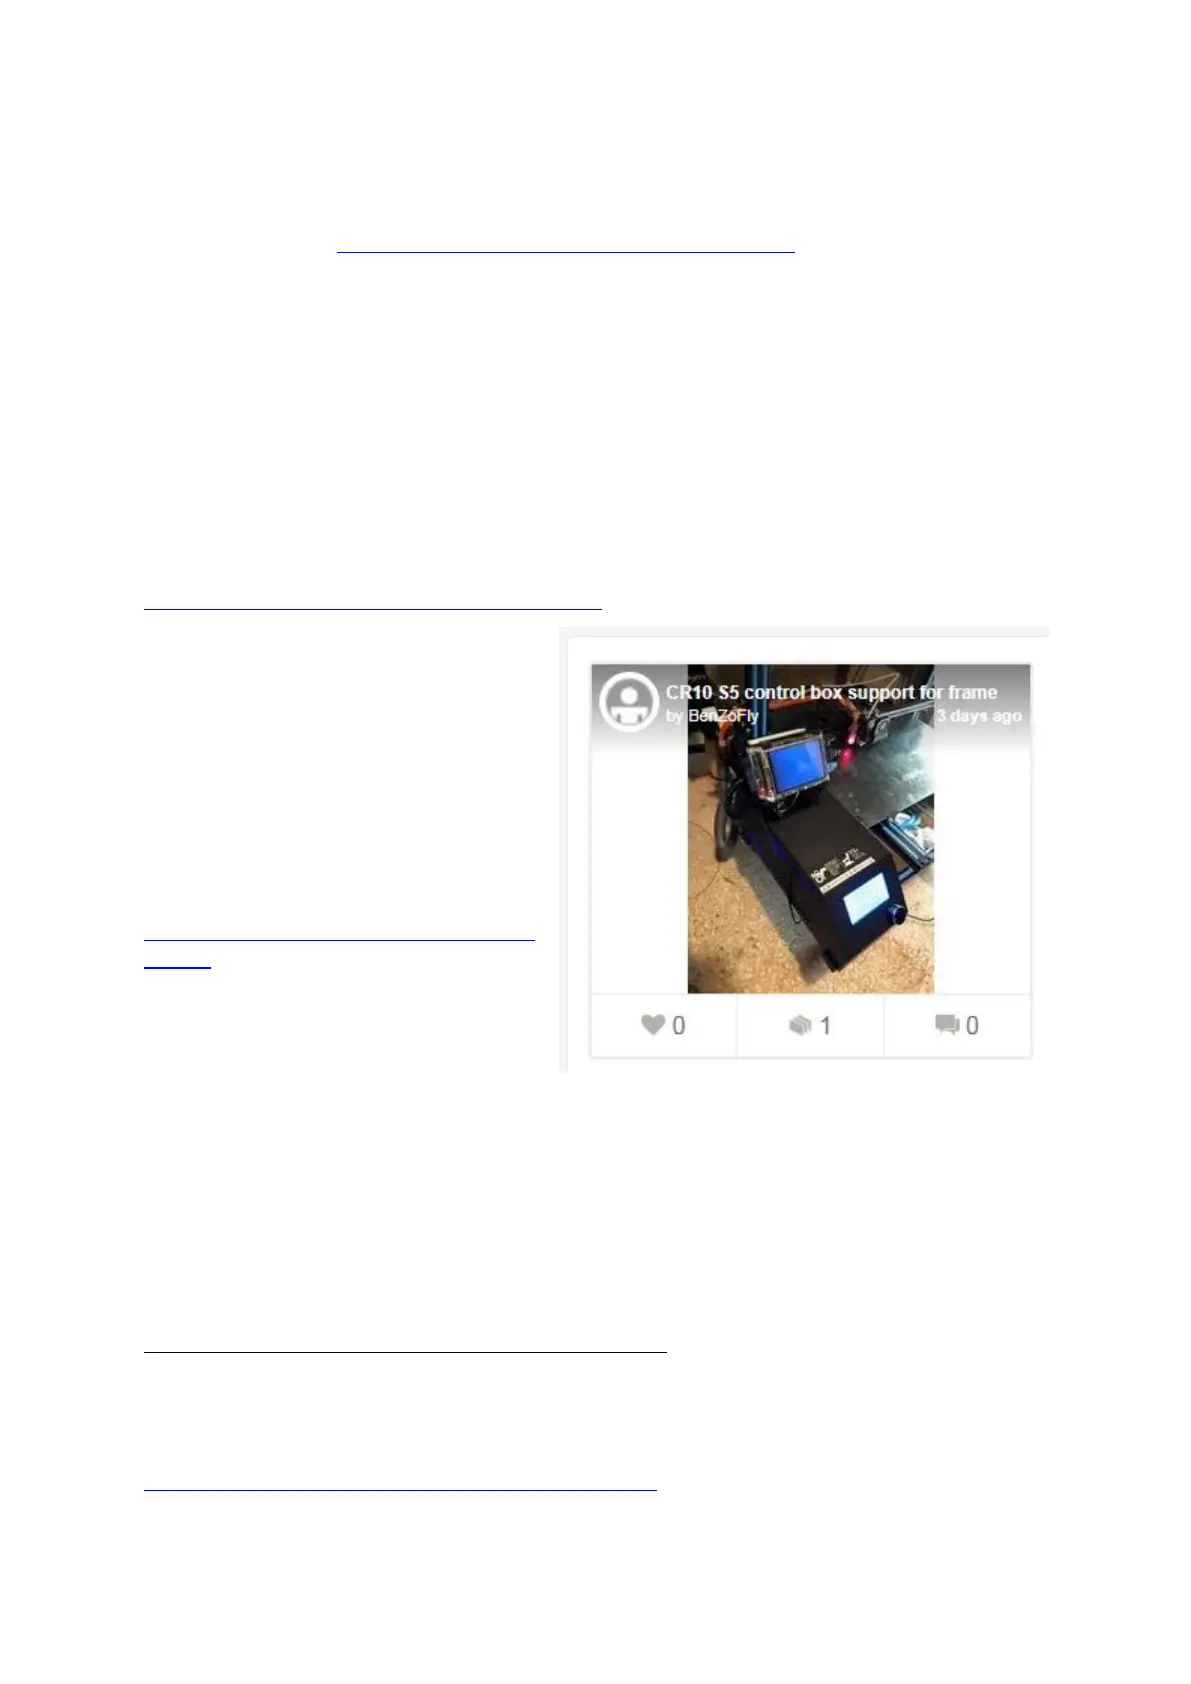
Optional – Install your controller box on supports
Now you have a printer with good bed levelling, strong frame and possibly bed feet.
It is possible that your controller box is now too far from the frame, especially if the
bed feet are high enough. A possible solution is to place the box on printed supports
alongside the frame on the left-hand side. This is the 3
rd
purpose of still the same
design here:
https://www.thingiverse.com/thing:2898173 (same link as above)
This time for the controller support
part. Again, I made a remix of this
part because it is likely that in the
next steps of your setup, you will
want to install a bed levelling probe,
in which case you will want the
controller box a bit more forward in
the side. This remix does exactly
that:
https://www.thingiverse.com/thing:37
37785
For this upgrade you’ll need 4 M4x10
“triangular head” screws with 4 M4 T-
slot nuts.
Optional – Reduce noise and vibrations of X and Y stepper motor
This is an upgrade composed of 3 parts:
- install dampers on X and Y stepper motors
- install backend bracket on Y-axis motor
- install TL-smoothers on X and Y stepper motors
Part A: installing damper on X-axis stepper motor
After purchasing a couple of them, installing dampers on stepper motor is
straightforward and is well documented online, like here:
https://www.youtube.com/watch?v=jQvjHiyGhZ0

 Loading...