the printer frame. The motor will become much much hotter than before. I can only
recommend using thermal glue and sticking heat dissipators on the sides of the
stepper motors.
For the bigger Y-axis motor I’ve used 2 dissipators like this:
size is 40x40x11mm, glued on the back and bottom
For the smaller X-axis motor I’ve used 7 smaller dissipators :
size is 10x10x10mm, glued around the motor case
Motor heat has been greatly decreased with these dissipators.
Part D: installing TL-smoothers on X and Y stepper motors
Finally I installed TL-smoothers inline with the X and Y motor cables. I used the
extension cables mentioned at the beginning of this document to cut and insert the
smoothers (cable plugs are of course not compatible with each other). To be
perfectly honest I installed the smoothers BEFORE installing the dampeners and I do
not believe it made any difference to the print quality. In any case, the smoother
boards get very hot and I cooled them down by ziptying them flat to the frame with
thermal paste on their back, and they’re much cooler now.
Highly recommended – Improve cable management of the print head
Here is a good opportunity to test the progress of your print quality after the change
you’ve made so far.
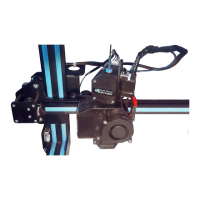
As you’ve noticed already, the black cable and bowden tube that connect the print
head are competing with each other to go up and down, back and forth, etc. It is time
to improve this part.
Here is a design for better managing
the black print head cable:
https://www.thingiverse.com/thing:334
8829
This part will be screwed on the X-axis
rail with 2 M4x10 conical head screws
and 2 T-slot nuts.
When in place, remove the tape that
holds together the bowden tube and
the black cable.
 Loading...

