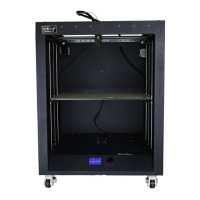
Highly recommended - Strengthening the frame
Now that the levelling knobs have been replaced with locking ones, you can start
printing bigger parts, and for longer print times. However, as soon as the height of
the printed parts is above a few centimetres, you will start noticing vibrations of the
vertical bars of the frame. A classic remediation of this is to add braces.
Every owner of S5 printer seems to have to do that at some point, so do it now!
OPTIONS: At this stage, you have again 2
options:
1/ purchase a brace kit from Creality. I
understand it involves piercing holes in the
frame of the printer, and all accessories are
included for that operation;
2/ make your own braces out of threaded rods
and printed parts.
I went for the second option and had to decide
between 2 sub-options:
2.a/ install the braces in front of the printer;
2.b/ install the braces on the back of the printer.
I chose the second option for several reasons:
a) placing braces on the back frees up the front of the printer for object
manipulation;
b) I found a neat design online that included additional features like a side holder
for filament (see photo);
c) this fits well the area where I placed my printer ultimately.
Especially for the third reason I went for
this design:
https://www.thingiverse.com/thing:2898
173
When parts are printed, you need the
following hardware to complete the
setup:
x2 1 meter M8 threaded rods
x4 M8 nuts
stock + extra M4 bolts
M4 T-slot nuts
(refer to website for details)

 Loading...