Conclusion
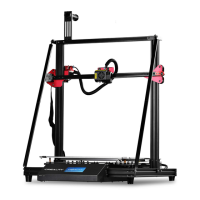
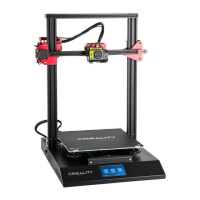
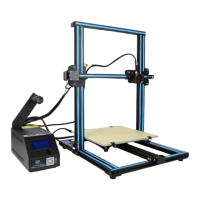
The journey to a fully loaded CR10-S5 printer is well advanced now. At this stage the
printer has braces, feet, dampers, filament holders, a raised control box, fangs, bed
levelling probe, tough extruder and a brand new and tailor-made new firmware that
controls all the functions well.
Last step is to re-verify all the upgrades, how did they behave during the last prints,
has anything moved, are all screws still well tight?
When all is performing well, it is now time to clean the cable paths. I recommend to
zip-tie the cables together between those that move vertically with the X-axis and the
ones that do not move at all. I have regrouped them in two groups and embedded
them in bigger tubes commonly used for cable management of PCs. I have then zip-
tied the non-moving cables below the frame, thanks to the bed feet that enable good
access to below the printer.
If you want to add a cherry on the cake, you can adjust your LCD menus by defining
or un-defining other parameters like INDIVIDUAL_AXIS_HOMING_MENU and
ultimately you can also modify directly the file “ultralcd.cpp”, with the following
reference:
http://marlinfw.org/docs/features/lcd_menu.html
NOTE: This is quite risky to change this code if you don’t know what you’re doing, so
make backups of the original file and changes things little by little. Personally I
tweaked the “prepare” menu by putting the preheat PLA submenu at the top,
removing the preheat ABS menu, removing the options to home by axis, and finally
to reorder the other commands to my taste. I did not change any other menu so far.
At this point, I would recommend moving from there to the next level of 3D printing
that is to pilot and monitor the printer remotely with a print server. After all, printing
with a S5 means you will embark for multi-day prints, and you want to keep an eye
on the process. This is what I will try to document in another guide with the
implementation of OctoPrint on a Raspberry Pi with touch screen, as well as internet-
based printing with AstroPrint.
I hope you enjoyed reading this manual and upgrading your printer.
Happy printing !!!
 Loading...
