13
Section 3 Installation
3.1 Operating environment
• A minimum clearance of 5 cm (2 in.) must be ensured above and on all sides of the
device. This allows the air to circulate and prevents overheating of the electric parts. In
the lower part left a minimum clearance of 15
cm (6 in.) of space underneath must be
ensured for the cable connections.
• Don’t install the instrument directly exposed to the sun or rain to avoid possible
damage to it. When installing outdoor, place the instrument always under a small roof
protected from direct sun or rain. If not programming the instrument, left always the
front door closed.
• When positioning the instrument and the disconnecting device, It has to be guarantee
that it’s easy the access to operate the disconnecting device.
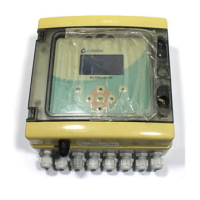
3.2 Wall mounting
1. Completely open the transparent door and pull to remove it.
Note: Make sure that you do not misplace the black hinges of the transparent door.
2. Unscrew the four screws of the frontal cover.
3. Remove the back cover and the four cover-screw caps.
4. Four drill holes are required as indicated in Figure 4.
5. Once the rear cover is fixed on the wall by the four screws, the cover-screw caps
must be put to ensure the waterproof IP 65.
6. Assemble the housing and screw the four screws.
7. Mount the transparent door.
DANGER
Only qualified personnel should conduct the installation tasks described in this section of the
manual.
Do not replace any component unless power has been switched off or the area is known to be
non-hazardous.
Install the instrument in ambient protected by corrosive fluids.
Safety of any system incorporating this instrument is responsibility of the assembler of the
system.