17D-Link DAP-1520 User Manual
Section 3 - Conguration
Web-based Conguration
Enter your Password and click Log In. By default, the password is blank.
Note: If this is your rst time logging in to the DAP-1520, you will automatically be directed
to the Setup Wizard.
Open the wireless utility on your wireless device or computer. Select the Wi-Fi Name
(from your Wi-Fi Conguration Card) and enter the Password.
Open a web browser (e.g., Internet Explorer) and enter http://dlinkap.local./ in your
browser’s URL eld. You may also enter the IP address of the DAP-1520*. Windows XP
users should enter http://dlinkap. You will see the Log In screen.
*Note: The default IP address is 192.168.0.50. Once your DAP-1520 connects to your router,
it will be assigned a new IP address based on your network’s DHCP settings. You will need
to log in to your router to see what IP address was assigned to your DAP-1520.
The Home page will display your Current Status. A green check mark represents a
successful connection to your wireless router or Access Point (AP). If you see a red X
to the left of the DAP-1520 icon, click on the Uplink Router icon to connect to your
wireless router or AP.
For detailed information on manually setting up your DAP-1520 to extend an existing
wireless network, refer to “Using the Manual Method” on page 23.
You may use a wireless device or computer to access the Web-based Conguration Utility on the DAP-1520 for the following tasks:
• Run the Setup Wizard
• Upgrade the Firmware
• Change the Wireless and Network Settings
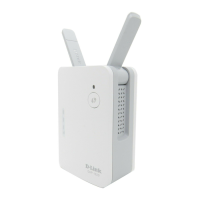
Step 1 -
Plug the DAP-1520 into an available outlet near your router. You can move it to a more
suitable location after conguration.
Step 2 -
Step 3 -
Step 4 -
Step 5 -