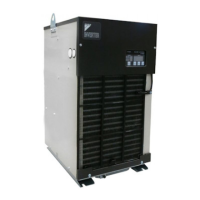
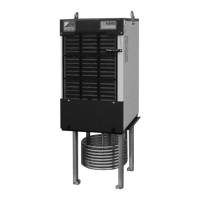
●Disassembling Procedure
135
8
Disassembling Procedure
Disassembling
Procedure
Work Procedure Point
WARNING
Before disassembling work, be sure
to turn OFF all power supplies.
Procedure for Removing Propeller
Fan, DC Fan Motor
1
Remove the switch box
cover, top panel, back panel,
left side panel, and right side
panel in accordance with
“Procedure for removing
Outside Panel Block (P.133)”.
①
Unscrew the four screws
the wind control panel, and
take it out from the right side
when viewed from the front.
(AKZ90A-500 only)
②
Remove the nut with washer
fixing the propeller fan.
③
Remove the propeller fan,
and take it out from the right
side when viewed from the
front.
2.
Removing DC fan motor (M3F)
① Disconnect the relay
connector in switch box for
DC fan motor.
② Cut the banding band of
the lead wires.
③ Take the lead wire off the
wiring port cover. (See
page 134) (*1)
④ Remove the DC fan motor
(M3F) from the DC fan
block with four screws and
take it out from the right
side when viewed from
the front.
1.
Removing propeller fan
*1
Once the sealing material
of the wiring port is
removed, its dust-preventive
performance is degraded.
扌
Change the removed sealing
material with a new one
before taking in lead wire
again.
Propeller
fan
Wind control panel
(AKZ90A-500 only)
motor
block
00_PB00540A_M10.indb 135 2023/08/09 12:59:17