118
8
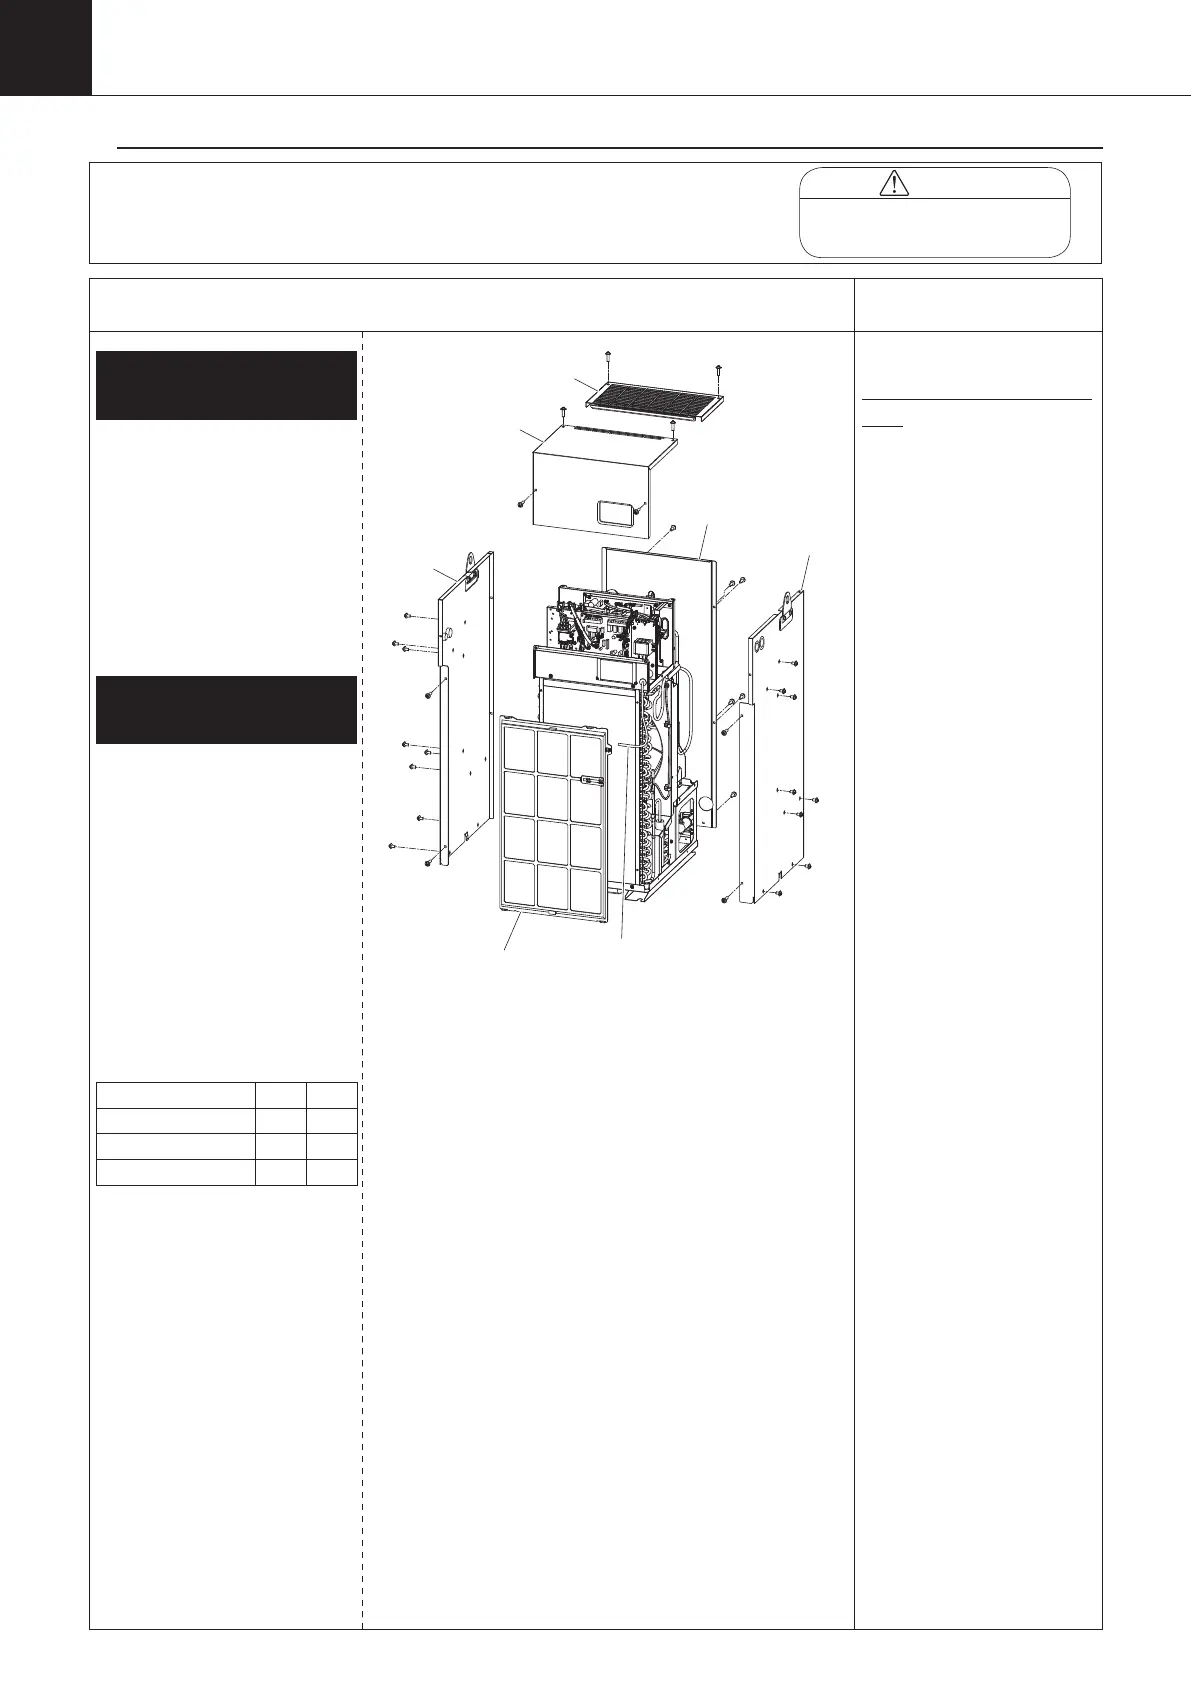
Disassembling Procedure
Work Procedure Point
WARNING
Before disassembling work, be sure
to turn OFF all power supplies.
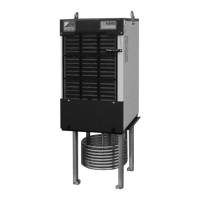
Procedure for Removing Outside
Panel Block
AKZ14A–43A
1
①
Remove the room thermistor
(Th-3) from the air filter.
②
Remove the air filter.
③
Unscrew the four screws that
hold the switch box cover. (*1)
④
Unscrew the two screws that hold
the top panel, and remove it.
1.
Removing filter, top
panel, and related parts
2.
Removing back panel, side
panel, and related parts
① Unscrew the six screws
that hold the back panel.
② Unscrew the screws (no.
of pcs.: A) that hold the
left side panel, and pull it
out upward.
③ Unscrew the screws (no.
of pcs.: B) that hold the
right side panel, and pull it
out upward.
(pcs.)
A B
AKZ14A 9 9
AKZ32A 9 9
AKZ43A 10 10
Top panel
Room thermistor (Th-3)
panel
Switch box cover
Back panel
*1
Notes on mounting switch box
cover
① Check for any damage
on the sealing material
on the back of the cover.
If any damage is found,
replace with new one.
② Adjust the screw
tightening torque to 1N-m
±10% during mounting.
Use the screws dedicated
for the switch box cover.
(DO NOT use the tapped
screws for plate of cross-
recessed hexagon head
bolt with flat washer M4
x 12 causing damage to
screw hole.)
00_PB00540A_M10.indb 118 2023/08/09 12:59:09