Cong
24
Sign Mapping
Zoning allows a display to be divided into multiple subparts or zones, each capable of
being controlled independently from the other subparts. Mapping ERTD sign numbers
to a zone allows a control system such as Show Control to send commands that target
a specic zone on a display rather than the display as a whole. To add an RTD sign
mapping zone, follow these steps:
1. Click Add Mapping under Sign Mapping as shown in Figure 41. A new line of text
boxes opens.
2. Enter the ERTD sign number to be assigned to a zone in the Sign # text box. Ensure
the number does not conict with the ERTD sign number of any other displays in the
system.
3. Enter the name of the zone being added in the Zone Name text box.
Note: The entered zone name must match the name in the conguration le that
originally dened the zone names.
4. Repeat Steps 1-3 to add additional zones.
5. Click Save in the upper-left corner when nished adding all of the desired zones.
The process of creating display zones and playing content in those zones varies
according to the control system being used. Refer to the documentation provided with
the control system for more information.
To delete an RTD sign mapping zone, click the button to the right of the Zone Name
text box, and then click Save in the upper-left corner.
Data Sources
Select a data source to enable the player to receive data from a data provider (or
default source). The data source les (DSRCs) specify the data provider and the port/URL
that will receive the data. The required data source must exist on the player computer.
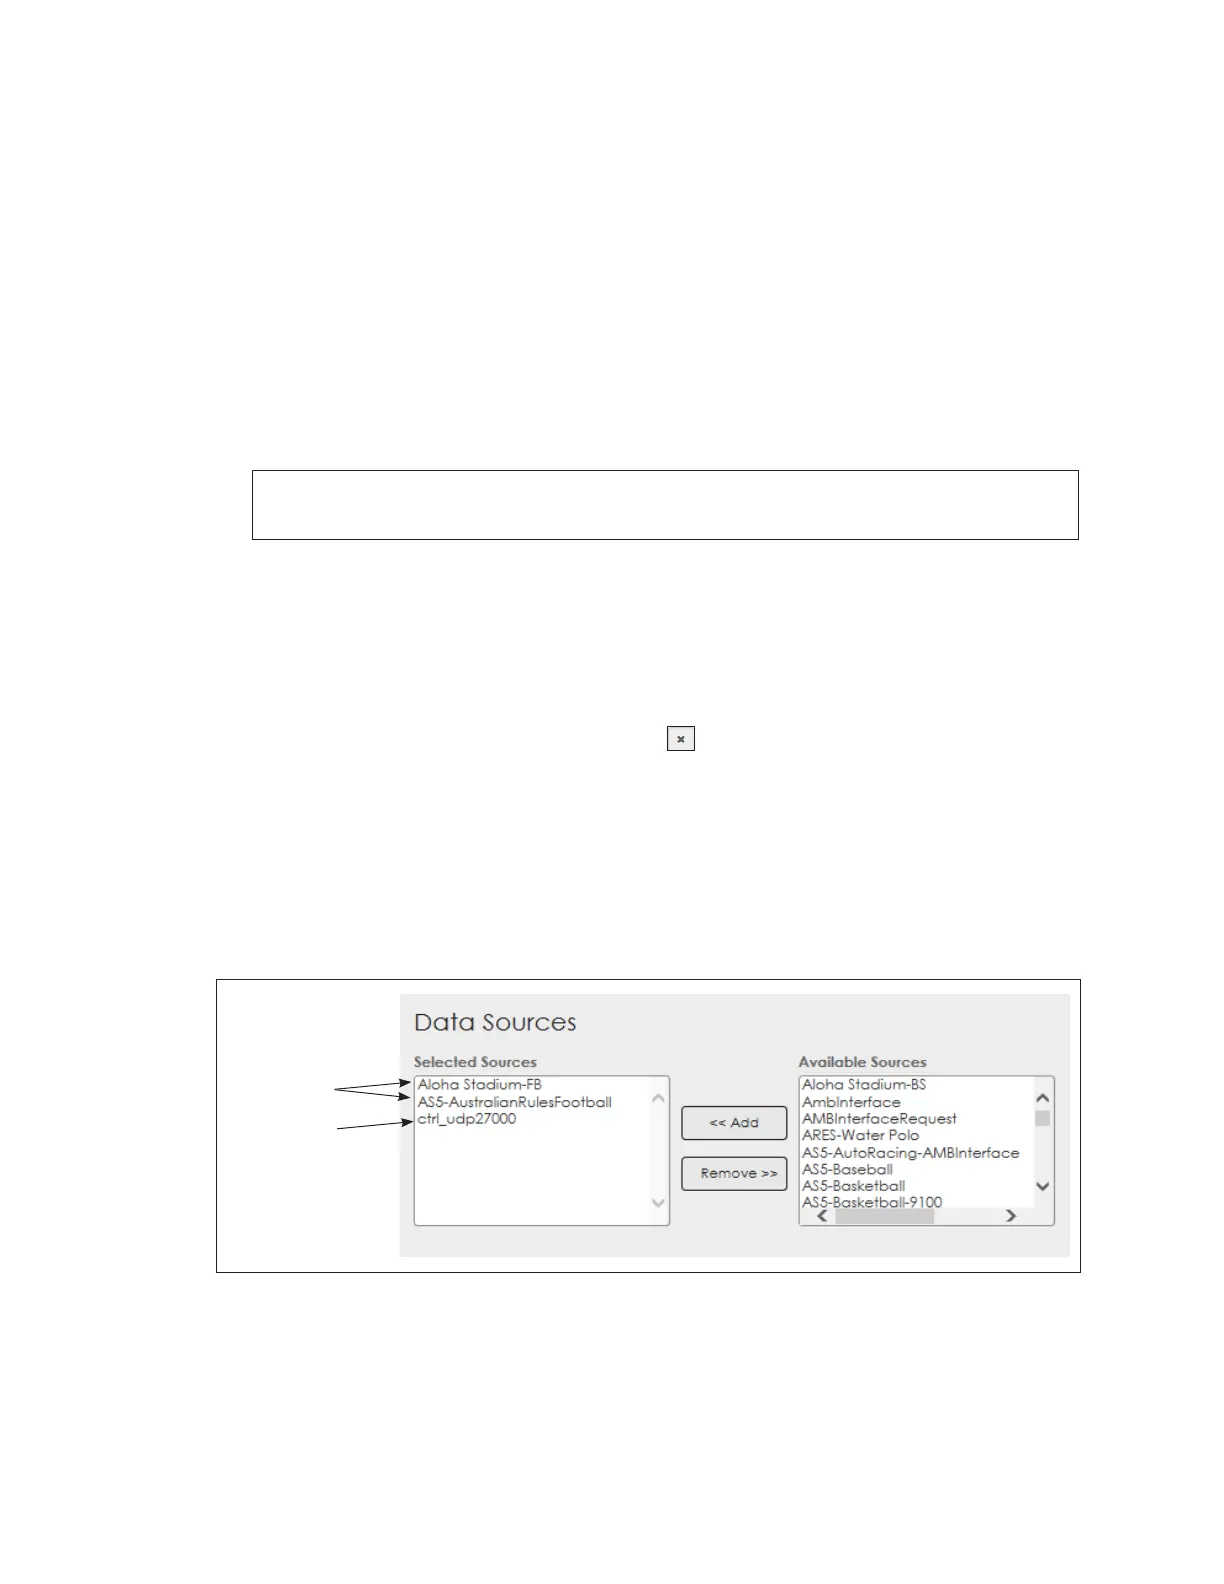
Select a data source from the list of Available Sources then click Add. To remove a
selected data source, highlight it and click Remove. Refer to Figure 42.
Figure 42: RTD - Data Sources
ERTD data
sources
ERTD control
(e.g. Show Control)
 Loading...