47
Dane-Elec. All rights reserved 2010
obtain an IP address from it, please select “Obtain an IP address
automatically.”
Note: The IP address obtained from your DHCP server may change from
time to time based on your DHCP server settings..
Use the following IP
address
If you want to manually set an IP address on my-Ditto, please select
“Use the following IP address” and set the IP Address, Subnet Mask
and Gateway Address
This is the IP address used by my-Ditto in your network.
This is the IP Subnet Mask of your LAN segment.
The gateway IP address for your network. Normally, it is the LAN
IP address of the router (gateway) you are using to access the
Internet.
5.13.4 Advanced Settings – Print Server
my-Ditto can become a print server (accepts print jobs and then prints the jobs on the
requested printer) by simple few steps, as explained below.
1. Connect your printer to the USB 2 port located on the rear panel
2. Enable the print server service by checking the check box
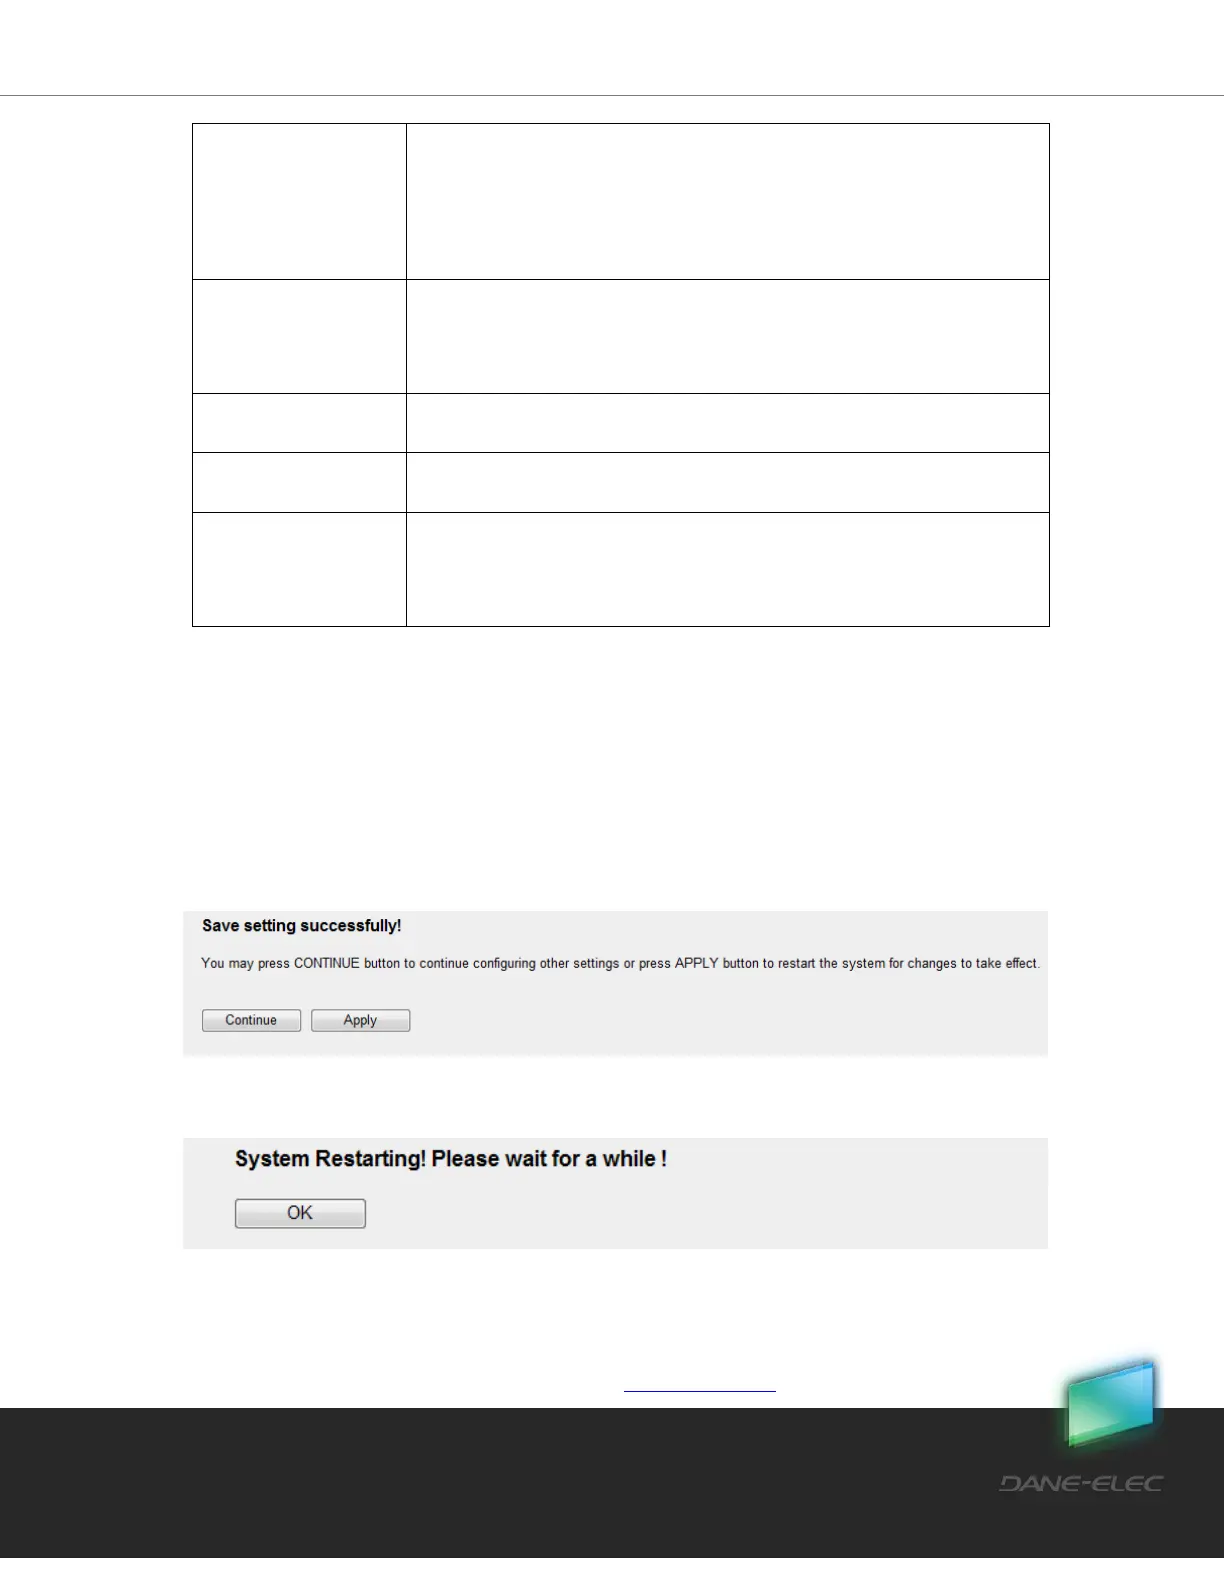
3. Press on the apply button in order to set the print server
4. my-Ditto will automatically restart itself for changes to take effect.
5. You are done setting my-Ditto as a print server
Now, in order to start working with the print server, you should configure your
printer on your computer within your local network.
To find more information about how to add new printer, go to page 100.