69
Dane-Elec. All rights reserved 2010
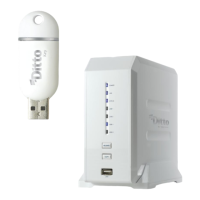
9 Managing my-Ditto Internal Disks
9.1 Overview
my-Ditto is available in a variety of internal disk types – no internal disks, one internal disk
ready for use, or two internal disks ready for use.
In order to enjoy my-Ditto, all of the disks attached to my-Ditto must be activated.
Once my-Ditto identifies the need, a wizard will show up on my-Ditto application screen and
guide you through the different steps required (changes can be made by the administrator
only).
In addition, after activating the disks, you can change the current state of the disks by using
my-Ditto application (administrator only). Instructions may be found in Section 9.7.
The following sections will guide you through the different disk states.
9.2 my-Ditto with No Internal Disk
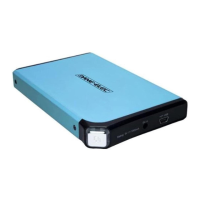
There are no internal disks attached to my-Ditto. Learn how to install internal hard disk
drives in chapter 12, on page 85.
IMPORTANT! Do not turn off my-Ditto during the activation / changing disk mode
operation, as it will cause irreversible damage. Please wait until two HDD LEDs are lit
again.