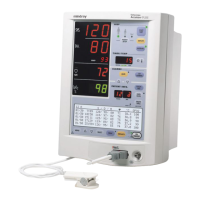
Accutorr Plus Service Manual 0070-10-0691 3 - 11
Repair Information Disassembly Instructions
3.6.5 Removal of the CPU / NIBP board
1. Disconnect J-505 NIBP pump connector, J-7 SpO
2
interface connector (advanced
model), and J-502 Power supply connector, all on the top edge of the board.
2. Disengage the captive cable connectors for the Recorder and Temperature options at
the bottom left and right edges of the board.
3. Disconnect gray ribbon cable at J-603 to the external interface connectors.
4. Disconnect J-651 the LED backlight connector (advanced model).
5. Disconnect silicon hose from pump, at the right angle elbow.
6. Remove the four hexagonal spacers and one Phillips head screw on the board.
7. Lift board up gently and disconnect data ribbon cable from J-8 to the LCD display
(advanced model).
To Purchase, Visit Avobus.com or call 1-800-674-3655