Upgrade Procedure
Step 5:
Remove Front
Drive Panel
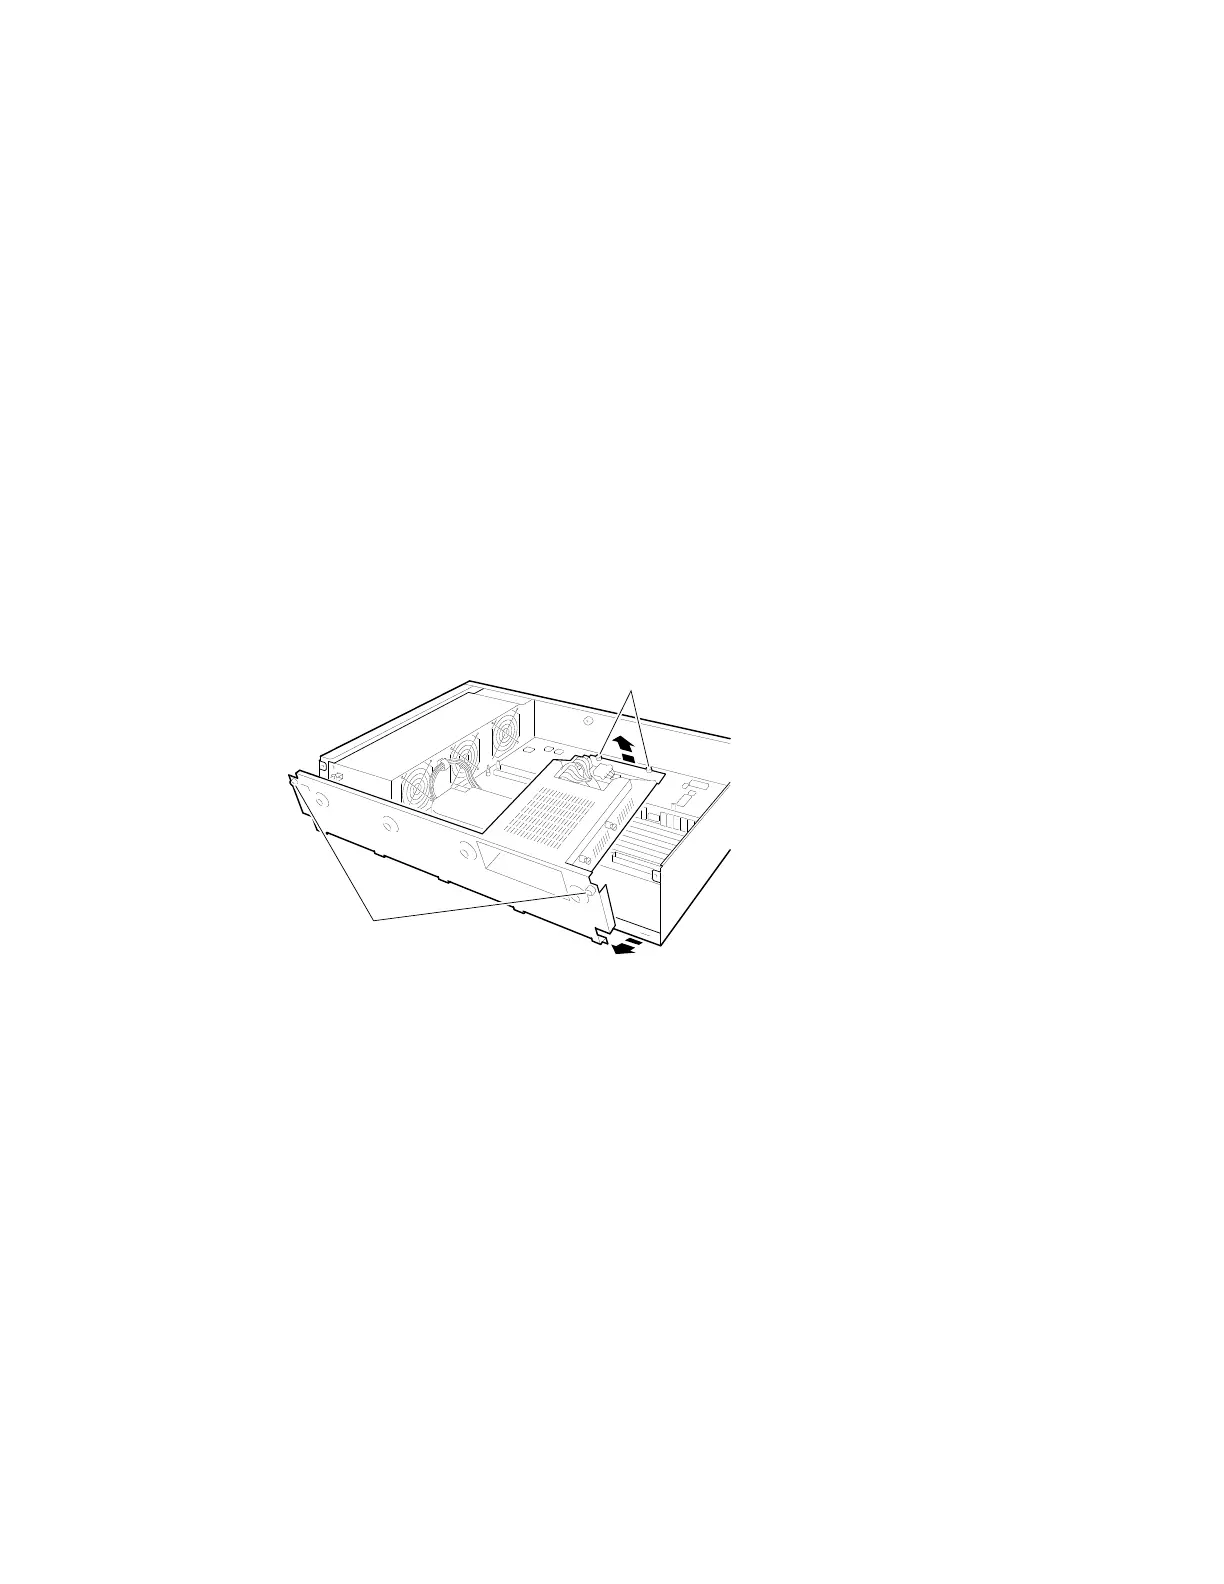
1. Loosen the two captive screws that hold the front drive panel
in place.
2. Loosen the two captive screws on the back of the drive
bracket.
3. If there is a drive inside the bracket, disconnect the SCSI
and power cables from the drive.
MLO-010666
Captive
Screws
Captive
Screws
4. Pull up carefully from the back of the drive bracket. As you
raise the end of the bracket, you can pull the disconnected
ends of the cables through the cutout in the bracket.
5. Release the cables from the cable clamps on the inside of the
front panel.
6. Set the front panel aside. Handle it carefully if it contains a
drive.
2–4 Upgrading a DECsystem 5000 Model 133/150