Upgrade Procedure
Step 4:
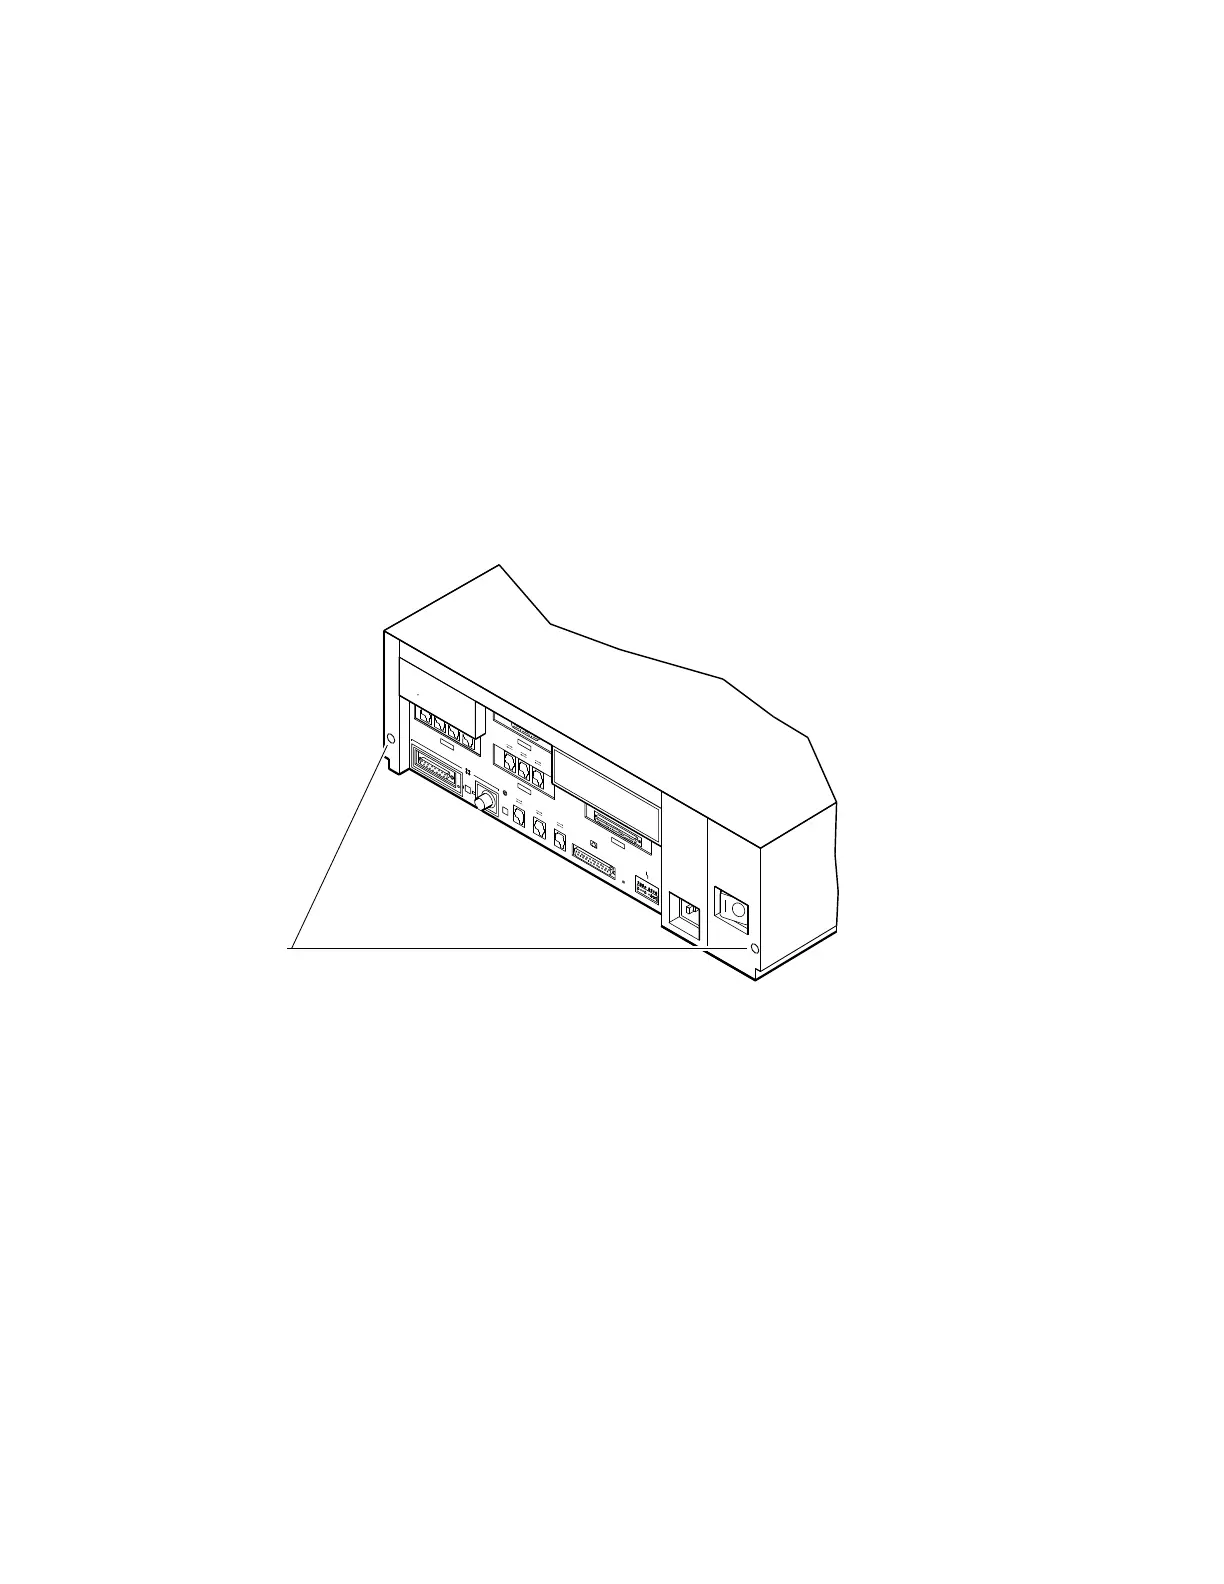
Remove
System Cover
1. Loosen the two cover screws on the back of the system unit.
2. Slide the cover forward, and up, off the system unit.
RE_EN05175A_90
Cover Screw Locations
Step 5:
Remove Upper
Drive Mounting
Panel
Depending on your system configuration, the upper drive
mounting panel can contain one, two, or three hard disk drives.
These drives can be either RZ23 or RZ24 disk drives.
To remove the upper drive mounting panel:
1. Disconnect the power cable and the SCSI cable from the
drives on the upper mounting panel.
2. Loosen the four captive screws located on the upper drive
mounting panel.
Upgrading a DECsystem 5100 5–3