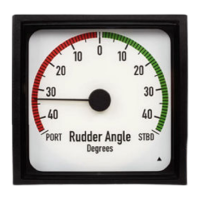
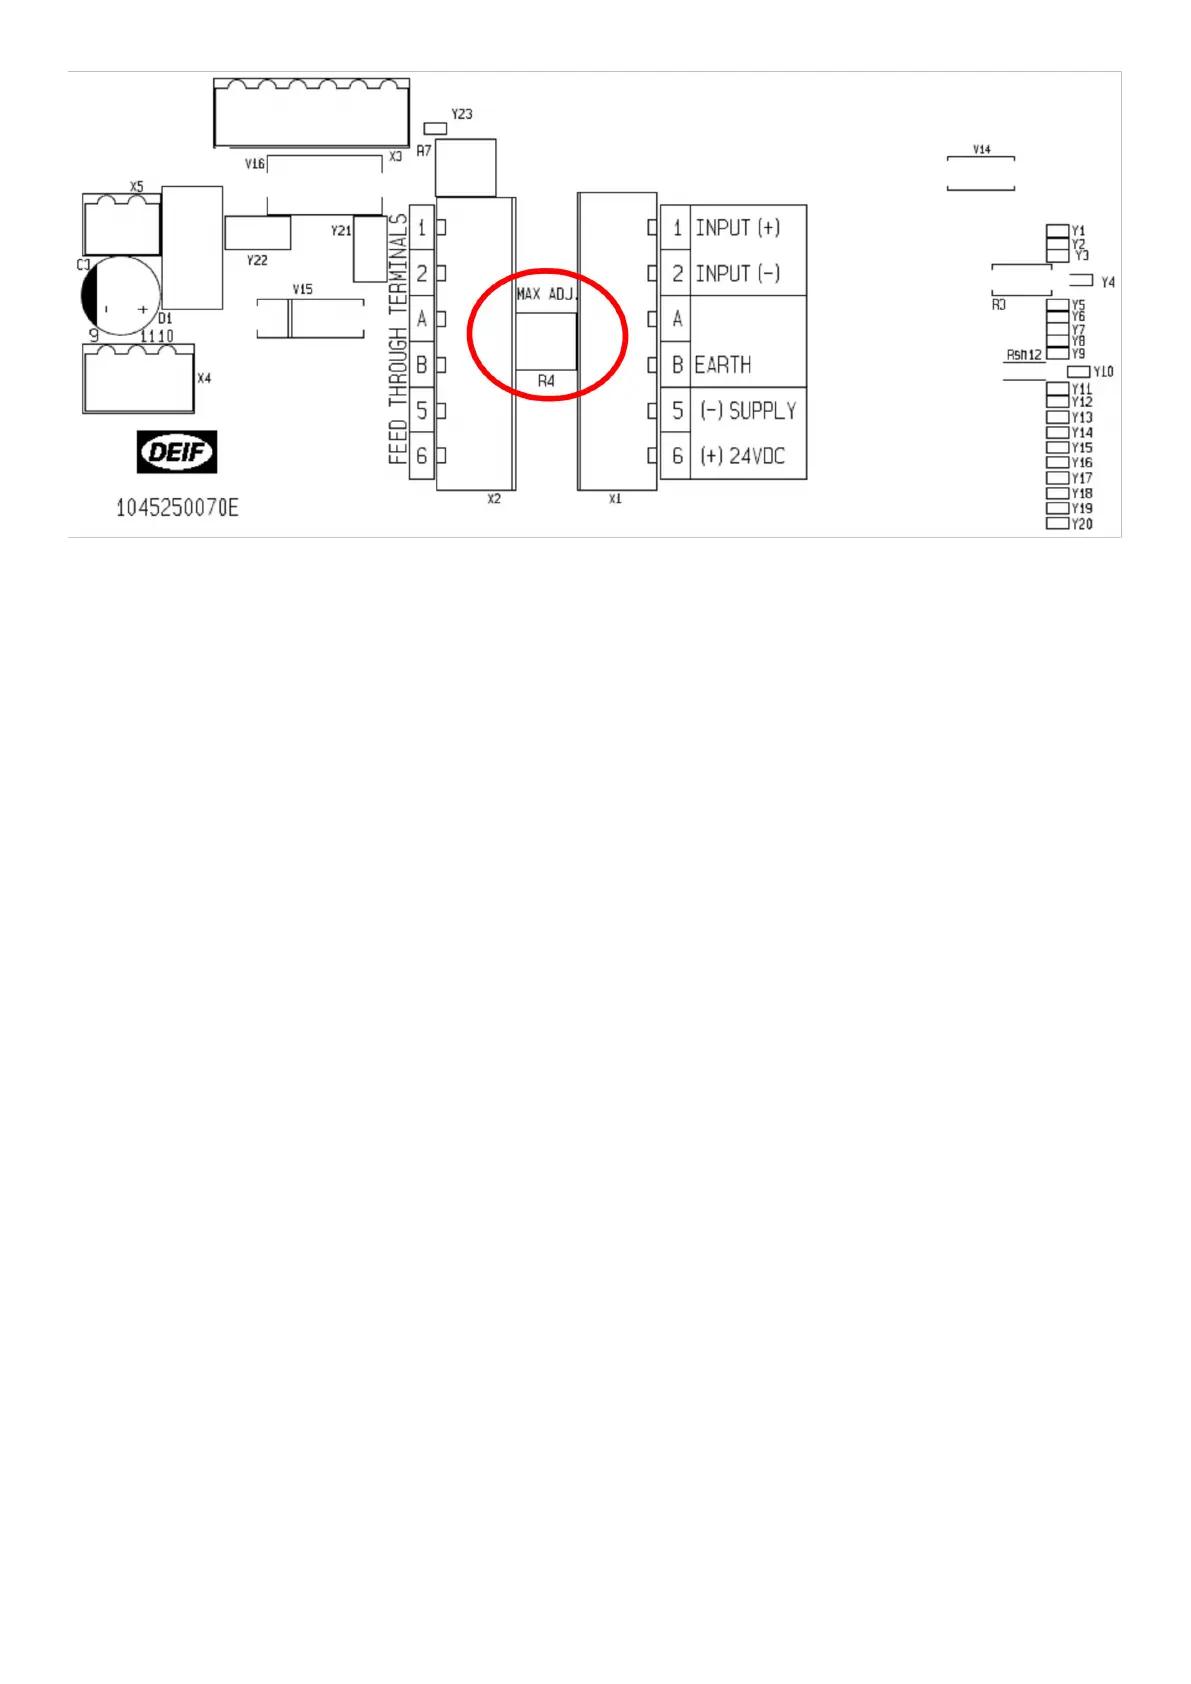
The potentiometer R4 is used for fine adjustment of the deflection. The special replacement type has an accuracy of class
1.0 due to the external adjustment potentiometer R4.
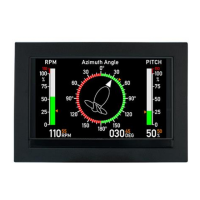
Note that when replacing the XL192 indicator built into the the measuring range is either mA or mA. The
measuring range is indicated on the type label on the XL192 indicator.
4.3.2
Replacement instructions
The indicator inside the can be replaced with an XL192 indicator. If the original gasket was damaged an IP66 XL192
should be ordered as a repolacement part.
Tor replace the indicator:
1. Dismount the top frame by removing the four screws from the frame.
2. Take out the XL instrument (and note the measuring range on the product label).
3. Disconnect the mounted cables.
4. Mount the new XL instrument.
5. Mount the cables to the new XL instrument.
6. Place the gasket between the XL instrument and the base.
7. Mount the top frame.
8. Fasten the four screws in the frame. Recommended torque for the screws is 4.5 Nm Nm).
4.3.3
Adjustment help for analogue input indicators
When the XL192 has been removed for adjustment on the rear side, the instrument can be placed in the grooves in the
housing, which makes it easier to perform adjustments because the installer has both hands free.
Installation and commissioning guide 4189350024O EN
Page 25 of 39
 Loading...