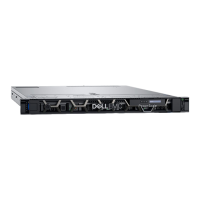
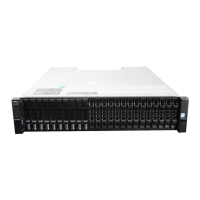
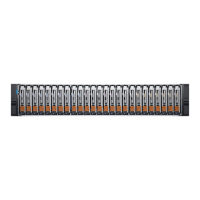
Figure 2 Removing the front bezel
Removing a disk
Before you begin
Identify the faulted disk by the amber disk fault LED.
Figure 3 Disk fault LED
Procedure
1. Attach an ESD wristband to your wrist and the enclosure.
2. Push down on the disk's orange release button to release the disk's latch.
3. Do one of the following:
l
If the disk’s fault LED is on steadily, slowly pull the disk about 1 inch (3 centimeters) from
its slot and wait 30 seconds for the disk to stop spinning before pulling the disk
completely out of the slot.
l
If the disk’s fault LED light is off or mostly off, slowly pull the disk completely out of the
slot.
FRU Removal and Replacement
Dell EMC FS25 SSD Shelf Guide Field Replacement Unit Guide 19

 Loading...


