l
Transfer one component at a time.
l
Transfer power supplies.
l
Transfer I/O modules and fillers.
l
Transfer the SP assembly from the A side.
l
Transfer the SP assembly from the B side.
l
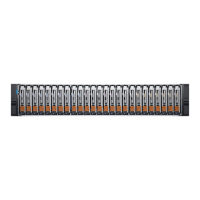
Transfer each disk and disk filler module to the SAME SLOT LOCATION that it
occupied in faulted DPE.
Removing an SP assembly
Procedure
1. Pull the torque limit screw handle out of the SP assembly (1).
2. Turn the handle counterclockwise to release the SP assembly from the
enclosure (1).
As the handle is turned, the SP assembly extracts out of the enclosure. When
outward movement stops, the SP assembly is ready for removal.
The SP assembly comes completely out of the enclosure. Be prepared to
support the SP assembly to avoid dropping it.
Replacing a faulted 2U DPE
Transferring parts from the faulted DPE to the replacement DPE 17

 Loading...


