Figure 13 Installing a disk filler module
Transfer the 2.5-inch disks and disk fillers
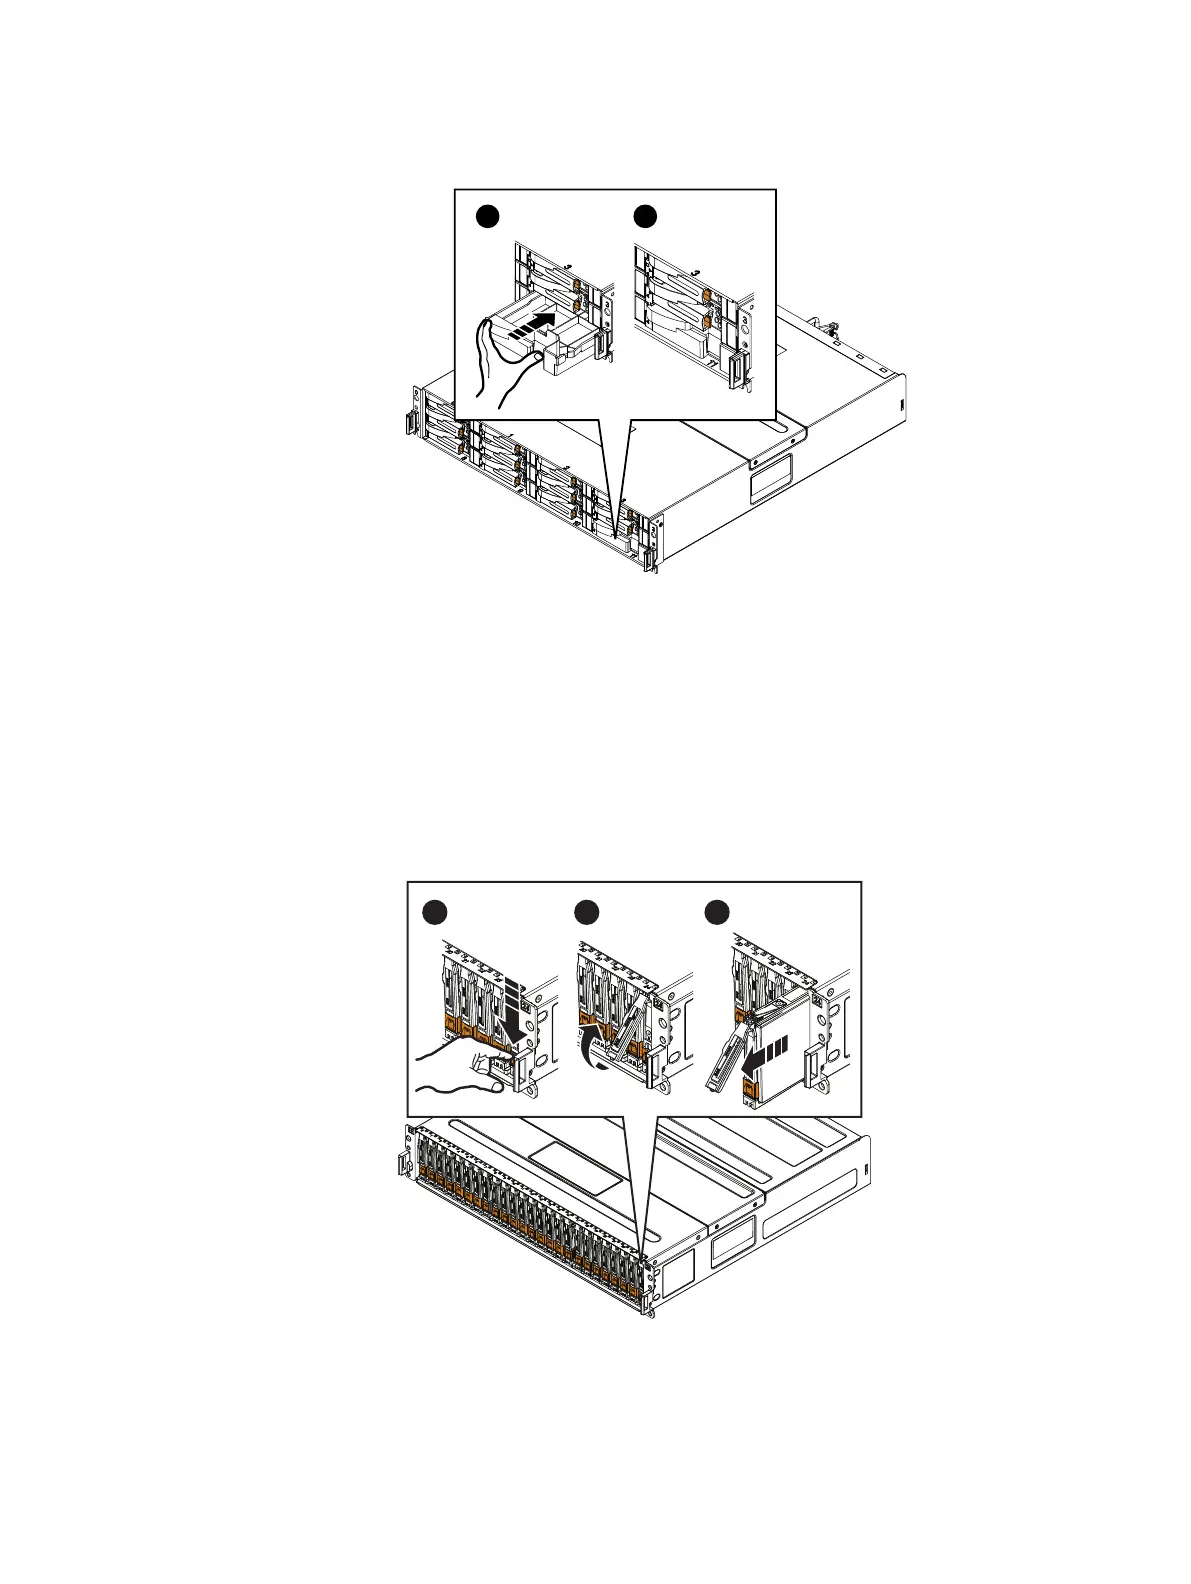
Removing a 2.5" disk
Procedure
1. Attach an ESD wristband to your wrist and the enclosure.
2. Press the orange tab in and pull the ejector handle out (1); do not pull the
handle past 45 degrees from the disk (2).
3. slowly pull the disk completely out of the slot (3).
Figure 14
Removing a 2.5" disk
4. Place the disk on a static-free surface.
Field Replacement Procedure
22 Unity All Flash and Unity Hybrid Field Replacement Procedure