EasyManuals Logo

Dell EMC Unity Series Replacement Manual

Dell EMC Unity Series
30 pages
To Next Page IconTo Next Page
To Previous Page IconTo Previous Page
Page #21 background imageLoading...
Page #21 background image
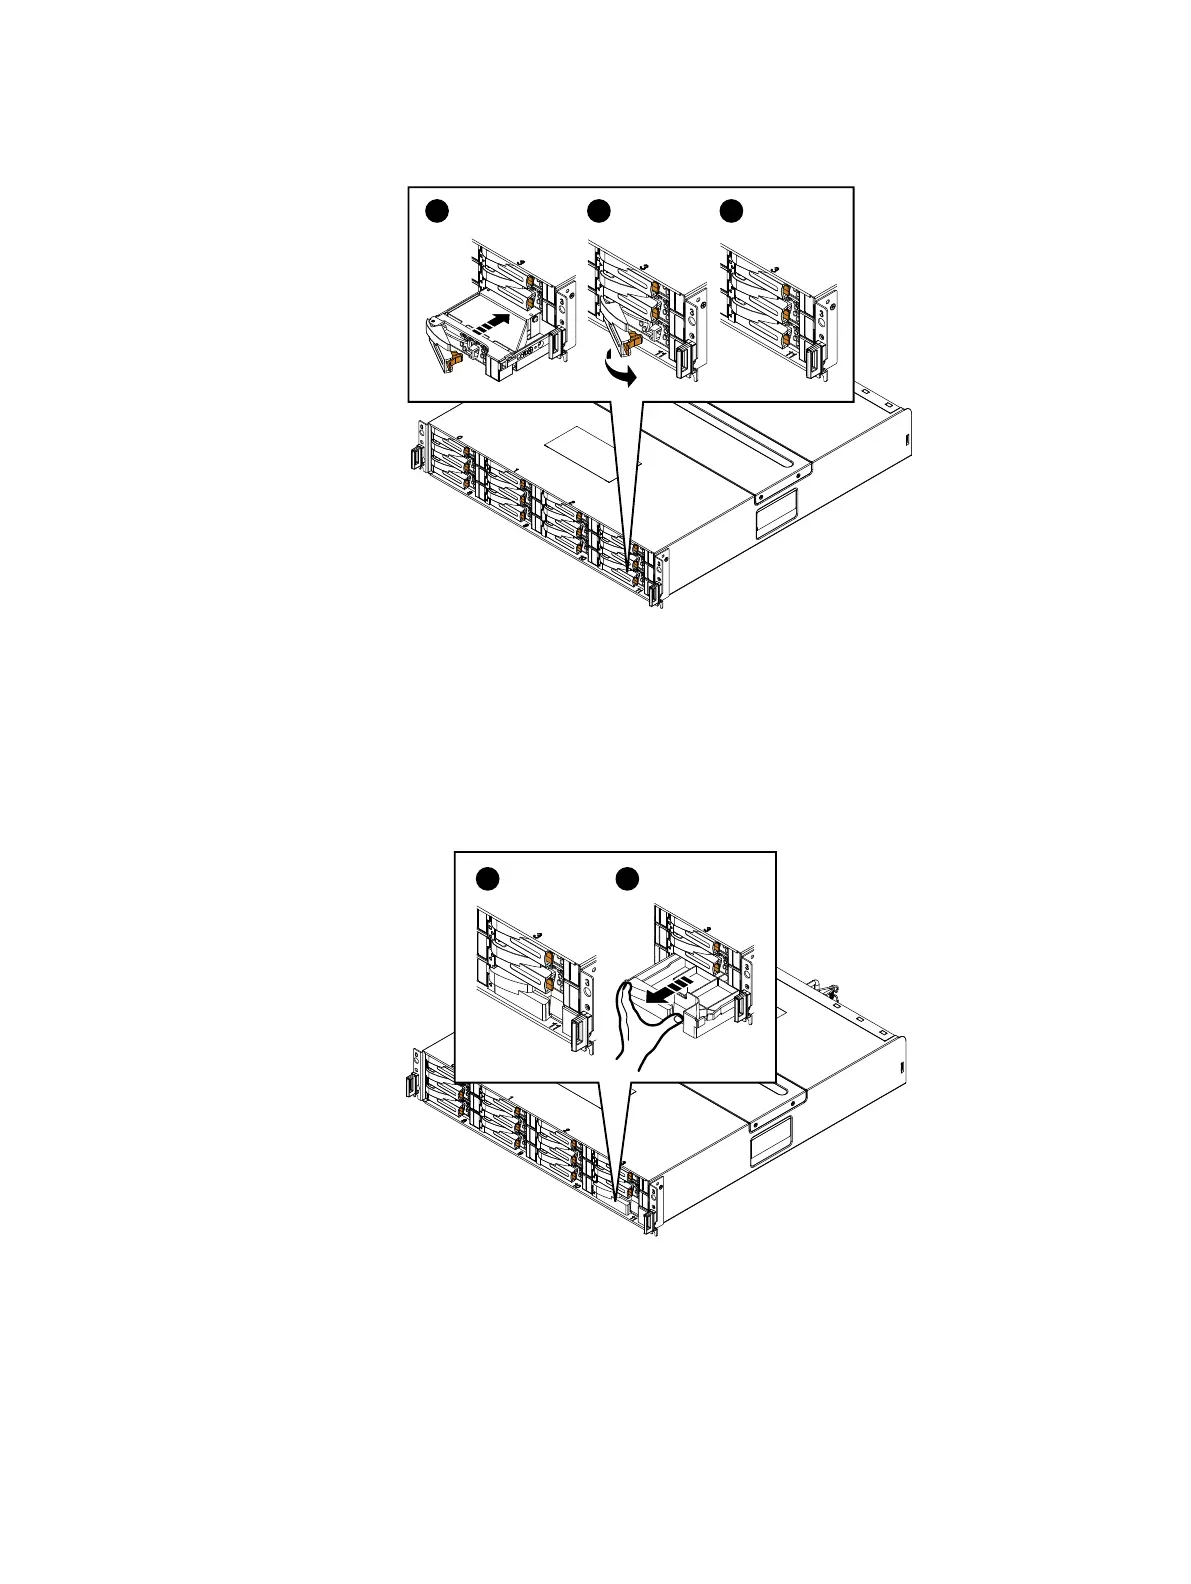
Figure 11 Installing a 3.5" disk
CL5229
3
1 2
Removing a disk filler module
Procedure
1. Insert your thumb into the cutout on the right side of the disk filler module (2).
2. With your finger push in the latch on the left side of the disk filler module, and
pull the module out of the slot.
Figure 12
Removing a disk filler module
CL5226
21
Installing a disk filler
Procedure
1. Insert your thumb into the cutout on the right the disk filler module.
2. With your finger push in the latch on the left of the disk filler module and push
the module into the slot until it clicks into place.
Replacing a faulted 2U DPE
Transferring parts from the faulted DPE to the replacement DPE 21

Table of Contents

Other manuals for Dell EMC Unity Series

Questions and Answers:

Question and Answer IconNeed help?

Do you have a question about the Dell EMC Unity Series and is the answer not in the manual?

Dell EMC Unity Series Specifications

General IconGeneral
Snapshot SupportYes
Storage TypeHybrid Flash, All-Flash
Drive SupportSAS, SSD
ProtocolsiSCSI, NFS, SMB
Data ServicesSnapshots, Replication, Thin Provisioning, Deduplication, Compression
ManagementUnisphere, REST API, CLI
Data Reduction FeaturesDeduplication, Compression
High AvailabilityRedundant components
Redundancypower supplies, fans
RAID Levels SupportedRAID 5, RAID 6, RAID 10
Replication SupportYes
Cloud TieringYes
Security FeaturesEncryption at rest, secure erase, role-based access control
ModelDell EMC Unity Series

Related product manuals