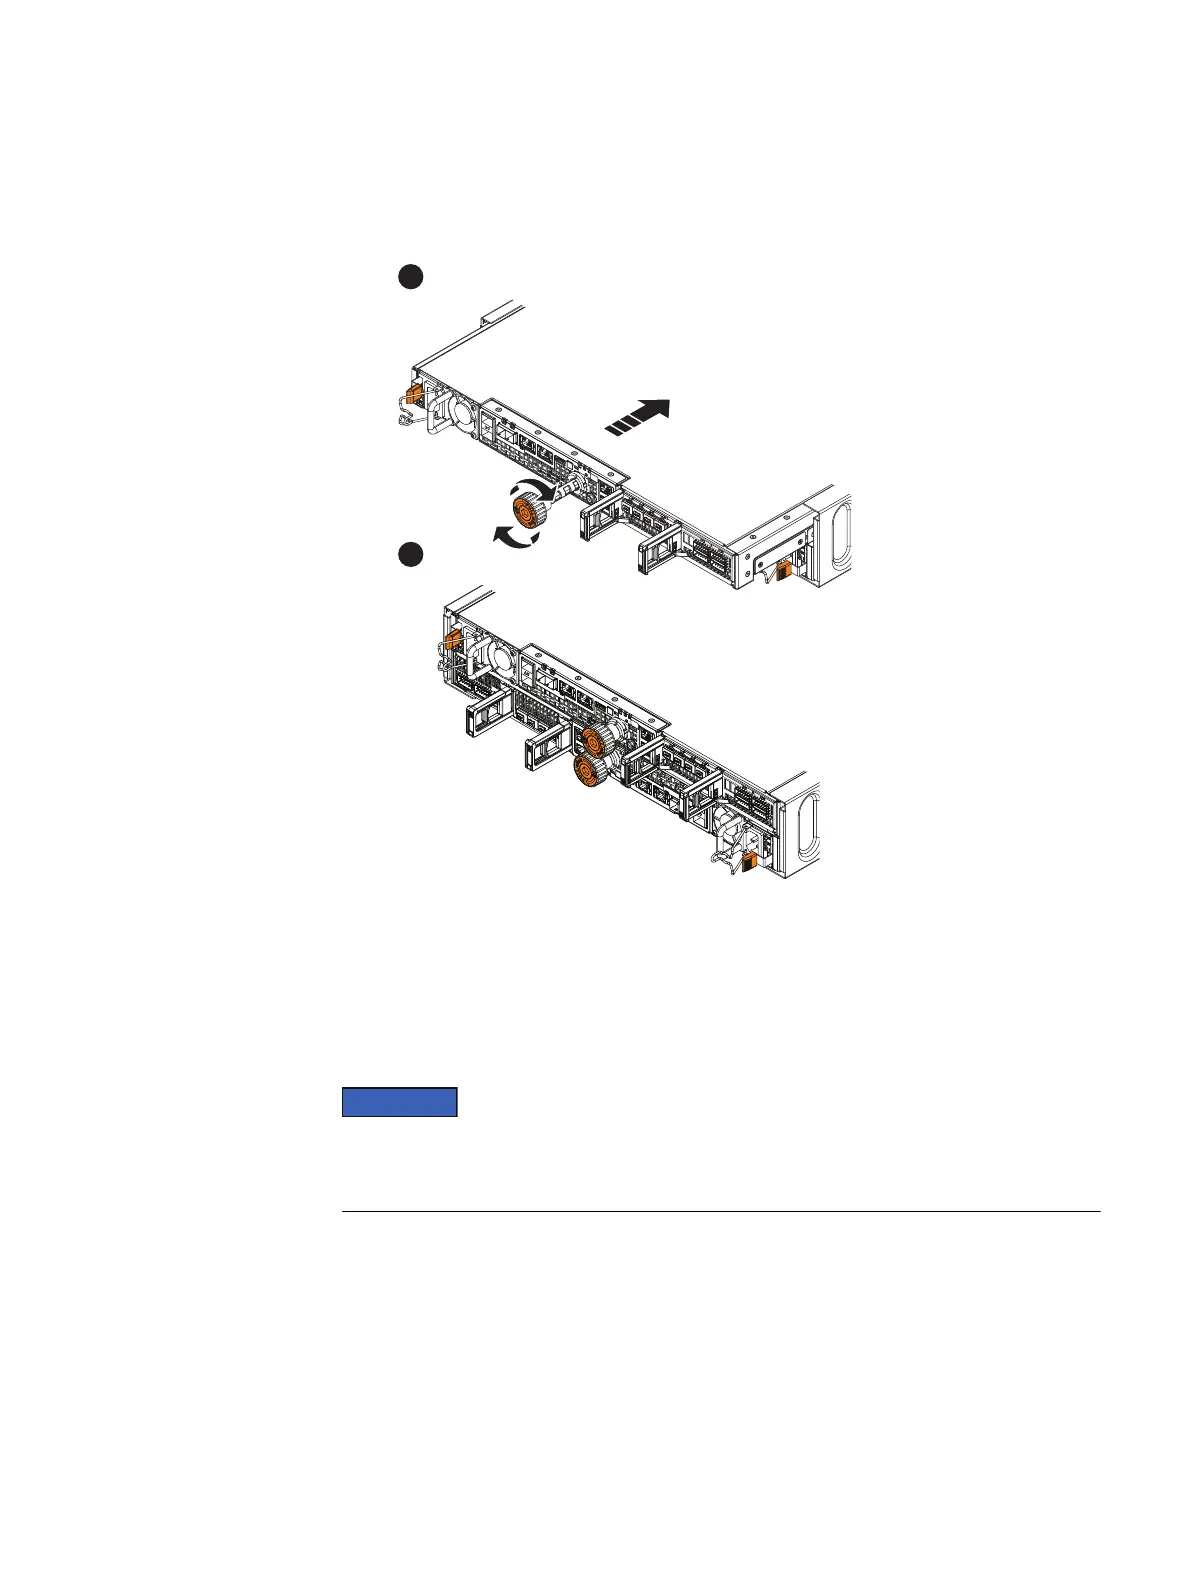
3. Push the orange torque limit screw handle into the SP assembly until you hear a
click sound from the handle (2). The click sound indicates screw handle is
secured in the assembly.
Figure 9 Installing the SP assembly
4. Repeat this procedure to install the remaining SP assembly.
Transferring disks and disk filler modules
Starting with the disk or disk filler module in slot 0, transfer disks and any disk filler
modules one at a time from the faulted enclosure to the replacement enclosure.
Make sure to transfer the disks and any disk filler modules to the same slots in the
replacement enclosure that they occupied in the faulted enclosure. Installing disks out
of their original order results in data unavailability, and possible data loss.
Transfer the 3.5-inch disks and disk fillers
Removing a 3.5" disk
Procedure
1. Attach an ESD wristband to your wrist and the enclosure.
2. Press the orange tab in and pull the ejector handle out (1); do not pull the
handle past 45 degrees from the disk (2).
3. slowly pull the disk completely out of the slot (3).
Replacing a faulted 2U DPE
Transferring parts from the faulted DPE to the replacement DPE 19

 Loading...


