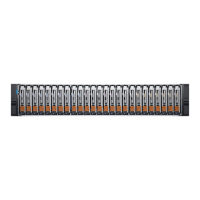
Replacing the faulted 2U DPE
Take the following actions to remove the faulted 2U DPE and install the replacement
2U DPE into the system.
Disconnecting cables from the DPE
Procedure
1. Label the two power cords (A or B), release the cable retention bail, and unplug
the power cord from the power supply.
To ensure that all write-cache memory is saved (using battery backup power),
allow the storage processors to power off completely by waiting sixty seconds
after you unplug the power cables. Make sure no LEDs on either SP are lit
before continuing.
2. Label and unplug the LAN cables from the management port and all front-end
connections.
3. Label each SAS back-end cable and unplug it.
To unplug a SAS cable, pull back the release tab and then pull the cable
connector from the port.
4. Label each front-end I/O cable with the SP (A or B), slot number, and the
number of the port to which it is connected and then unplug it.
Removing the front bezel
Procedure
1. If the bezel has a lock, insert the key that shipped with your enclosure into the
lock, and turn the key to unlock the bezel.
2. Press the two latch buttons on the bezel surface to release the bezel from the
cabinet.
3. Pull the bezel off the cabinet and put it on a clean, static-free surface.
Replacing a faulted 2U DPE
Replacing the faulted 2U DPE 11

 Loading...


