EasyManuals Logo

Dell EMC Unity Series Replacement Manual

Dell EMC Unity Series
30 pages
To Next Page IconTo Next Page
To Previous Page IconTo Previous Page
Page #28 background imageLoading...
Page #28 background image
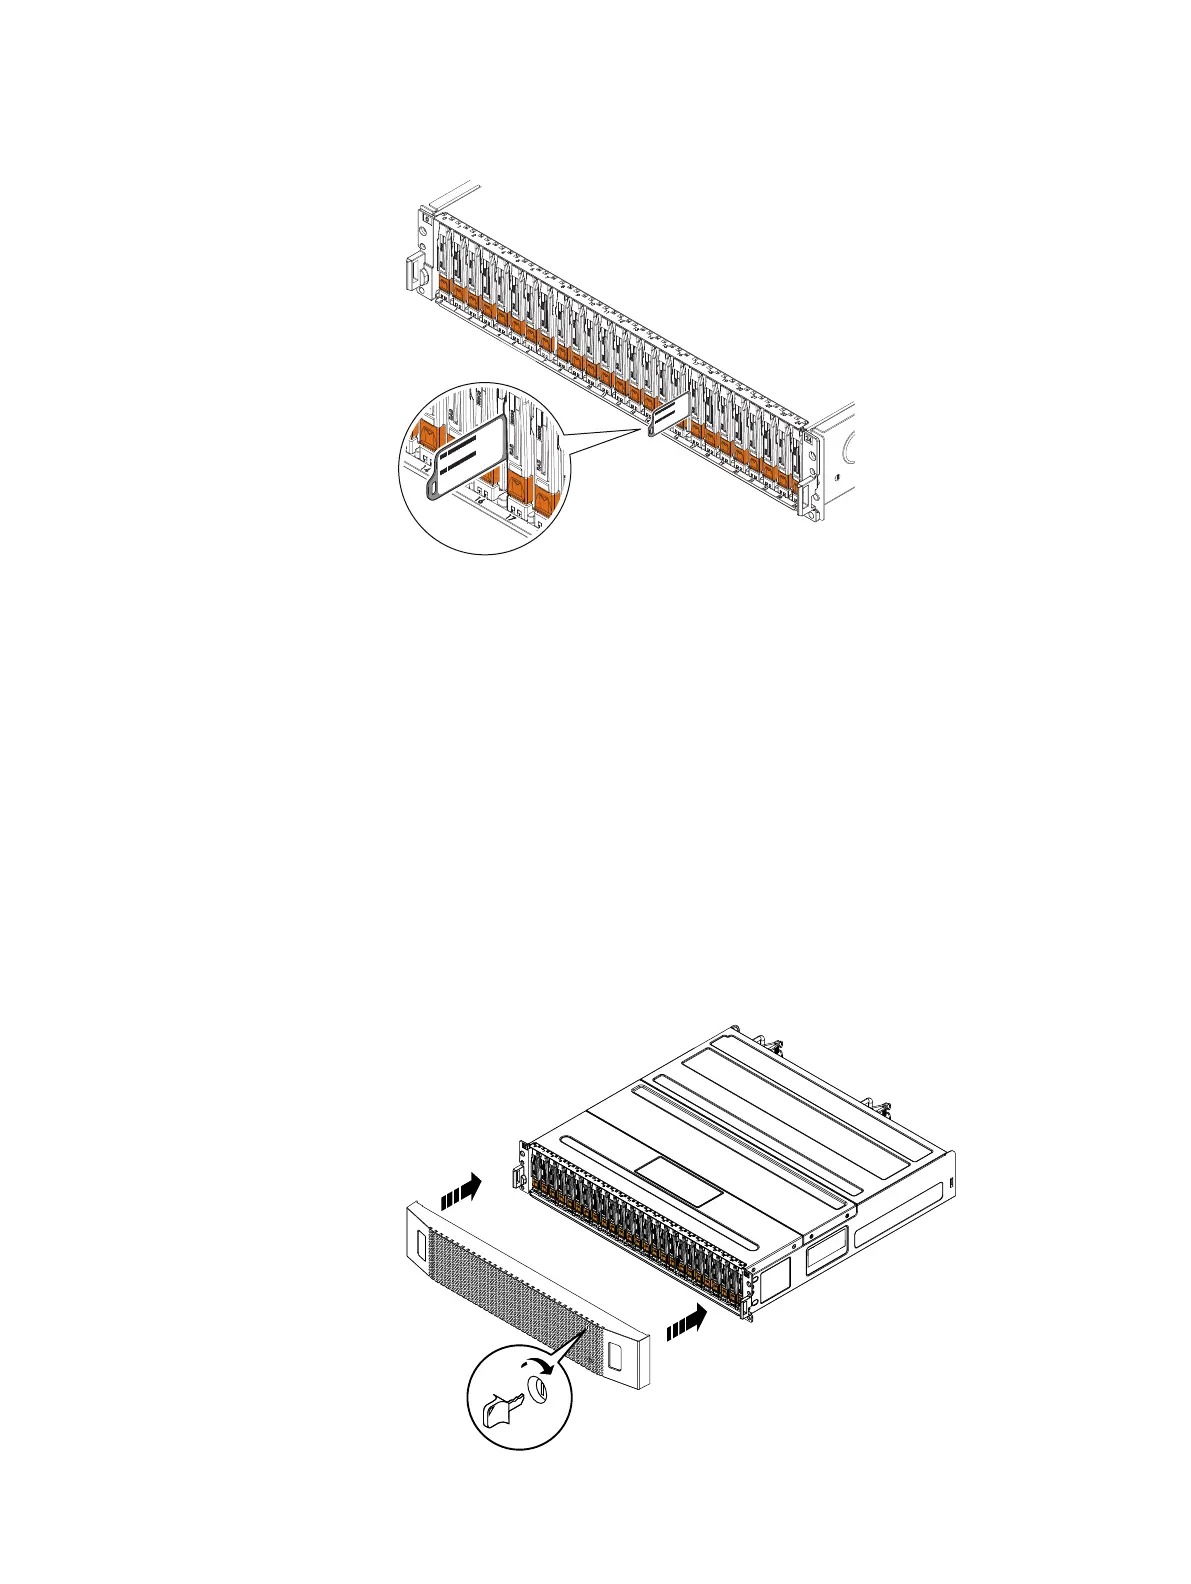
Figure 20 25-drive DPE tag location
P
R
O
D
ID
/
S
N
: FNM01234567891
P
N: 123-456-789
(OBE
R
ON)
PROD I
D/SN: F
NM01234
5
6
7
8
9
1
PN: 123-456-789 (OBERON)
CL5780
2. Repeat this process to remove the tag from the replacement DPE.
This tag can be discarded.
3. Insert the tag removed from the faulted DPE into the replacement DPE.
Place one side of the tag into the tag slot and then, as you apply slight pressure,
the other to insert the tag into the replacement DPE.
Installing the front bezel
Procedure
1. Align the bezel with the enclosure.
2. Gently push the bezel into place on the cabinet until it latches.
3. If the bezel has a lock, insert the key that shipped with your enclosure into the
lock, and turn the key to lock the bezel.
Figure 21
Installing the front bezel
CL5217
Field Replacement Procedure
28 Unity All Flash and Unity Hybrid Field Replacement Procedure

Table of Contents

Other manuals for Dell EMC Unity Series

Questions and Answers:

Question and Answer IconNeed help?

Do you have a question about the Dell EMC Unity Series and is the answer not in the manual?

Dell EMC Unity Series Specifications

General IconGeneral
Snapshot SupportYes
Storage TypeHybrid Flash, All-Flash
Drive SupportSAS, SSD
ProtocolsiSCSI, NFS, SMB
Data ServicesSnapshots, Replication, Thin Provisioning, Deduplication, Compression
ManagementUnisphere, REST API, CLI
Data Reduction FeaturesDeduplication, Compression
High AvailabilityRedundant components
Redundancypower supplies, fans
RAID Levels SupportedRAID 5, RAID 6, RAID 10
Replication SupportYes
Cloud TieringYes
Security FeaturesEncryption at rest, secure erase, role-based access control
ModelDell EMC Unity Series

Related product manuals