234 Desktop Computer Parts
NOTE: Since the following steps do not require the complete removal of the
CD/DVD drive, it is not necessary to disconnect the cables connecting the CD/DVD
drive.
3
Remove the optical drive and carefully set it aside (see "Optical Drive" on
page 237).
NOTICE: Do not pull the drive out of the computer by the drive cables. Doing so
may cause damage to cables and the cable connectors.
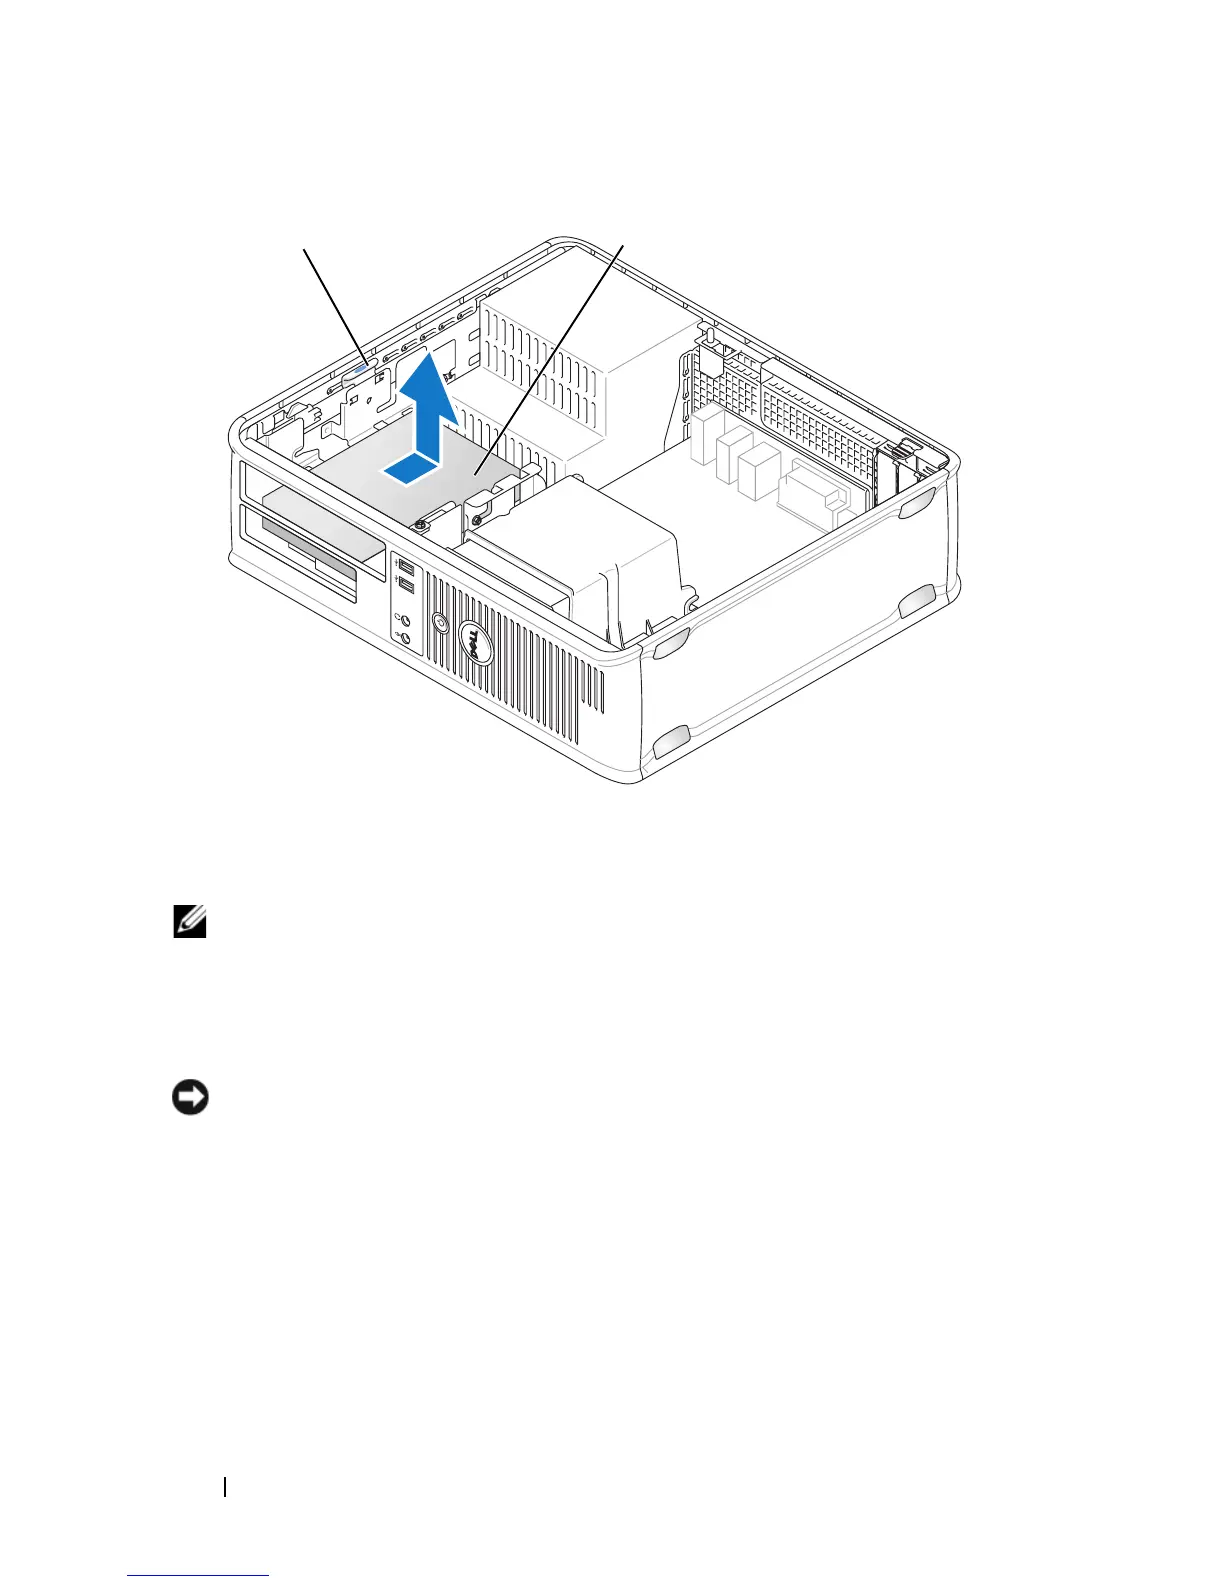
4
Pull up on the drive release latch and slide the floppy drive towards the
back of the computer. Then, lift up to remove the drive from the
computer.
5
If you are not replacing the drive, reinstall the drive panel insert.
6
Replace the computer cover (see "Replacing the Computer Cover" on
page 257).
1 drive release latch (blue) 2 floppy drive
2
1