Desktop Computer Parts 235
NOTICE: To connect a network cable, first plug the cable into the network port or
device and then plug it into the computer.
7
Connect your computer and devices to electrical outlets, and then turn
them on.
8
Check the system setup for the appropriate diskette Drive Option changes
(see "Entering System Setup" on page 79).
Installing a Floppy Drive
1
Follow the procedures in "Before You Begin" on page 143.
2
Remove the computer cover (see "Removing the Computer Cover" on
page 209).
3
If you are installing a new drive:
a
Gently slide a small flat-edge screw driver between the front of the
computer and the back side of the drive-panel insert to pop off the
insert.
b
Remove the four shoulder screws from the back of the drive-panel
insert.
4
If you are replacing an existing drive:
Remove the four shoulder screws from the existing drive.
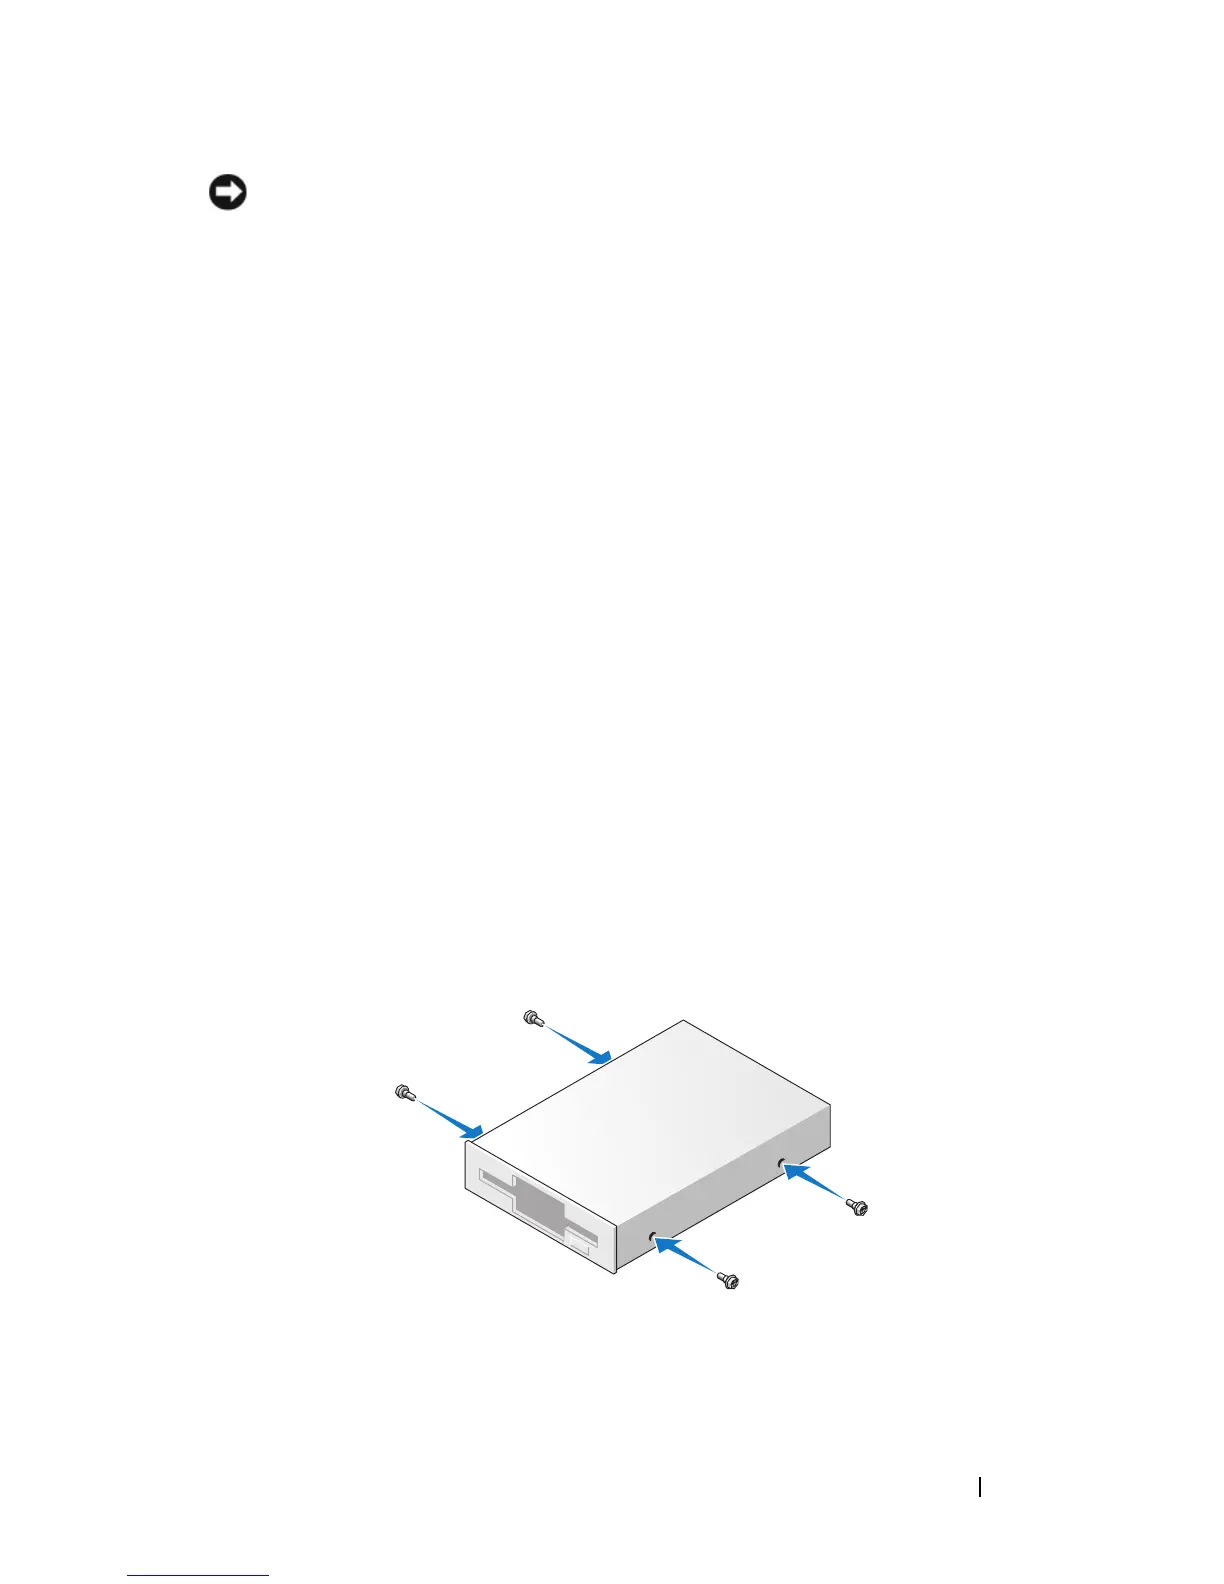
5
Insert the four shoulder screws into the sides of the new floppy drive and
tighten them.
6
Attach the power and data cables to the floppy drive.
7
Gently slide the floppy drive into place into slot 2.
8
Align the shoulder screws with the screw guides, and slide the drive into