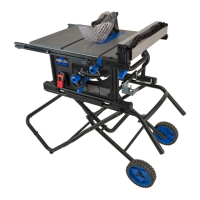
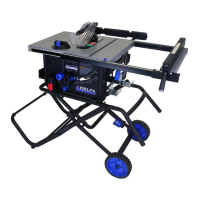
ASSEMBLY
To reduce the risk of serious injury:
1. The Riving Knife MUST be installed for every through cut
and for every non-through cut unless the Riving Knife
A
would interfere with the cut.
2. The Riving Knife provided with the Table Saw shall be
thicker than the body of the matching Saw Blade provided
with the Table Saw but thinner than the kerf width of that
Saw Blade.
3. ALWAYS use a Blade with the correct thickness to match
the Riving Knife. (0.10 inch (2.6mm) min. kerf width and
0.073 inch (1.85mm) max body thickness).
4. The Riving Knife MUST be securely positioned in the “up”
or “through cut” position when using the Anti-Kickback
Pawls and Blade Guard Assembly.
5. Make sure the Riving Knife is properly aligned to the Blade.
See “RIVING KNIFE POSITION AND ALIGNMENT”, page 27.
FIGURE 11
FIGURE 12
A
A
A
A
A
A
A
A
PC7
PC7
THROUGH CUT
POSITION
LOCK LOCK
POSITION POSITION
FIGURE 10
A
NOTE: When installing Riving Knife, Blade MUST be set at 90° and
raised to the maximum height. See “Adjusting the Blade Height”
page 23.
To install Throat Plate
PC7
, lower Blade below Tabletop, then
carefully feed the Throat Plate
PC7
, slotted end rst, starting at the
rear and moving to the front, keeping the Blade centered within the
slot on the Throat Plate
PC7
.
To avoid serious injury the height of the Throat
Plate MUST be properly adjusted. Use set screw openings
A
in
Throat Plate to make adjustments. To prevent your workpiece from
catching on the Tabletop, and to prevent Anti-Kickback Pawls from
catching on the Throat Plate, make sure that:
a. The front end of the Throat Plate is ush with the
Tabletop or up to 0.7mm (1/36 inch) below it, and
b. The back end of the Throat Plate is ush with the
tabletop, or up to 0.7mm (1/36 inch) above it.
Set screws are provided to accurately adjust
throat plate height. DO NOT ATTEMPT TO SCREW THROAT
PLATE TO TABLE TOP.
THROAT PLATE
16 17
 Loading...