ASSEMBLY
FIGURE 17
INSTALLING THE FENCE
The fence can be positioned on one of the three pairs of tabs.
Two on the right side of the blade and one on the left side.
1. Hold fence perpendicular to the table.
2. Starting with the rear of the fence, engage the rear notch
on the rear tab.
3. Lower the front notch
C
onto the corresponding front tab
D
.
4. Press in on the lock lever to lock fence in place.
See Figure 17.
REMOVING THE FENCE
1. Release the lock lever to unlock the fence.
2. Disengage the front tab and remove the fence from the
front to the rear.
See Figure 18.
FIGURE 18
FIGURE 16
A
D
B
C
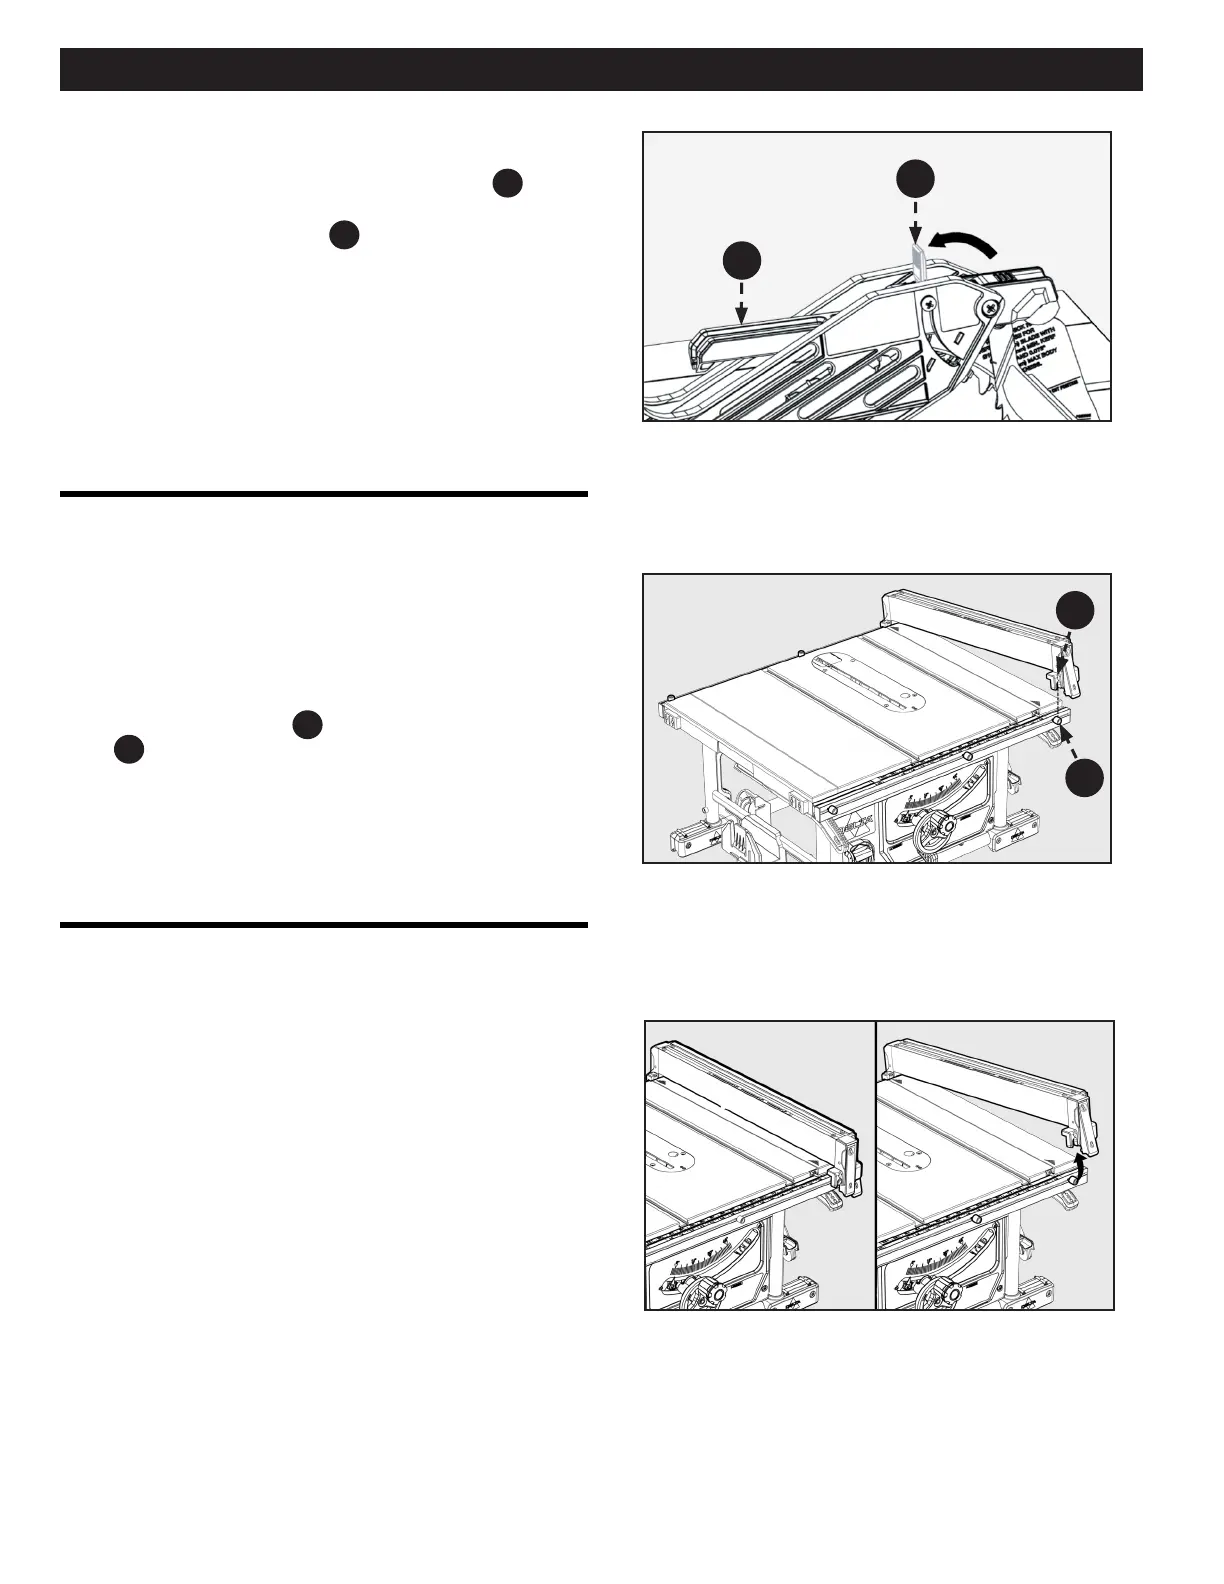
To remove the Blade Guard Assembly:
See Figure 16.
1. Lift the Blade Guard Assembly Lock Tab
A
to the
unlocked position.
2. Rotate the Guard Support
B
back and slide the Locating
Pin from the Riving Knife slot.
18 19
 Loading...