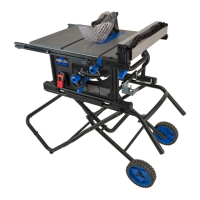
FIGURE 45
TRANSPORTING THE SAW
1. Return side extension table to inner position lock side
extension into place.
2. Stow away the Fence, Miter Gauge, Blade Guard, and
Kickback Pawls.
3. Lower riving knife to the non-through.
4. Remove the (4) M8 x 55mm Pan Head Hex Socket Screws
that secure the Saw to the Stand. See “ATTACHING STAND
TO SAW” for further detail.
Once the saw is removed from the stand, it is recommended that
the saw be moved using two people. A possible carry point is the
handle located on the right side of the saw. As seen in Figure 45.
OPERATION
TURNING THE SAW ON AND OFF
The ON/OFF paddle switch is located on the left side of the front
panel of the saw.
1. Press the green button
A
to turn the saw ON.
2. Press the switch
B
down to turn the saw OFF.
3. When not in use, the saw should be turned o and the power
switch locked out
C
to prevent unauthorized use. To lock out
power switch, use a standard long shackle lock, with a shackle
post no larger than 9/32 inch (7mm) diameter.
See Figure 44.
DUST COLLECTION
Connect a shop vacuum or dust collection hose to dust port on
back of saw for best dust collection. Dust port is designed for a 2
1/2 inch vac hose. See Figure 43.
FIGURE 44
FIGURE 43
A
B
C
29
 Loading...