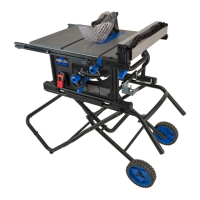
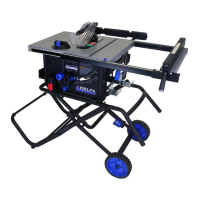
MAKING ADJUSTMENTS
FIGURE 22
FIGURE 23
ADJUSTING BLADE PARALLEL TO
MITER GAUGE GROOVE (HEEL)
• Blade
A
MUST be parallel to miter gauge groove so that
wood does not bind, resulting in kickback. Failure to do so
could result in serious personal injury.
• To reduce risk of injury from kickback, align miter gauge
groove to blade
A
following any blade adjustments.
DO NOT loosen any screws for this adjustment until alignment has
been checked with a square to be sure adjustments are necessary.
Once screws are loosened, items MUST be reset.
NOTE: Unplug saw. Remove blade guard and anti-kickback pawls.
Raise the blade
A
to maximum height by turning height adjusting
wheel.
1. Mark beside one of blade teeth at front of blade
A
Figure
22. Place the combination square against the marked tooth
at the front of the blade
A
with the head of the square
against the miter gauge groove as shown.
2. Turn blade
A
so that marked tooth (1) is at back. Move
combination square to the rear and again measure the
distance (2). If the distances are the same, blade
A
is
parallel. See Figure 23.
1
11
2
2
A
A
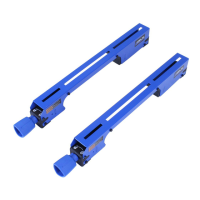
FIGURE 24
If the distances are dierent:
3. Using a 5mm Hex Wrench loosen the front trunnion bolts
1/2 turn, found below the table top. See Figure 24.
20 21
 Loading...