0
Getting Started Connections Playback Remote ControlMulti-zone Information Troubleshooting Specifications
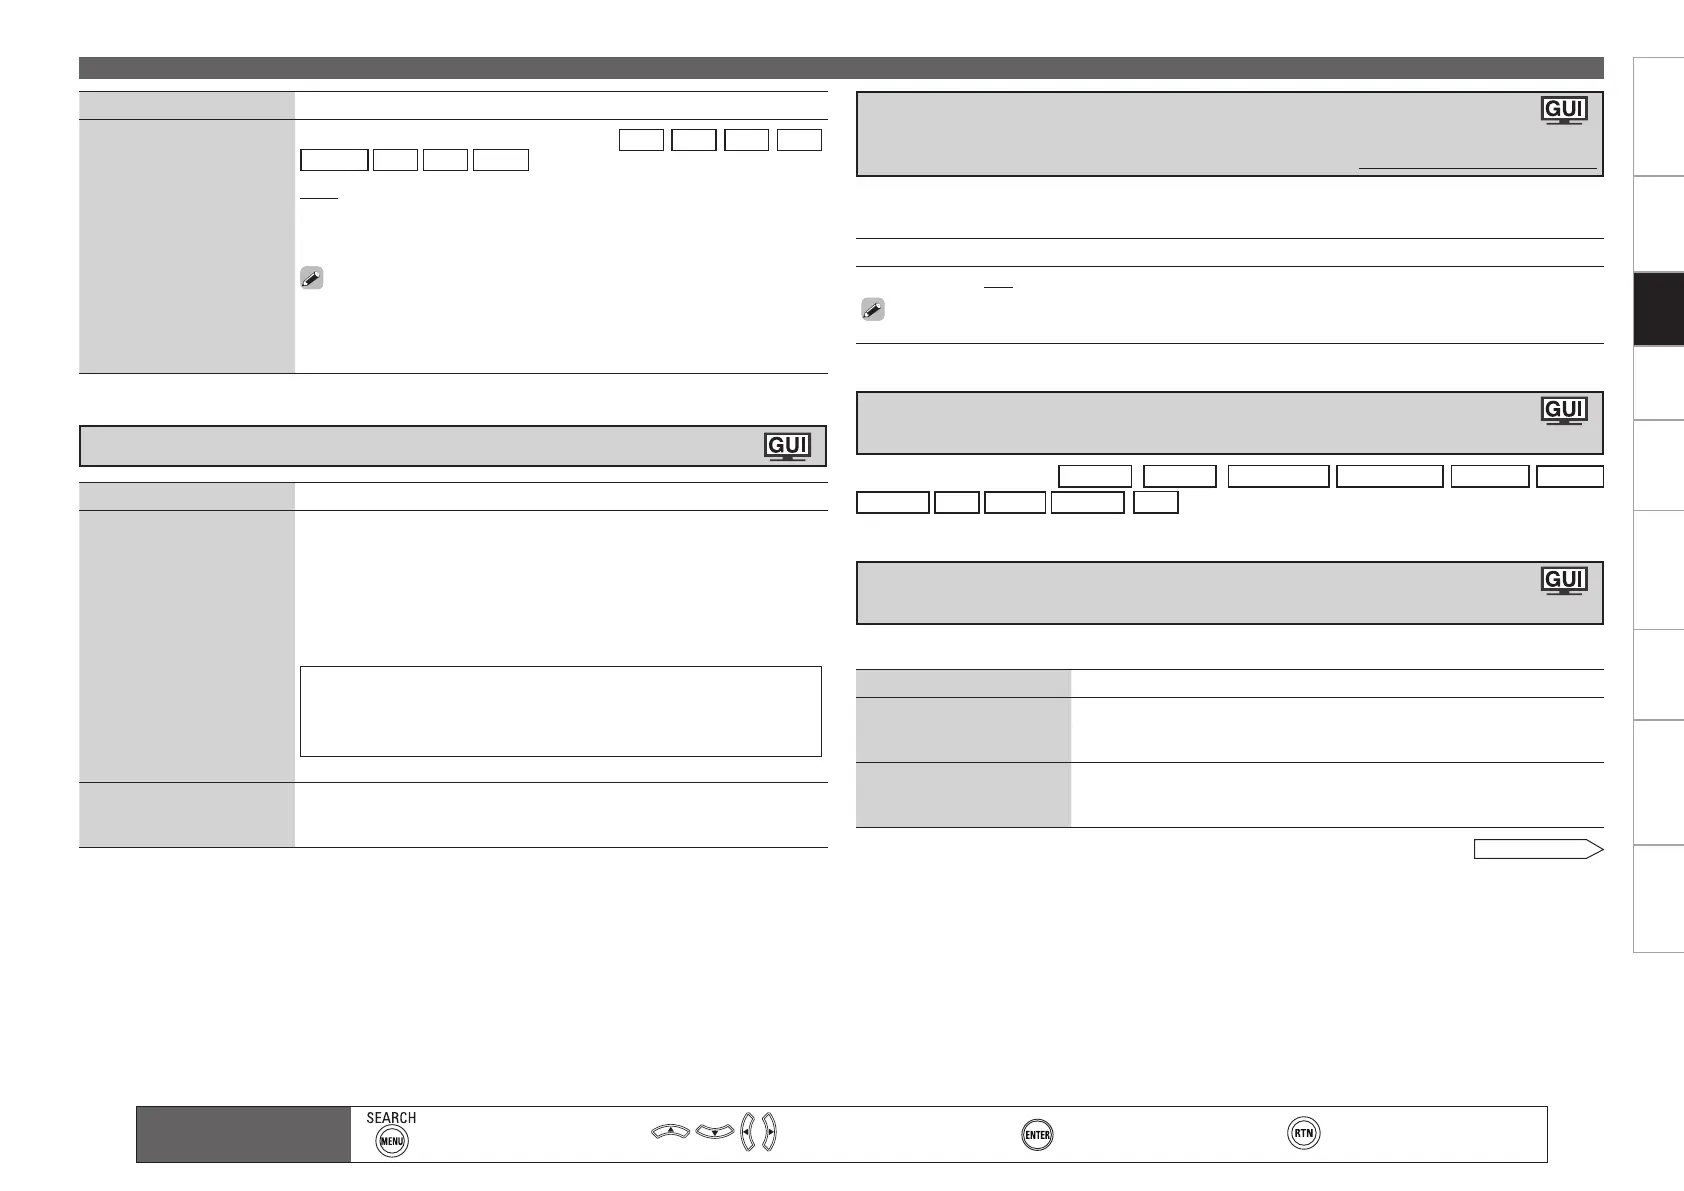
Making the Input Settings (Source Select)
Setting contents
–12dB ~ +12dB (0dB)
The analog input level and digital input level can be adjusted independently for input sources for
which “HDMI” or “Digital” is assigned at “Input Assign“ (vpage 47).
Corrects the playback level of the selected input source’s audio input.
Set this if there are differences in the input volume levels between the different sources.
•
•
When the input source is “
NET/USB
(
Favorites
)
Internet Radio
Media Server
USB/iPod
Napster
Rhapsody
XM
SIRIUS
HD Radio
(
iPod
)
”, the corresponding screen can be displayed.
Setting items Setting contents
Repeat
Make settings for repeat
mode.
All : Repeat all songs.
One : Repeat the current song.
OFF : Cancel repeat mode.
Shuffle
Make settings for shuffle
mode.
Songs : Shuffle all songs.
Albums : Shuffle songs from current album only.
OFF : Cancel shuffle mode.
This can be set for the input source for which “iPod dock” is assigned at “Input Assign” (
v
page 48).
See overleaf
Correcting the Input Source’s Playback Level
(Source Level)
Default settings are underlined.
Displaying the Playback Screen for the Different
Input Sources (Play)
Setting the iPod with iPod Dock Playback Mode
(Playback Mode)
Setting items Setting contents
Decode Mode
Set the decode mode for
input source
This can be set when the input source is
CD
DVD
HDP
TV
SAT/CBL
VCR
DVR
V.AUX
.
Auto : Detect type of digital input signal and decode and play
automatically.
PCM : Decode and play only PCM input signals.
DTS : Decode and play only DTS input signals.
This can be set for input sources for which “HDMI” or “Digital” is
assigned at “Input Assign” (vpage 47).
Normally set this to “Auto”. Set “PCM” and “DTS” when inputting the
corresponding input signal.
•
•
Setting items Setting contents
Rename
Change the display name of
the selected input source.
1. Press p or ENTER.
2. Use o
p
to set the cursor to the character you want to change.
3. Use
ui
to change the character, then press
ENTER
.
Up to 8 characters can be input.
The input character type can be switched by pressing [SEARCH] or
MENU while the display name is being changed.
The types of characters that can be input are as shown below.
GUpper case charactersH ABCDEFGHIJKLMNOPQRSTUVWXYZ
GLower case charactersH abcdefghijklmnopqrstuvwxyz
GSymbolsH ! # % & ‘ ( ) * + , - . / : ; < = “ > ? @ [ \ ] (Space)
GNumbersH 0123456789
4. Repeat steps 2 and 3 to change the display name.
•
•
•
Default
Reset all settings to factory
default.
Yes : Reset to the defaults.
No : Do not reset to the defaults.
Changing the Input Source’s Display Name (Rename)
Setting
Main remote control
operation buttons
:Displaying the menu
Cancel the menu
:Moves the cursor
(Up/Down/Left/Right)
:Confirm the setting :Return to previous menu
1.AVR4310CIEU.indd 50 2009/04/14 16:37:24
 Loading...