Chapter 5 Installation and Wiring
92
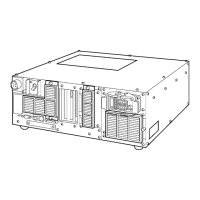
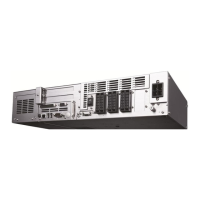
5.1.2 Installing the Controller
The controller may be installed stand-alone or on the wall.
Caution: The controller is not a dust- or splash-proof structure.
Therefore, when using the controller in an environment
exposed to mist, put it in an optional protective box.
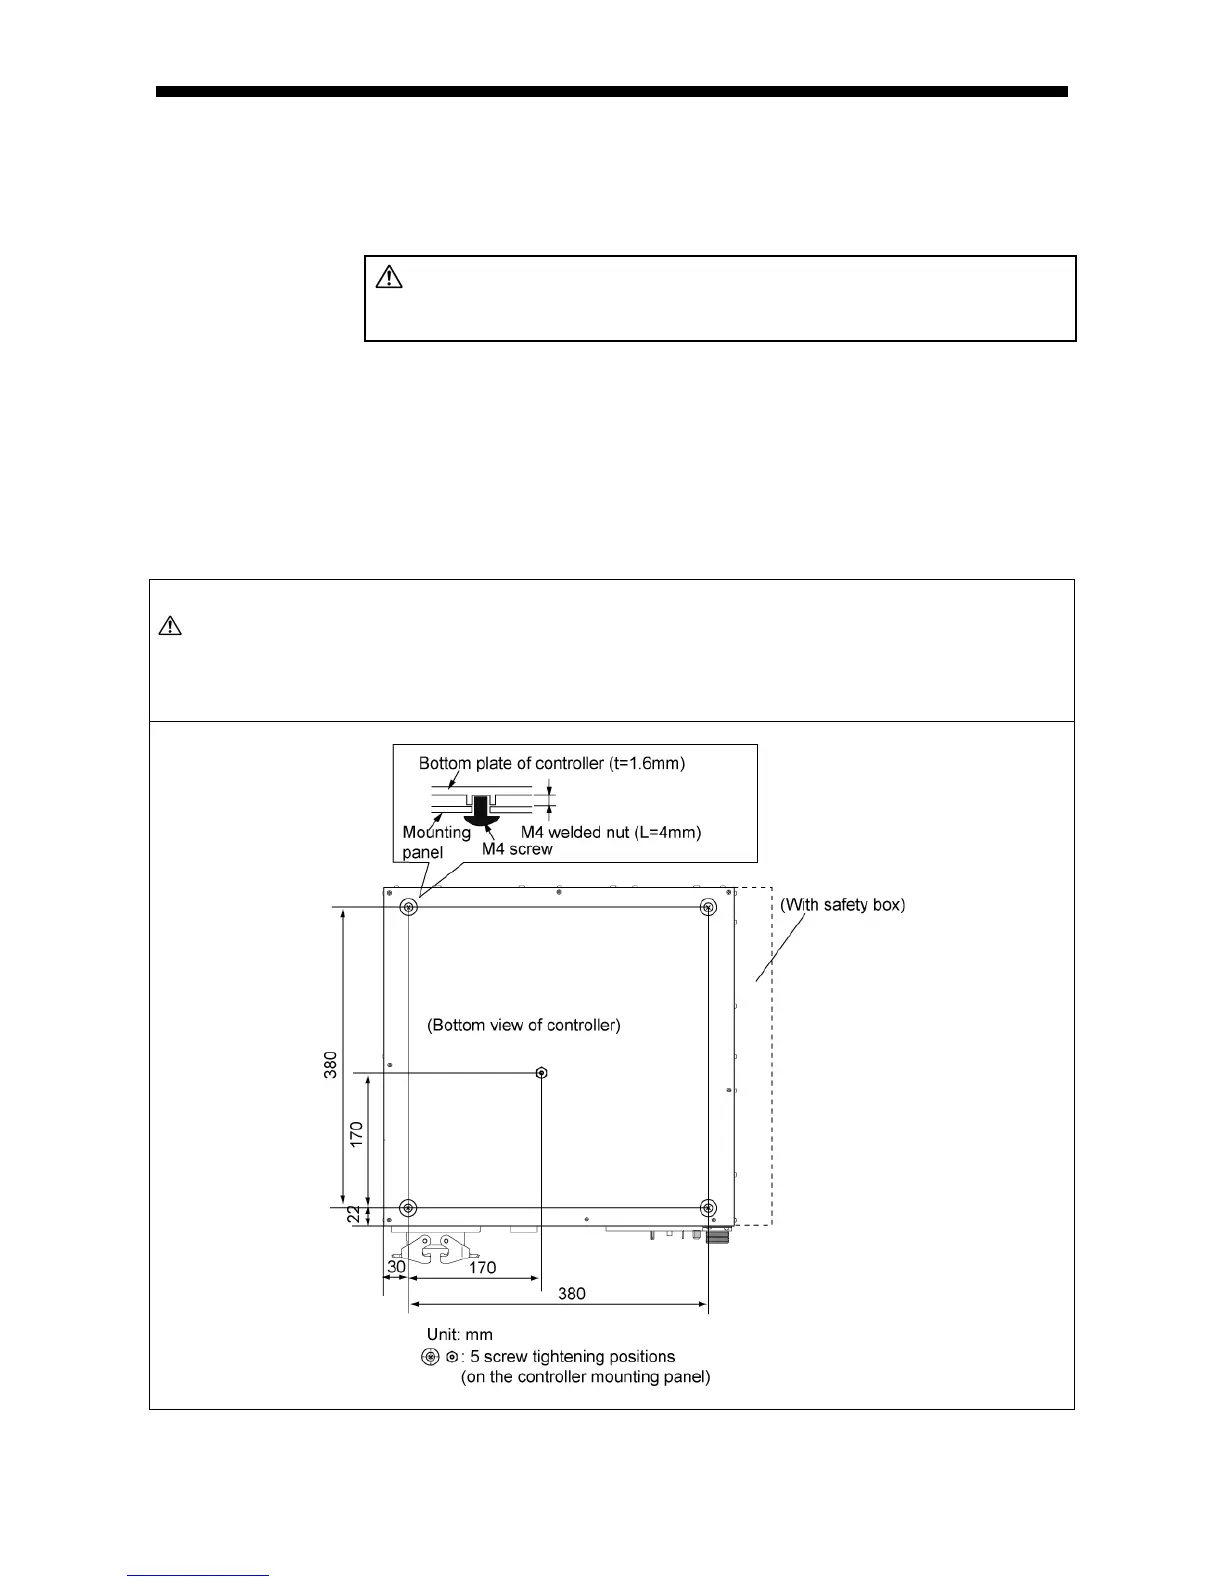
(1) Securing the controller to the controller mounting panel
1) The figure below shows the bottom view of the controller.
Five M4-nut welded holes may be used for securing the controller to the mounting
panel.
2) Prepare a mounting panel large enough for mounting the controller and secure the
controller onto the mounting panel using five screws.
Caution: (1) The controller mounting screws must not be more than the thickness of the mounting
panel plus 4 mm in length. If they exceed 4 mm, the nut-welded holes may be
damaged.
(2) Fix the controller at all of the five nut-welded holes.
Location of Mounting Screw Holes (on the bottom of the SMT7 controller)