Dexcom G5 Mobile System User Guide
89Starting a Sensor Session: Inserting Sensor, Transmitter, and Starting Your Session
Having problems?
If it’s the first time inserting a sensor, you may have questions or need help. If you do, please
contact Technical Support (available 24/7):
• TechSupport@dexcom.com
• Toll free: 1.888.738.3646
• Toll call: 1.858.200.0200
The next step is attaching your transmitter to the sensor pod.
6.6 Attaching Your Transmitter
Now that you have inserted your sensor, you need to attach your transmitter.
Since the transmitter is reusable, you don’t need a new one every time you start a sensor
session.
Keep your current session’s transmitter box. The bottom label has important information you
may need after you’ve attached the transmitter. Once the transmitter has been attached, you
can’t remove it until your session is over. Chapter 8 reviews when and how to remove your
transmitter.
Before attaching your transmitter, make sure you’ve entered the correct transmitter SN into
your display device. Chapter 5 covers entering the transmitter’s SN number during initial
setup. See Chapter 8 for pairing your transmitter after the startup wizard.
Attaching Transmitter
Step Picture What you do
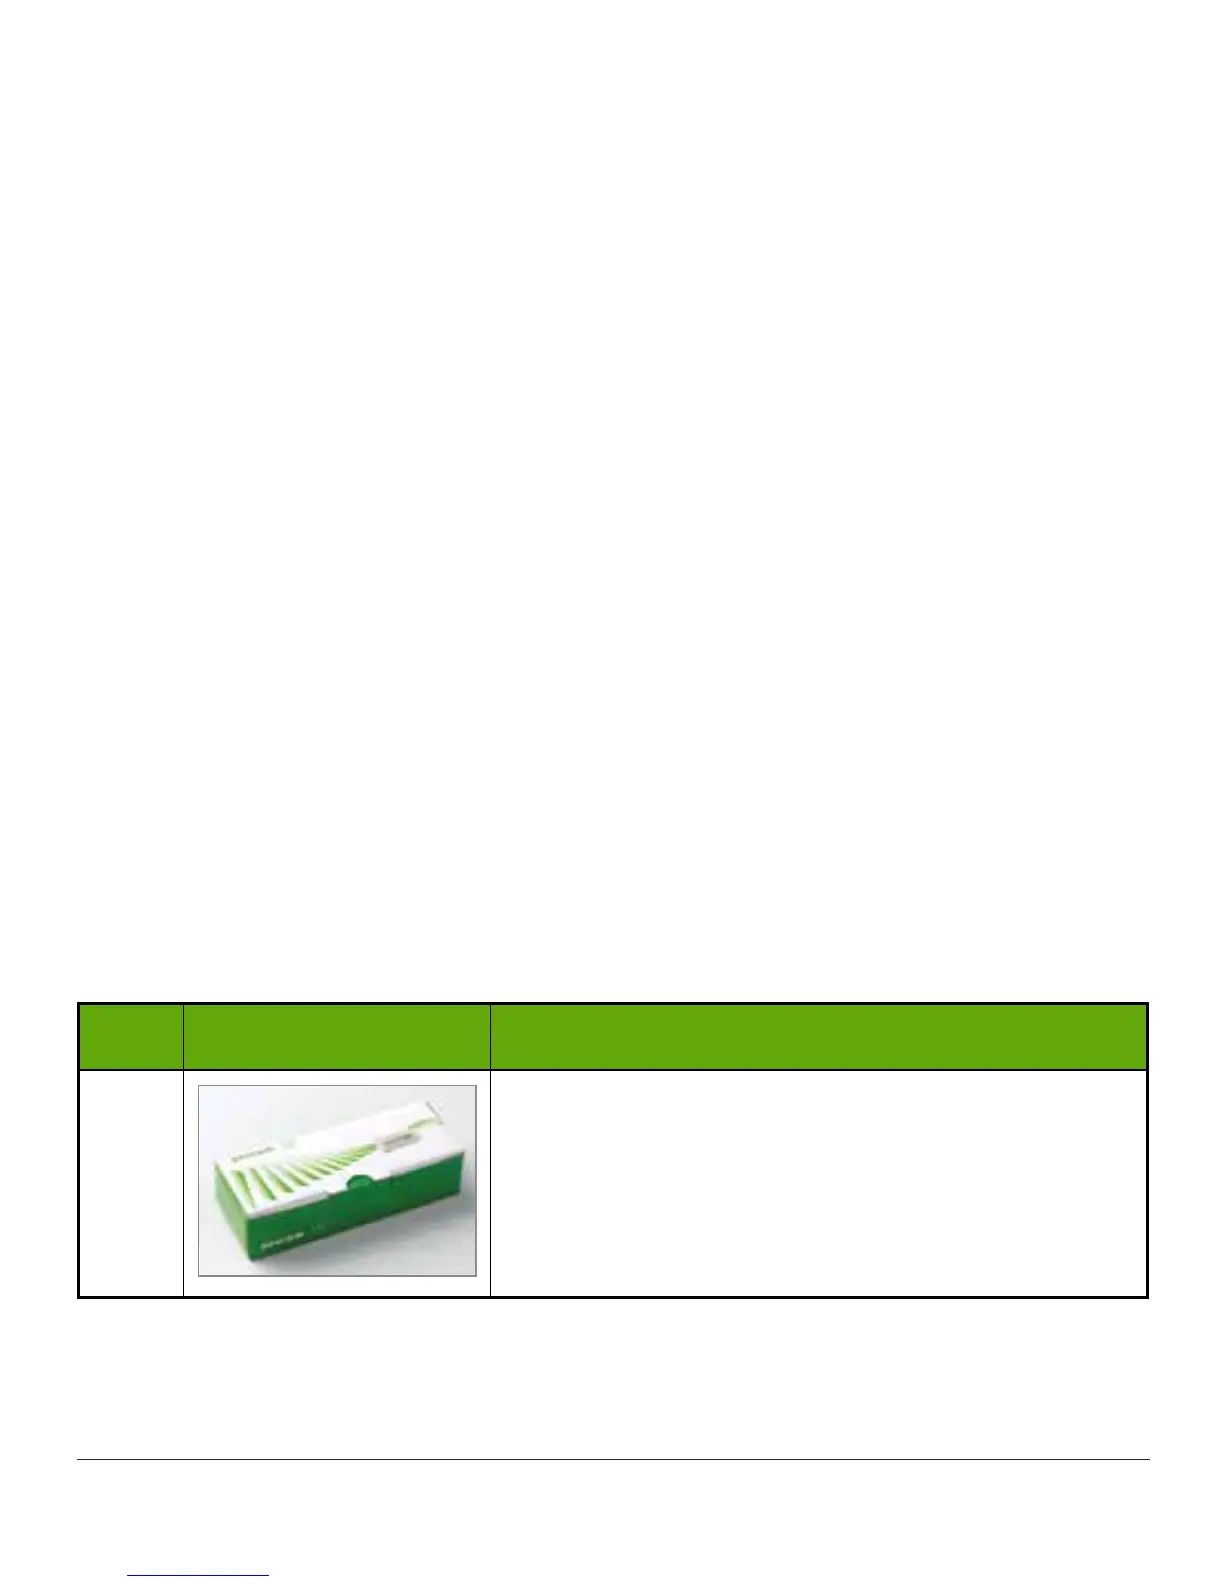
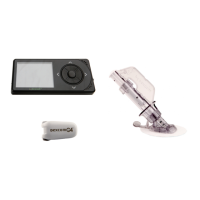
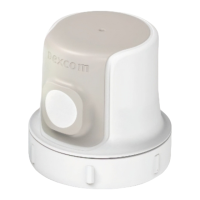
1
Remove transmitter from box.
Keep box.
Save safety lock from sensor applicator (helps remove
transmitter once sensor session is over).
Get alcohol wipe.
(Continued on next page)