Operating instructions, SM-110/-111
Servicing and maintenance
45
8
4. In addition, unscrew the three countersunk screws [24-1] with the
enclosedPhillipsscrewdriverandremovetheange[24-2]incl.thetting
screw. Pull off the star handle [24-3].
SM-110 and SM-111:
5. Unscrew the four screws [24-4] on the end faces of the housing with the
enclosed Phillips screwdriver and lift the housing [24-5] upwards.
8.8.2 Checking the belt condition
The belts must not be porous or greasy.
NOTE
THE DRIVE BELTS MUST ALWAYS BE FULLY
TENSIONED.
If the machine has been exposed to temperatures below +5 °C
for a longer period of time, the tension of the belts is tempo-
rarily reduced. After about one minute of running without load,
the full performance of the belts is restored.
8.8.3 Replacing the at belt
1
2
3
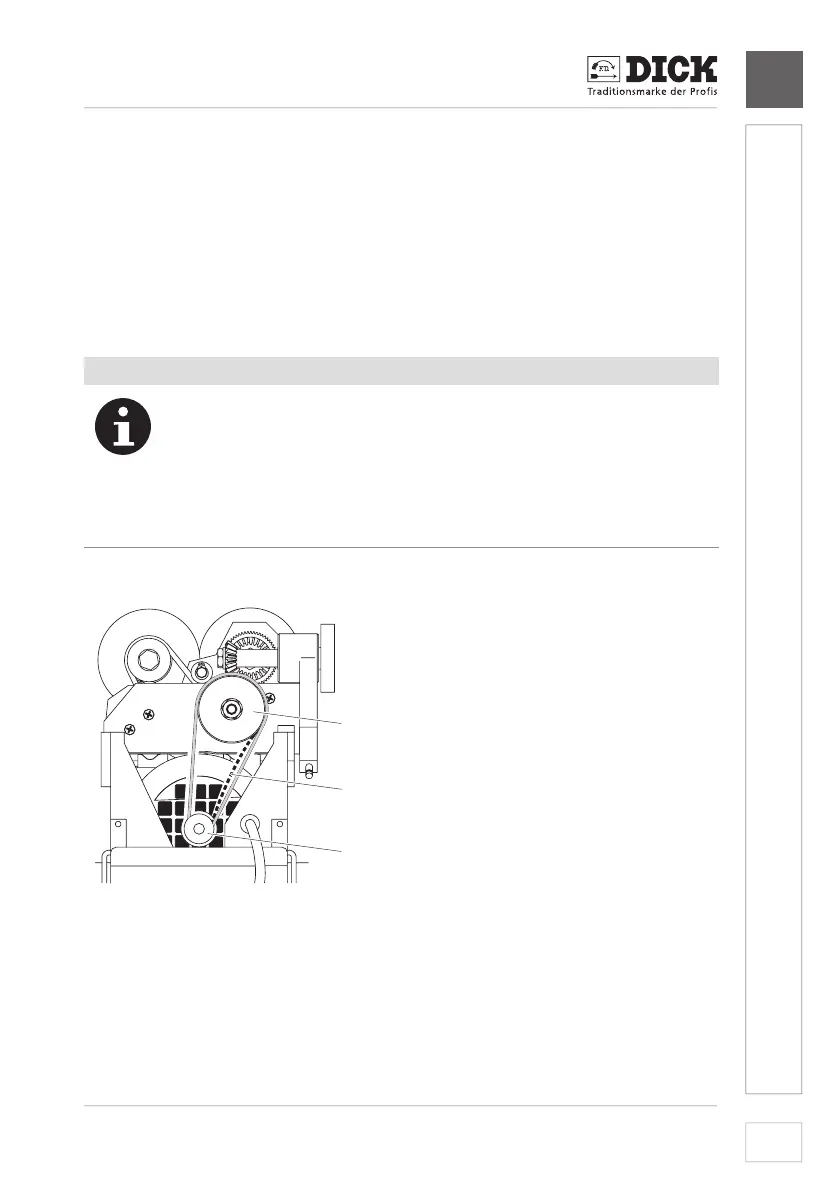
[25-1] Flat belt
[25-2]largeatbeltpulley
[25-3]smallatbeltpulley
Image 25 – Replacingtheatbelt
1. First remove the belt [25-1]fromthelarge,upperatbeltpulley[25-2].
2. First place the new belt over the small, lower belt pulley [25-1] and then
pull it over the large, upper one.
➾ Thetextilesideoftheatbeltmustfaceoutwards.