Figure C
5
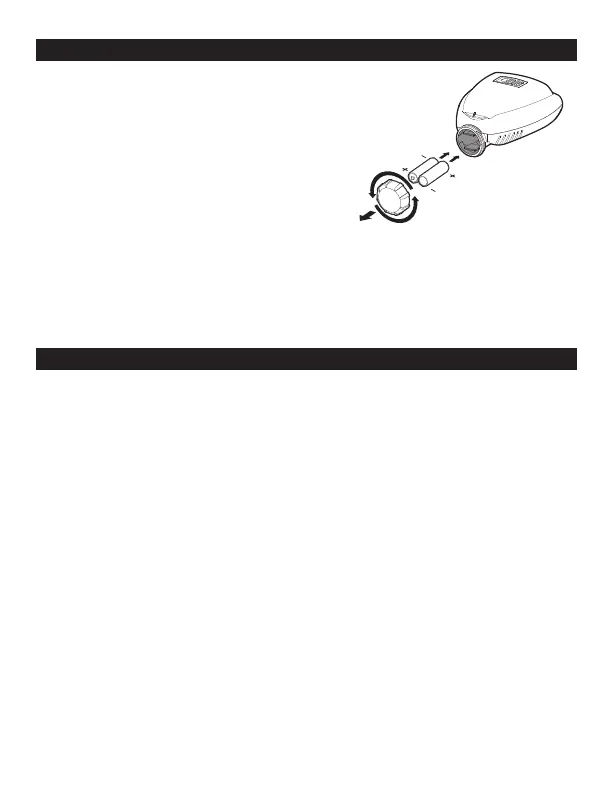
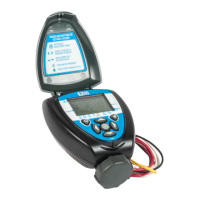
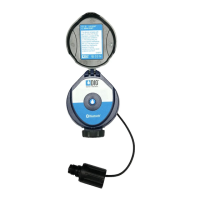
5. INSTALLING THE BATTERIES
1. Open the battery compartment cap by
turning it counter-clockwise.
2. Install two, fresh, brand name,
AA alkaline batteries (not included)
and note the proper direction of the
positive and negative orientation on the
underside of the controller.
3. Insert and screw the battery cap clockwise. Make sure to securely tighten the
cover firmly by hand only. The controller display appears with a day, PM, and the
hour digit flashing. The controller is ready to be installed and programmed.
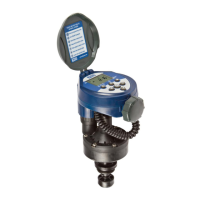
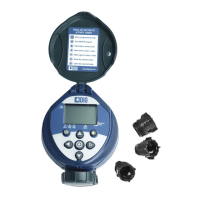
6. VALVE ADAPTER INSTALLATION 710AP
The 710AP-000 (only) controller includes 4 adapters to retrofit DIG, Rainbird, Hunter
and Toro valves. Follow the instructions below to install.
1. Shut off the main water supply
2. Remove the existing solenoid if applicable.
NOTE: If adapting to an IRRITROL valve, remove the solenoid but leave the
existing solenoid adapter installed.
3. Select the appropriate solenoid adapter associated with the valve (see chart A).
(Available through your distributor)
4. Screw the solenoid adapter into the valve bonnet by hand, tighten with pliers if
necessary – but do not over tighten.
5. Thread the 710AP series solenoid into the valve adapter. Hand tighten only.