Mbox 2 Getting Started Guide46
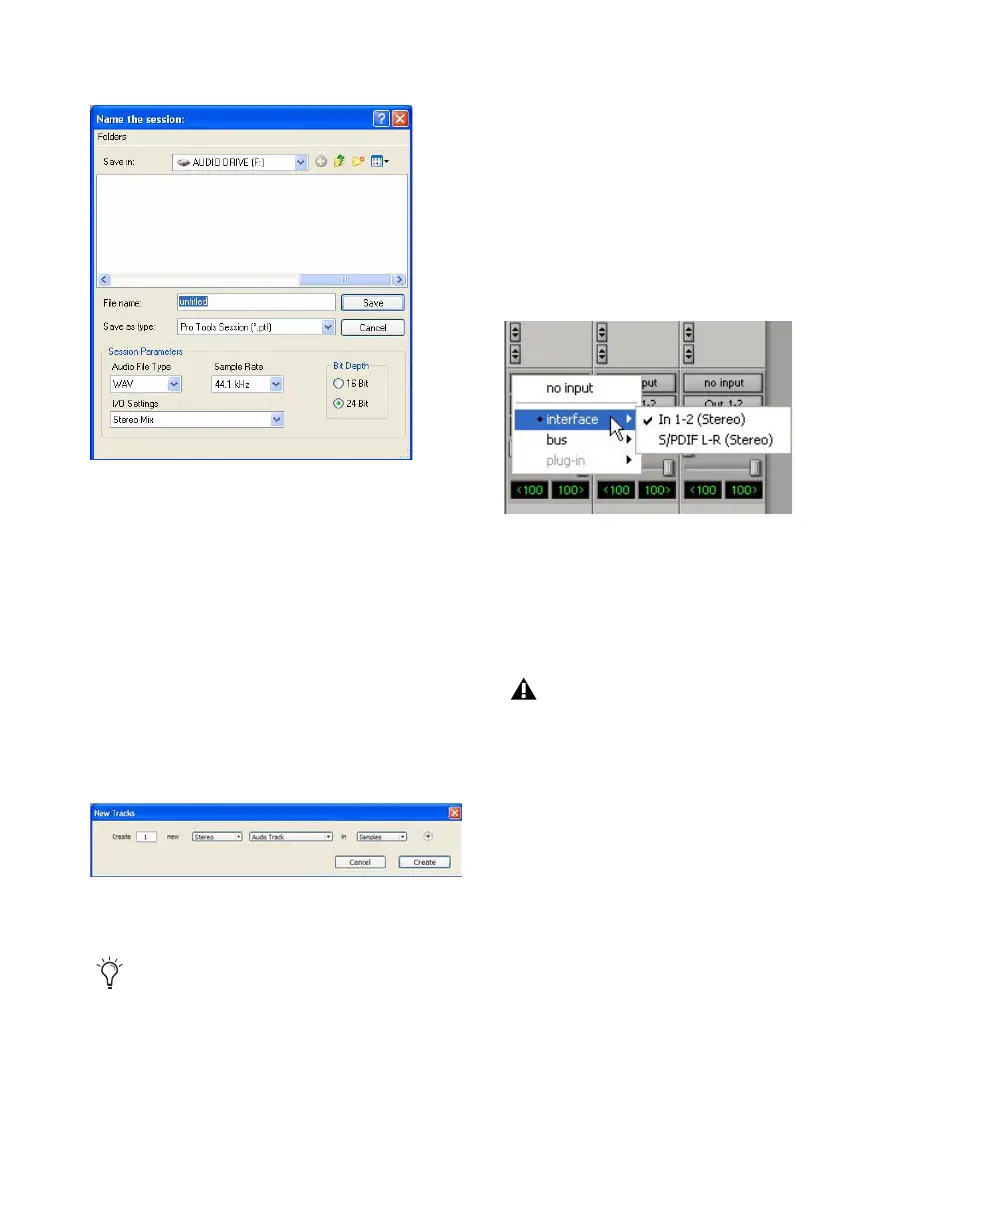
5 Choose the audio drive where you want to
save your session.
6 Type a name for your session.
7 Click Save.
To prepare an audio track for recording:
1 Choose Track > New.
2 Specify 1 Mono Audio Track in Samples, if
your source is mono, or 1 Stereo Audio Track in
Samples, if your source is stereo.
3 Click Create.
4 Make sure the Mix window is open by choos-
ing Window > Mix.
5 In the Mix window, click the Audio Input Path
selector on the new track.
6 From the pop-up menu, select the interface in-
put you want to record. For example, select
Analog 1 if your audio source is plugged into an
Input 1 connector on the Mbox 2.
7 Play the instrument or sound source at the
volume you will record.
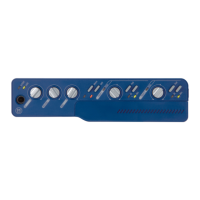
8 Use the Gain controls to maximize the signal
going into Pro Tools while avoiding clipping.
New Session dialog
Creating a new Stereo Audio track
A mono instrument uses one input on the
Mbox 2, and a stereo instrument uses two.
Creating a stereo track in Pro Tools will not
make a mono instrument into a stereo in-
strument. If a mono instrument is recorded
on a stereo track, one of the sides of the ste-
reo track will show no signal.
Routing an input to a stereo track
Clipping occurs when you feed a signal to an
audio device that is louder than the circuitry
can accept. To avoid clipping, adjust the out-
put volume of the source device, then adjust
the Mbox 2 Gain control. Adjust these two
levels so that the input Peak LEDs on the
front panel do not light red. (One Peak LED
is provided on the front panel for each input;
Peak LEDs light green when the input signal
is roughly –60 dBFS, light yellow at –6 dBFS,
and will turn red to indicate the input signal
is at –0 dBFS (also known as “full code”).