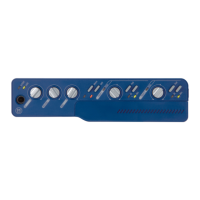
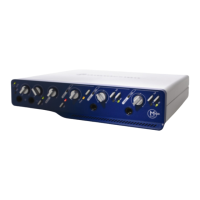
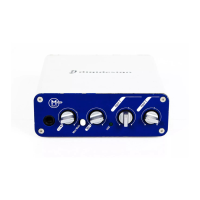
Mbox 2 Getting Started Guide48
3 In the Workspace browser, click the Audio CD
icon to show the files on the CD.
4 Click the speaker icon in the Waveform col-
umn to audition the audio file. Press the Space-
bar to stop playback.
5 Drag the audio file from the Workspace
browser to the Track List in the Edit window to
import the file to a new audio track.
To play back the new track:
1 In the Transport window, click Return to Zero
to go to the beginning of the track.
2 Click Play in the Transport window to begin
playback.
3 Click Stop in the Transport window or press
the Spacebar to stop playback.
Creating an Audio CD from a
Pro Tools Session
Pro Tools does not create audio CDs directly,
but you can create stereo audio files from your
Pro Tools sessions that can be used by most CD
burning software.
Bouncing Audio to Disk
Use the Pro Tools Bounce to Disk feature to
combine all your audible tracks into a single
“master” audio file. After the new audio file has
been bounced to disk, you can burn it to a CD.
If you are bouncing to 16-bit (CD resolution),
you should use a dither plug-in on the main out-
put. (For details, see the Pro Tools Reference
Guide.)
To bounce audio to disk:
1 After you have finished recording and mixing
a session in Pro Tools, select the length of the
session in the timeline ruler (or on a track), plus
an additional amount of time to avoid cutting
off any reverb tails that might continue past the
end of the last region.
2 Choose File > Bounce to > Disk.
Auditioning an audio file in the Workspace browser
Dragging an audio file from the Workspace browser to
the Edit window Track List
Session audio selected and ready to bounce