The information contained here are property of DIGITAX Automotive Electronics Italy, and extremely confi dential. Any disclosure, copying, distribution to third
party is strictly prohibited.
40
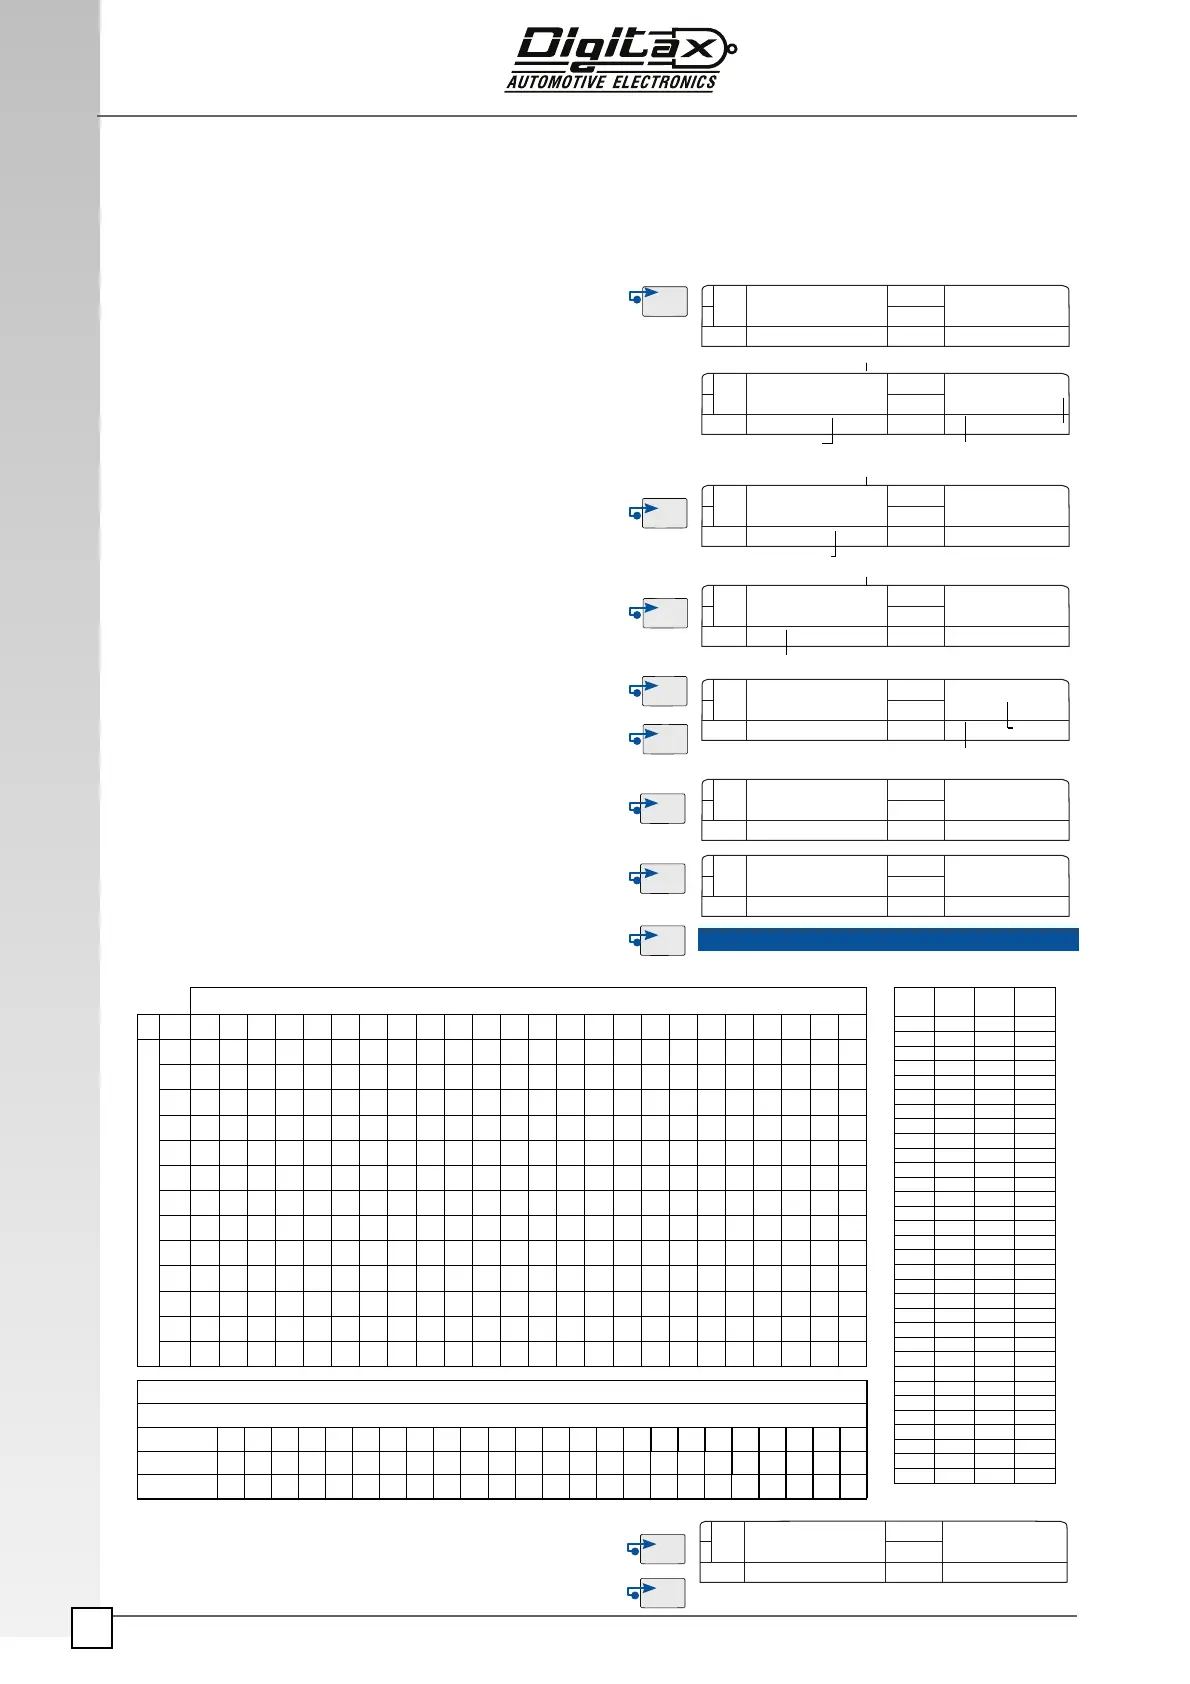
Ticket Print Out: Settings
The Ticket has 3 possible settings: PRGTI for header, PRGCAR for driver number and FOOTER. The ticket is
composed by 208 spaces (13 horizontal lines - 24 vertical columns) where can be inserted 64 different ASCII
characters (character 32 is equivalent to a blank space). In order to program the taximeter heading format must
remove the taximeter programming cover, insert the Service Programming Key 1 and follow this procedure:
Ticket Print Out: Receipt Copy
PRGTI
C 67 0 10 1
FOR HIRE
ASCII Character
ASCII Character Number
Code
Horizontal Line
Number
Select For Hire position and press F3 button .
The Main display (3) will show “Prg ti” for a few seconds.
This procedure will set the header ticket text.
The Main display (3) will show the character ASCII number code in
the right digits and in the left one the ASCII character representa-
tion.
The secondary display (5) will show: in the left digits the
horizontal line number and in the right digits the vertical column
number..
Press F3 button to increase the ASCII index.
Press
F2 button to decrease the ASCII index.
P.S. Character 32 is equivalent to a blank space.
Press
F5 button to forward of one space.
Press
F4 button to backward of one space.
By pressing
F1 button the main display (3) will show PRGCAR.
This procedure will set the car identifi cation number. Follow the
same procedure explained in PRGTI Settings.
By pressing
F1 button the main display (3) will show FOOTER.
This procedure will set the ticket footer text. Follow the same
procedure explained in PRGTI Settings.
End the Ticket Heading format procedure and go back to
For
Hire
position by pressing F1 button and remove the service
programming key 1.
Hold
F3 button to enter in the taximeter menu, press again F3 till
the display will show Receipt Copy, then press F5
Vertical Line
Number
0 10 1
ASCII Character
ASCII Character Number
Code
0 10 1
ASCII Character
ASCII Character Number
Code
0 10 1
Horizontal Line
Number
Vertical Line
Number
Ticket
Ticket
Ticket
Ticket
Ticket
B 66
0 10 1
Ticket
RECEIP
A 65
A 65
PRGCAR
Ticket
FOOTER
Ticket
Ver! cal Lines
1 2 3 4 5 9 7 8 9 10 11 12 13 14 15 16 17 18 19 20 21 22 23 24
1
2
3
4
5
6
7
8
9
10
11
12
13
Programming Example
“TAXI SERVICE”
Column
1 2 3 4 5 9 7 8 9 10 11 12 13 14 15 16 17 18 19 20 21 22 23 24
Ascii Car.
T A X I S E R V I C E
Num. Code
32 32 32 32 32 32 84 65 88 73 32 83 69 82 86 73 67 69 32 32 32 32 32 32
Num.
Code
ASCII
Code
Num.
Code
ASCII
Code
32 64 @
33 # 65 A
34 “ 66 B
35 $ 67 C
36 % 68 D
37 & 69 E
38 ' 70 F
39 ‘ 71 G
40 ( 72 H
41 ) 73 I
42 * 74 J
43 + 75 K
44 , 76 L
45 - 77 M
46 . 78 N
47 / 79 O
48 0 80 P
49 1 81 Q
50 2 82 R
51 3 83 S
52 4 84 T
53 5 85 U
54 6 86 V
55 7 87 W
56 8 88 X
57 9 89 Y
58 : 90 Z
59 ; 91 [
60 < 92 \
61 = 93 ]
62 > 94 ^
63 ? 95 _
Horizontal Lines