Thermaprint 64 User Manual
17
6. After cleaning, return the print head module to its original position and re-tighten
the thumb screws.
7. Press the thumb screw on the tapered edge of the square shaft and ensure the exact
positioning of the print head module on the contact shaft. Also pay attention to the
position of the print head in relation to the edge of the label.
8. Before switching on the device, check whether the print head cable is still properly
connected. If this is not the case, plug in the cable correctly.
Changing the print head
The print head is adjusted to the print head module during manufacture. As a result the
print head can only be replaced in conjunction with the print head module. Before
starting, make a note of the resistance value of the new print head (denoted on the back of
the print head). It is the 4 digit number following the letter R. When placing the print
head on the print head module, ensure that the print head is lying flat.
1. Switch off the device.
2. Pull out the main power plug.
3. Remove material and ribbon.
Wait at least 3 minutes after switching off the device before removing the print
head cable from the print head. Mark the position of the print head on the contact
shaft if it is not against the inside wall or outside stop.
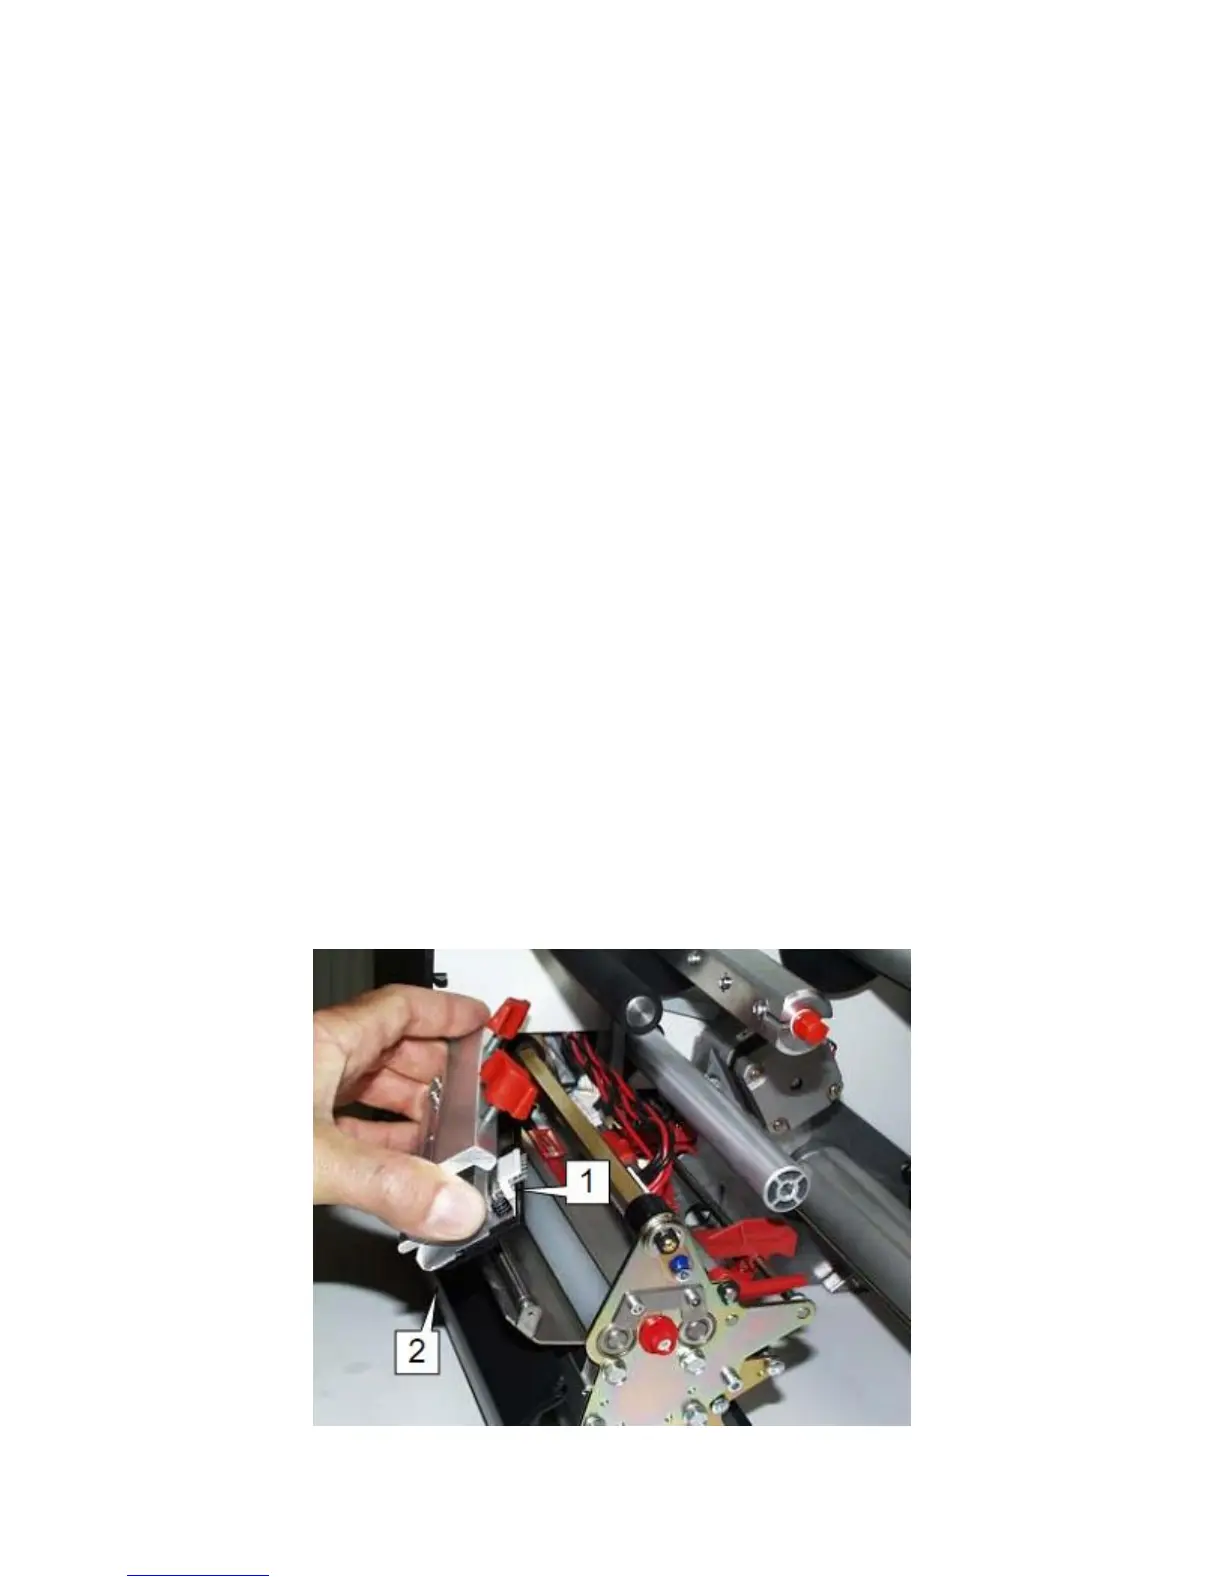
4. Unscrew the two thumb screws on the print head module until the entire print head
module can be removed from the contact shaft (Fig. 2).