Appendix B: External Attachments
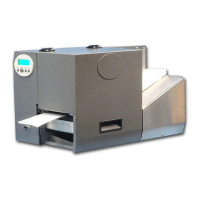
Power Stacker
Parts
6 red screws (4 large, 2 small)
1 sheet metal shield
1 stacker housing
2 stacker rods
2 4mm screws
1 stacker tray
Magnetic guide(s) (standard: could change if custom design needed)
Assembly
1. Attach sheet metal shield onto the front of the bosch frame using the 2 small red
screws provided.
2. Screw stacker rods onto the stacker housing.
3. Lubricate O-Ring grommets on the stacker tray using Windex.
4. Slide the stacker tray onto the stacker rods and screw in the 2 4mm screws into
the ends of the stacker rods.
5. Position the magnetic guide(s) in such a way to allow for product to stack as
desired.
6. Plug the DB-15 cable from the stacker into the front port on the printer.
7. Secure the screws in the DB-15 connector to the printer.
CAUTION! - Make sure printer is off when plugging the stacker in,
otherwise circuitry could be damaged!
8. Attach stacker to the bosch housing by inserting 2 of the provided large red
screws through the holes on the inside of the housing. Tighten to secure stacker to
printer.
Single-Start Catch Tray
Parts
2 red-capped screws
1 single-start catch tray
Assembly
Attach the tray to the front of the printer using the 2 red screws.