5 Programming and Software Setup - Aurora
Fill out the following fields, where applicable:
Click the Save button to add the lock to your Site and
Door Group.
1. From the main menu, select the “Site Management”
icon, then click “Hardware Setup”
2. Select a site from the list provided
3. Select the “Door Groups” tab, then use the drop-down
menu to select an E-Plex Door Group.
4. On the “E-Plex Doors” tab, use the dropdown menu to
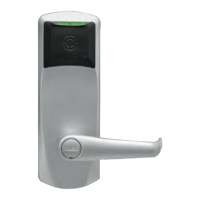
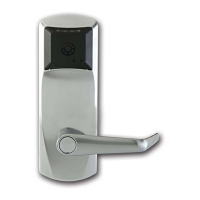
choose the door/lock type you wish to add (E-Plex
7900).
5
6.
o Name – to identify the door; generally, the name
should indicate where the door is located
o Lock Model – identifies the model of E-Plex
wireless lock being used (“E-Plex 7900”, in this
case)
o Is Wireless – check the box if setting up a
wireless lock, or leave unchecked to setup an
offline lock (not wireless)
o Function Type – select between Entry,
Residence, or Privacy lock.
o Unlock Time – to set the amount of time, in
seconds, that the door remains unlocked once
opened
o Tamper Count – sets the number of failed
credential reads that will trigger a Tamper
Lockout
o Tamper Lockout – sets the amount of time, in
seconds, the lock will sit idle for once the
Tamper Count has been exceeded
o Manual Passage Duration – the amount of time,
in hours, a door remains unlocked using Manual
Override via the Aurora Status screen.
o Door Held Open – the time interval, in seconds,
the door may remain open before the system
reports a Door Held Open violation
o *Gateway – a pathway number will appear here
after the Gateway establishes connection with
the Aurora software.
o *Zac – this PIN code is integral to successfully
pair a Gateway to the Aurora software for
wireless lock setup. Select the wrench icon to
randomly generate a new PIN code.
o **Create Program file – Use to create a
programming file for setting up an offline (non-
wireless) lock.
* - For wireless lock setup only. Appears only if “Is
Wireless” is checked.
** - For offline (non-wireless) lock setup only.
Appears only if “Is Wireless” is unchecked.
22 E7900 Series
5.5.5. Adding Locks (Aurora)
1. From the main menu, select the “Manage People”
icon, then click “Manage People”.
2. On the “Person Search” screen, use the filter fields to
search for a person, or simply scroll through the list of
people until you find the one you would like to assign a
credential.
3. Double-Click the person who you wish to assign a
credential. This will open the “Edit Person” screen.
4. On the “Credential Information” tab, click the “Add
Keyscan Credential” drop-down menu, then select the
credential type you wish to add.
5. Enter the credential information in the fields provided.
6. Under “Site Assignment”, use the check-boxes to
select the sites and groups in which the credential will
be used.
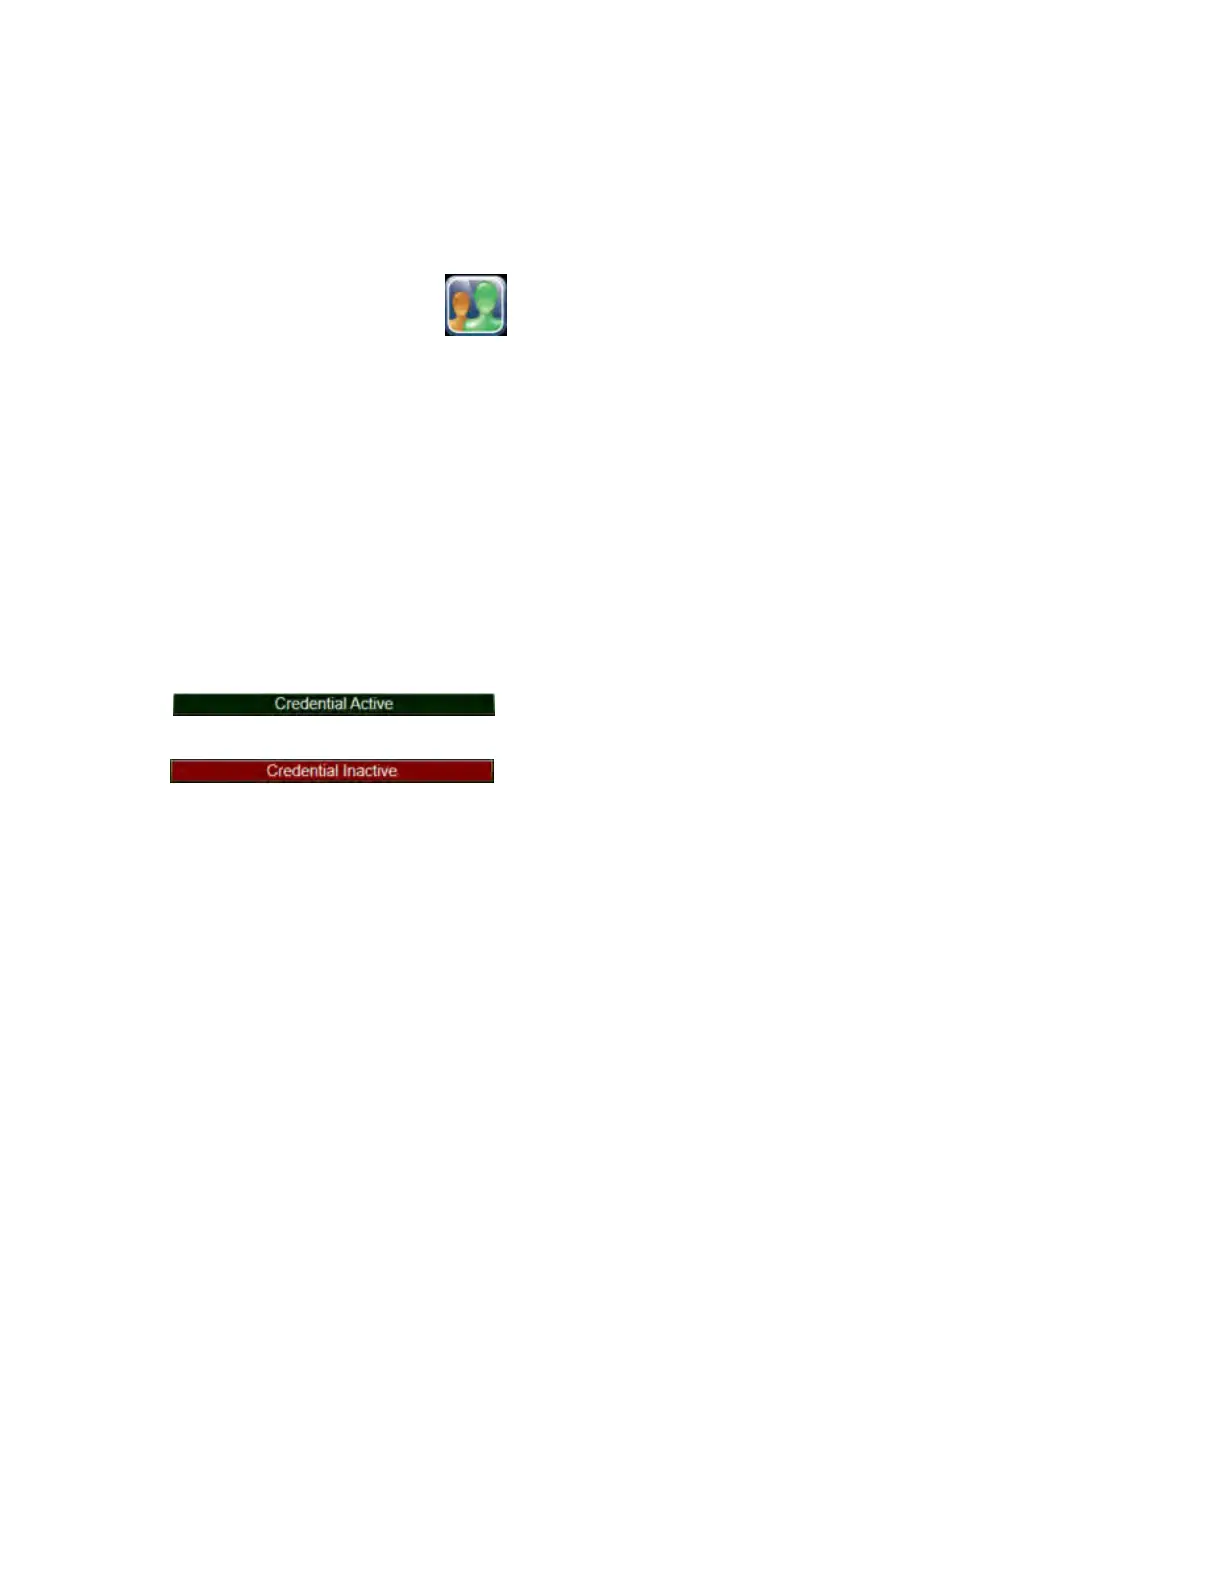
7. The credential status can be set to Active or Inactive
in the system by clicking the credential status Icon.
A credential is Active when its status icon is green:
A credential is Inactive when its status icon is red:
Clicking this icon toggles the credential status from
active to inactive and vice versa.
8. Click the Save button.
5.5.4. Assigning Credentials to Users (Aurora)
KD10114-E-1122