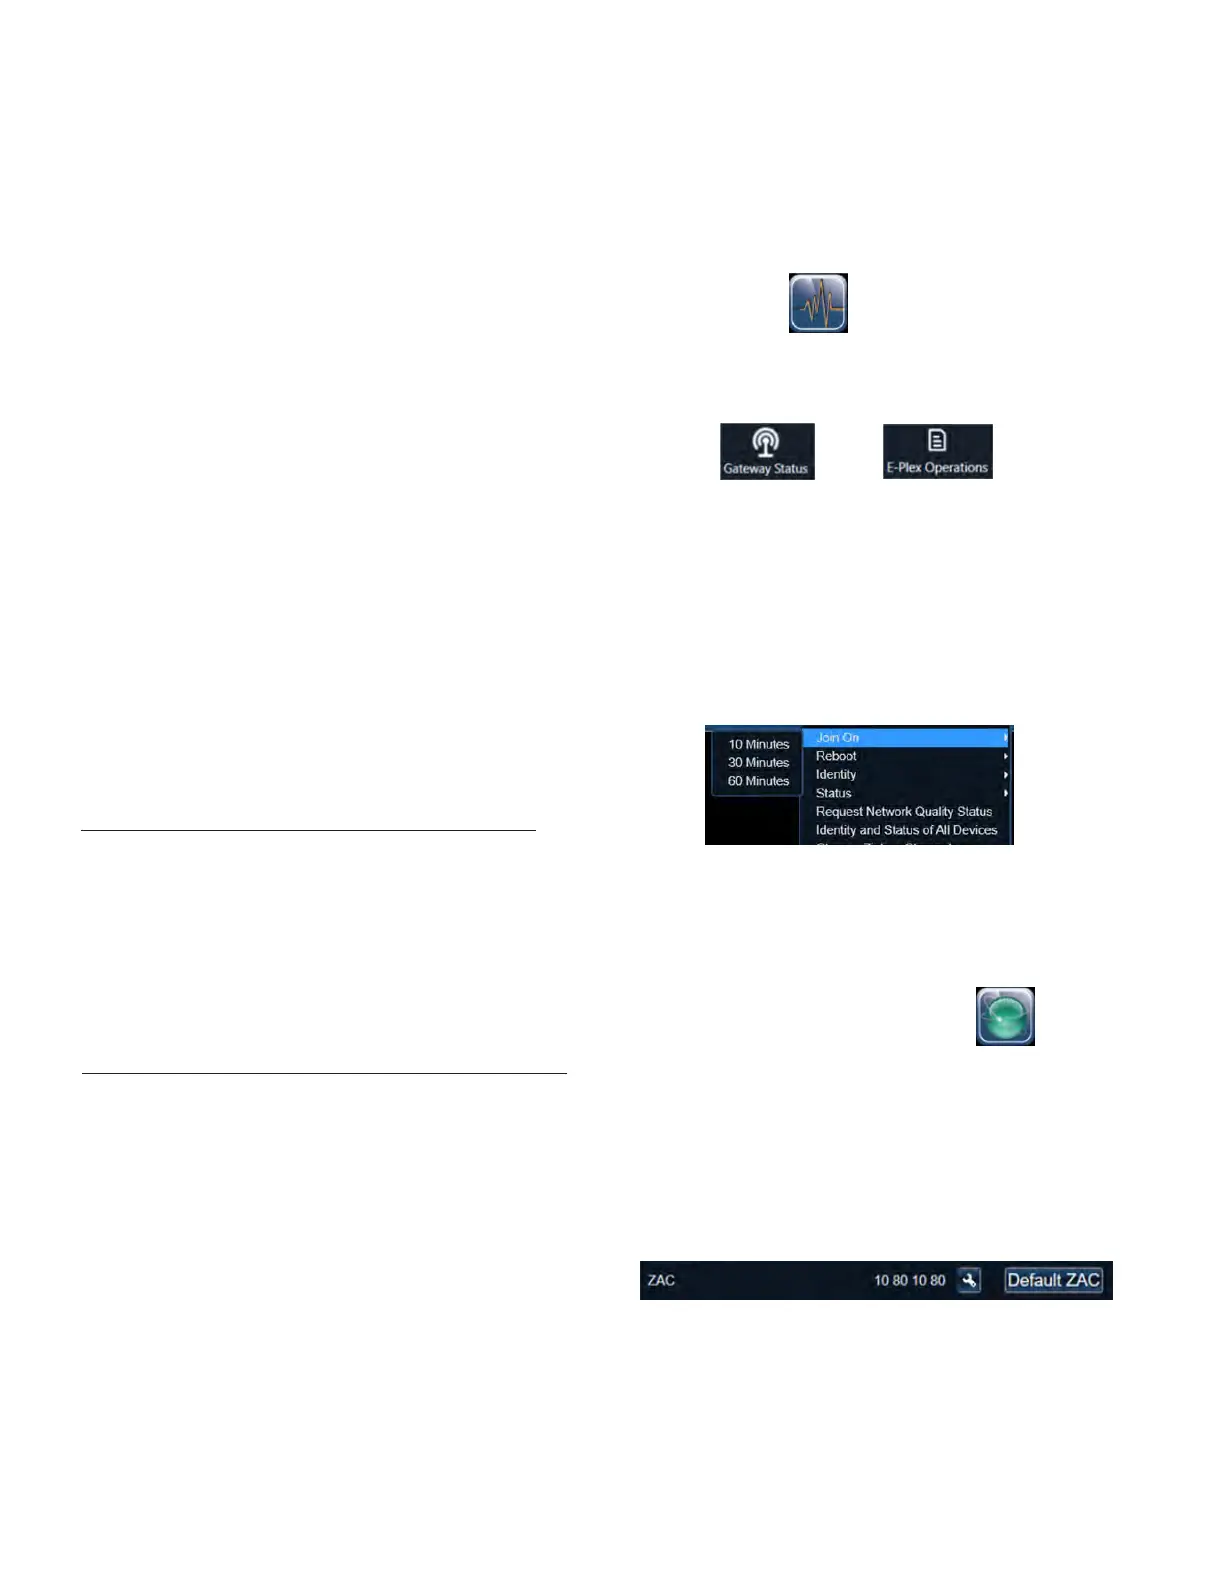
1. From the main menu, select the “Status” icon, then
click “Status”
2. The left side of the Status screen contains several
useful widgets that are used to monitor and control
various aspects of your site. Locate and open the
“Gateway Status” and “E-Plex Operations” widgets
Note: These widgets will not appear in Status if you
have not already created an E-Plex Door Group
3. On the Gateway Status widget, locate your
Gateway and right-click to open the dropdown
menu. Select “Join On”, then choose a Join On
Time. Since future steps will require you to walk to
each door/lock that you want to join, ensure you
choose a long enough Join On time to complete
your setup.
Note: Only one gateway should be in Join On mode
at a time.
4. Wait until the Gateway enters Join On mode. You
should receive a Successful message in the E-Plex
Operations widget, and the Join Status in the
Gateway widget should switch to “Join On”
5. From the main menu, select the “Site Management”
icon, then click “Hardware Setup”
6. Select a site from the list provided
7. Select the “Door Groups” tab, then use the drop-
down menu to select the E-Plex Door Group that
the new E-Plex door/lock belongs to
8. Choose an E-Plex Door you wish to join, and under
“E-Plex Door Details”, locate and click the “Default
ZAC” button. This sets the ZAC to 10801080.
Note: Only one lock can be set to Default ZAC at
a time.
9. Click the Save button.
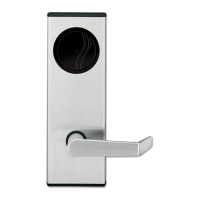
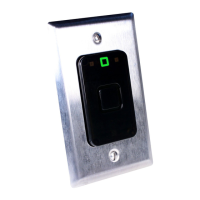
10. Walk to the door/lock and present the ZAC
Command Card. The reader will blink Green and
Red continuously while attempting to access the
Zigbee network. If successful, the LED will blink
Green, completing the ZAC process. If unsuccessful,
the LED will blink Red. If unsuccessful, try
presenting the ZAC Command Card again. If this
fails, review the previous steps to ensure your setup
is correct.
E-Plex Server Certificate Setup (Aurora) continued...
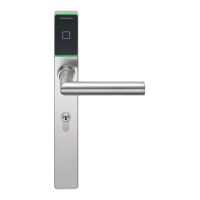
1. At the door/lock, insert the mechanical key and
turn it clockwise.
2. With the key still in the clockwise position,
present the Reset to Factory command card.
The LED will begin blinking Green.
3. While the LED is blinking Green, present the
Master User card.
4. The door/lock will reboot and return to Factory
Mode.
1. At the door/lock, insert the mechanical key and
turn it clockwise
2. With the key still in the clockwise position,
present the Reset to Factory command card.
The LED will begin blinking Green.
3. Allow the door/lock to timeout (after 10
seconds), which will occur when the LED blinks
Red.
4. Wait 15 minutes. Every minute, the lock will
flash its Green LED once, followed by its Red
LED. During this 15 minute wait, the lock will not
respond to any card presentations.
5. Once the 15 minutes expire, present the Reset to
Factory command card as the Green and Red
LEDs flash alternately (you only have a 20
second window to do this).
6. The door/lock will reboot and return to Factory
Mode.
Factory Defaulting a lock (without a Master User Card)
d.
e.
f.
g.
To set your Certificate Store, select
“Place all certificates in the following
store”, then click Browse.
Locate the “Personal” store, then click OK
Click Next
Review the information on the screen,
then select “Finish” when complete.
8.
A window will pop up, confirming successful
installation. Click the OK button.
9.
In Aurora, click “Save” on the Applications
Utilities page to save your certificate settings.
5 Programming and Software Setup - Aurora
5.6.4. Assigning E-Plex Locks to a Gateway (Aurora)
Note: For the steps in this section, all doors/locks
must be in Factory Default mode. You will need the
physical door/lock key, a Reset to Factory command
card, and a Master User card (if available).
To return a door/lock to Factory default mode (erase
lock data, stored user credentials, etc.), perform the
following steps:
Factory Defaulting a lock (with a Master User Card)
5.6.5. Joining a Lock to a Gateway (Aurora)
26 E7900 Series
KD10114-E-1122