5 Programming and Software Setup - Aurora
c.
d.
e.
1. From the main menu, click the “Settings” icon,
then click “Application Utilities”
2. In the Security tab, click “create CA root
certificate”
3. When running Aurora as an Administrator, an
“Import Into Store” button will appear next to
each certificate the user creates in Certificate
Management. When clicked, the certificate will
be added to the local PC's certificate store. The
icon next to each certificate indicates its current
state:
Green check mark = Found in the local PC's
certificate store and it's valid
Orange Triangle = Found in the local PC's
certificate store and it's not valid
Red 'X' = Not found in the local PC's certificate
store
If your version of Aurora does not have the
“Import Into Store” button, or the certificate
status indicates the import was not successful,
you must Export the certificate and Import it
manually. This process is outlined in steps 4-8.
4. After a few seconds, the button will change to
“Export CA root certificate”. When this occurs,
click the button.
5. The Export file path window will appear. Select
the Browse button to choose the file path where
you’d like to store this file. Give the file an
appropriate name, then click Save. Click the
Export button to complete the process.
6. Navigate to the computer file path from the
previous step where you saved the Root
Certificate. Right-click the file and select
“Install Certificate”
7. Follow the steps in the Certificate Import
Wizard:
a. Store Location > select “Local Machine”
b. To set your Certificate Store, select “Place
all certificates in the following store”, then
click Browse.
Locate the “Trusted Root Certification
Authorities” store, then click OK
Click Next
Review the information on the screen,
then select “Finish” when complete.
8. A window will pop up, confirming successful
installation. Click the OK button.
9.
In Aurora, click “Save” on the Applications
Utilities page to save your certificate settings.
To create an
E-Plex Server Certificate
(*PFX
Certificate), perform the following steps:
1. From the main menu, click the “Settings” icon,
then click “Application Utilities”
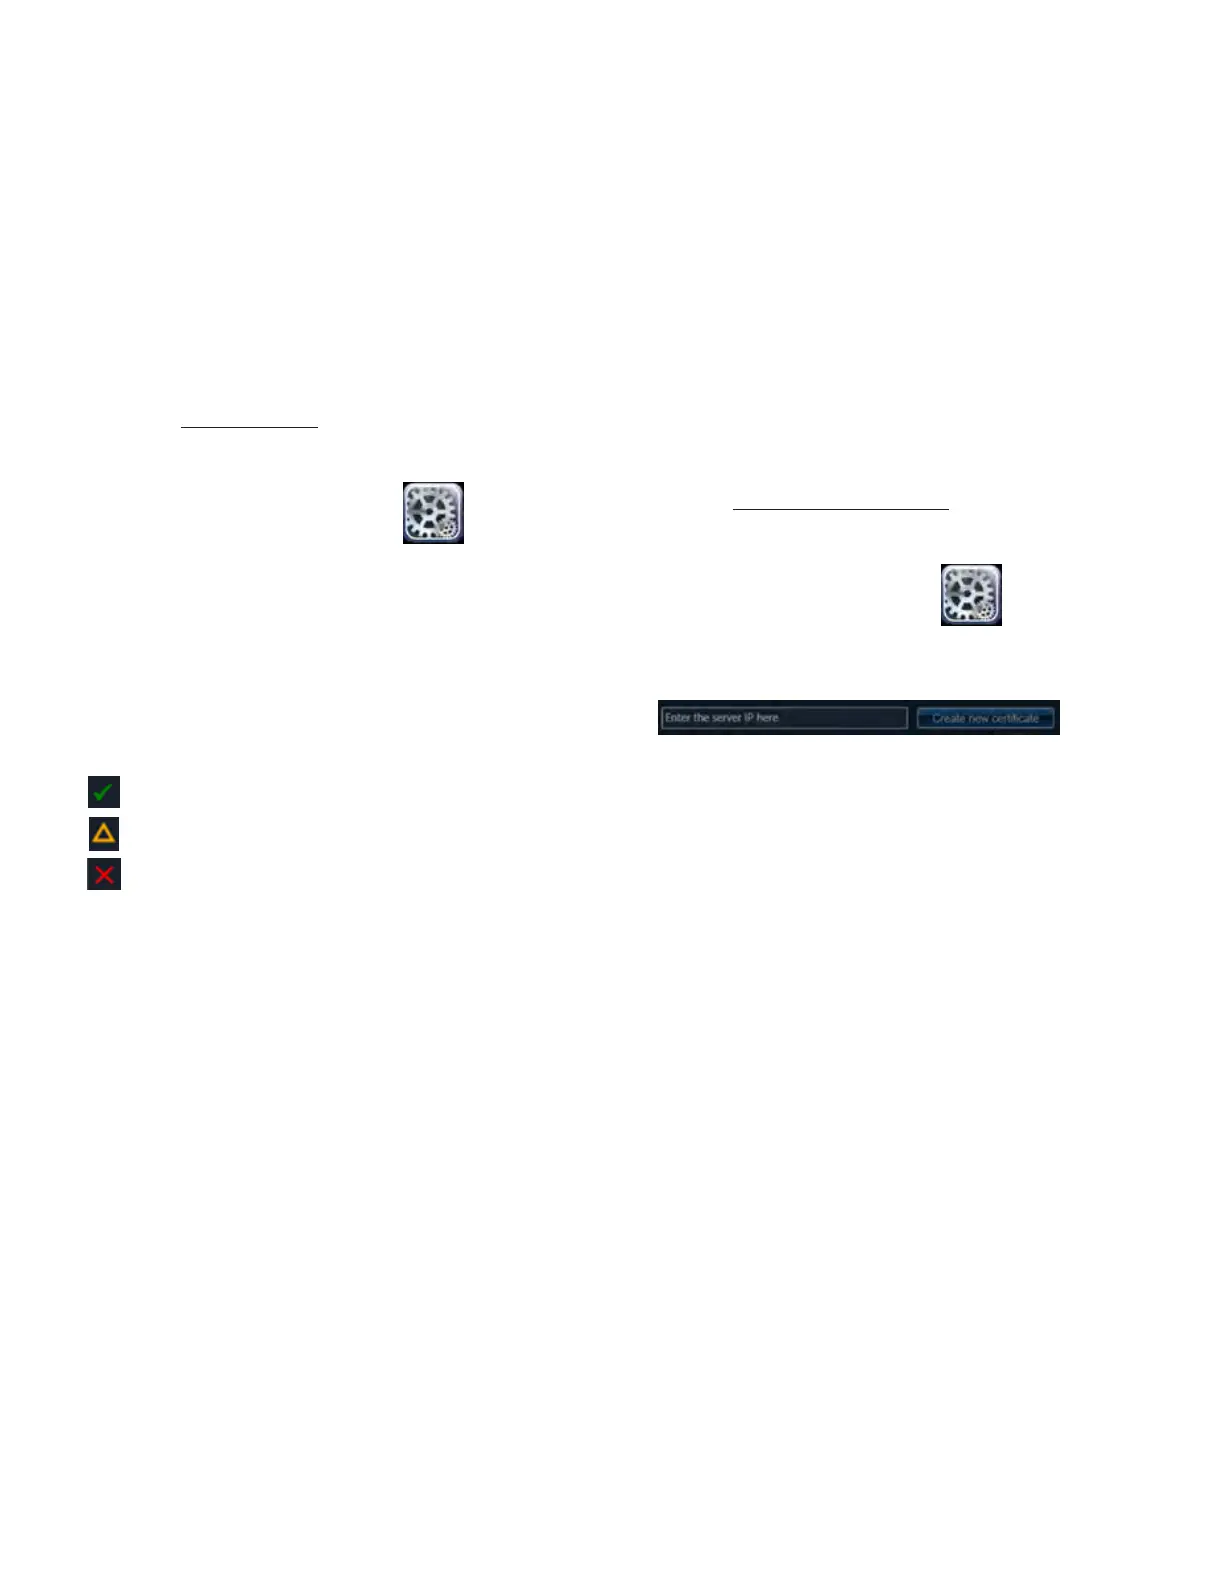
2. In the Security tab, type the server IP/hostname
in the space provided, then click “Create new
certificate”
A new certificate bearing the server IP/
hostname will appear onscreen.
3. When running Aurora as an Administrator, an
“Import Into Store” button will appear next to
each certificate the user creates in Certificate
Management. When clicked, the certificate will
be added to the local PC's certificate store. The
icon next to each certificate indicates its current
state, as described previously.
If your version of Aurora does not have the
“Import Into Store” button, or the certificate
status indicates the import was not successful,
you must Export the certificate and Import it
manually. This process is outlined in steps 4-8.
4. Click the Export PKC5 file button.
5. The Export filepath window will appear. Select
the Browse button to choose the file path to
your computer. Name the file and select Save
once a path and name are finalized. Input a
password and select Export.
6. Navigate to the computer file path from the
previous step where you saved the certificate.
Right-click the file and select “Install PFX”
7. Follow the steps in the Certificate Import
Wizard:
a. Store Location > select “Local Machine”
b. Confirm that the file location is correct,
then click Next
c. Type your password in the space
provided (the one from step 6), then
click Next
5.6.3. E-Plex Server Certificate Setup (Aurora)
To setup an E-Plex Server, you need to set up the
following certificates:
Root Certificate
– acts as the certificate authority
for other certificates stored in the database.
E-Plex Server Certificate
– required certificate for
your E-Plex server
To create a
Root certificate
(*.DER Certificate),
perform the following steps:
25
E7900 Series
KD10114-E-1122