79
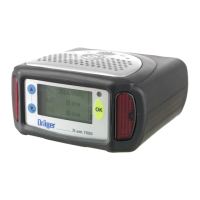
spe.1_72732310
1
spe.1_72732910
2
3
spe.1_72732610
5
4
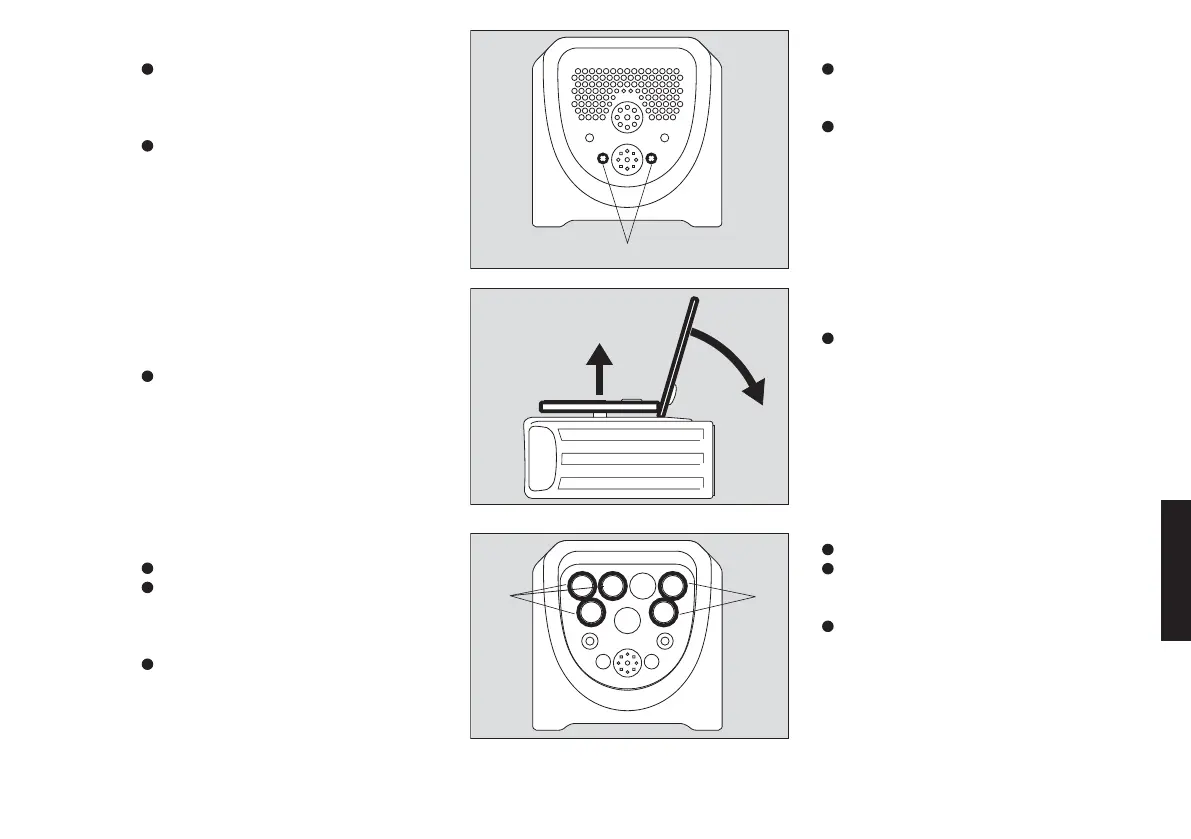
Замена сенсора
Выключите инструмент.
1 Снимите с инструмента защитную
крышку блока сенсоров (крепится
двумя болтами).
Снимите уплотняющую пластину.
2 Используя защитную крышку блока
сенсоров.
3 Снимите уплотняющую пластину,
следя за тем, чтобы не повредить
мембранный фильтр сенсоров!
Позиции сенсоров:
4 EC (электрохимические) сенсоры, до
трех сенсоров, устанавливаются в
любой позиции.
5 lR или CATEx сенсор (в любой пози
ции)
Используйте прилагаемый инстру
мент, чтобы извлечь заменяемый
сенсор, и вставьте новый сенсор,
следя за правильным положением
ключа на штекере сенсора. Заме
няйте прокладки сенсоров при каж
дой замене сенсоров.
– Используйте только сенсоры Dräger
Sensorы, которые рекомендованы
для использования с X – am 7000.
Замените прокладки сенсоров.
Установите на место уплотняющую
пластину, следя за правильным поло
жением прокладки, проходящей во
круг пластины.
Установите и закрепите защитную
крышку блока сенсоров, следя за
правильностью установки (на одном
уровне с полиуретановой защитой).
Changing sensors
Switch off the instrument.
1 Remove the sensor grille from the in
strument (secured with two screws).
Remove the sealing plate.
2 With the aid of the sensor grille.
3 Remove the sealing plate, taking care
not to damage the sensor membrane!
Positions of the sensors:
4 EC sensors (electrochemical), up to
three sensors, mounted in any position.
5 lR or CATEx sensor (any position)
Use the enclosed tool to remove the
sensor to be replaced and insert the
new sensor, noting the coding of the
sensor plug. Replace the sensor gas
kets at each sensor replacement.
– Use only DrägerSensors which are ap
proved for use with the X – am 7000.
Replace the sensor gaskets.
Mount sealing plate, taking care that
the gasket around the edge of the plate
is correctly positioned.
Mount and secure the sensor grille,
ensu-ring that it is correctly engaged
(flush with the PUR protection).
 Loading...