3-11
Chapter 3 Advanced Operation
6
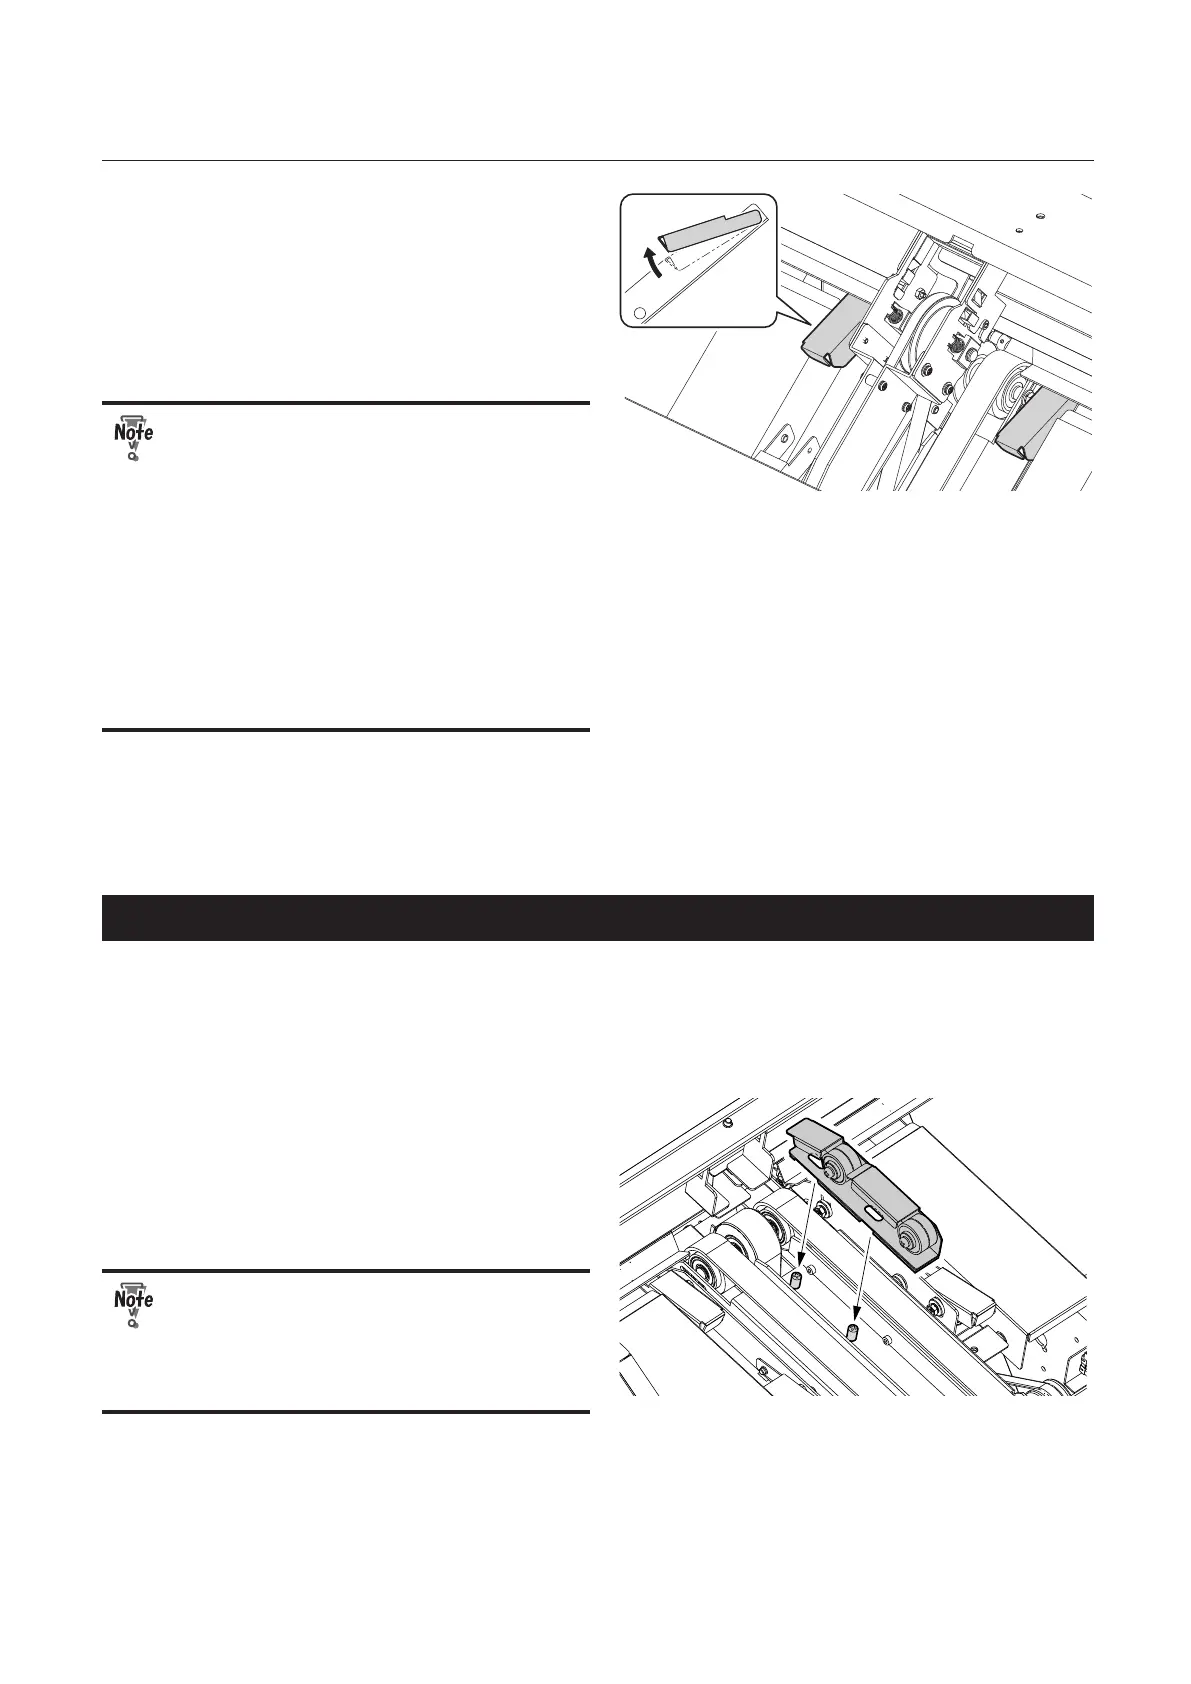
When the paper width is 200 mm/7.87
inches or more, raise the upper auxiliary
guides (two) as shown in the figure.
If the auxiliary guides are not raised, paper
conveyed from the upstream unit hits the
trailing edge of the paper that was sent
previously.
• Do not raise the lower auxiliary guides.
If they have been raised, lower them.
• When the paper width is less than 200
mm/7.87 inches, lower the auxiliary
guides. Otherwise, the side guides will
hit the auxiliary guides and not move
according to the paper size, resulting in
poor paper alignment.
• When the CORNER AND SIDE STAPLE KIT
is attached to the DBM-150, if t
he paper
width is 200 mm/7.87 inches or more,
raise the upper auxiliary guides (two).
7
Follow steps 9 through 11 in “3-1.
Adjusting the position of the stapler” in
Chapter 2.
(p.2-7)
2-3. Attaching the lower conveyance unit (S) and the side guide unit
1
Follow steps 1 through 8 in “3-1.
Adjusting the position of the stapler” in
Chapter 2.
(p.2-5)
2
Align the lower studs (2) in the infeed
section with the holes (2) of the lower
conveyance unit (S) to secure them with
the magnet.
Align the upper stud with the upper hole of
the lower conveyance unit (S) rst.
(p.3-7)
When feeding all the sheets manually at a
time, do not attach the lower conveyance
unit (S). This may cause a paper jam. Attach
only the upper conveyance unit to the
DBM-150.
(p.3-15)