138
n Paper Ejection Section
chap.3
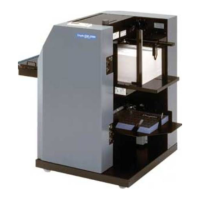
1) Remove the paper ejection fan unit.
2) Remove the 2 screws indicated, then remove the
cover.
\See page 135
(8) Removal of Pressure Adjustment Unit
440157
Cover
440158
Screws
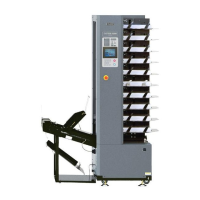
Pressure adjustment unit
Connector
3) Disconnect the 2 connectors.( 4 pin , 2 pin )
4)
Remove the 3 screws indicated, then remove the
pressure adjustment unit.
Screw
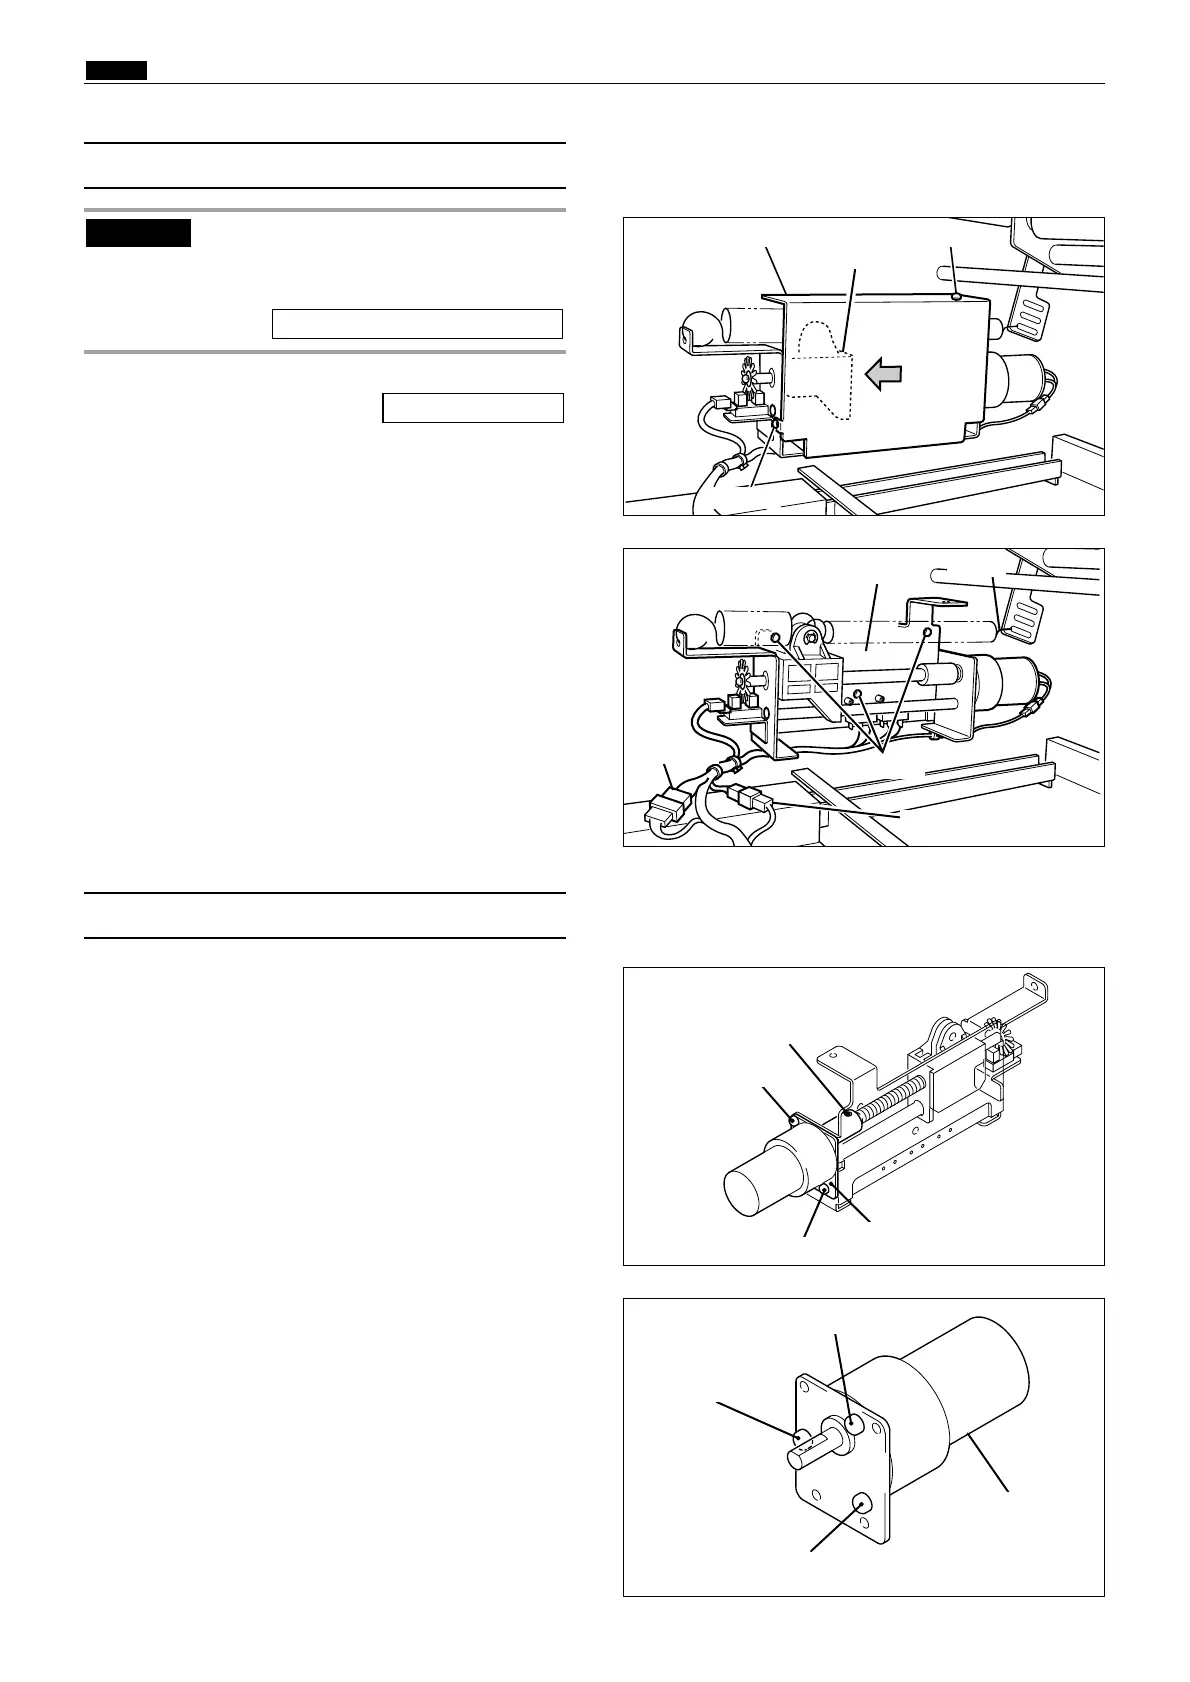
1) Remove the
pressure adjustment unit
.
2) Loosen the set screw.
3)
Unscrew the 2 screws in the motor mounting plate ,
and remove the mounting plate with its screws in it.
(9) Removal of Top Blow Fan Unit
440159
440160
Pressure motor
4)
Remove the 3 screws indicated, then remove the
pressure motor.
Screw
Screw
Screw
Screw
Screw
Set screw
Motor mounting plate
Connector
Screw
Before power off, Access HELP mode
H-02, and use it to move the holder to
its print tray side.
HELP mode H-02 \ see p.221
IMPORTANT :
Holder
Spring