6.3.3 Connecting the direct-current positioning actuator
–
Lay the connection cable from the main switch through the cable
conduit to the sewing drive and connect it to the sewing drive. See
connection diagram 9800 139001 B (in the connection pack).
–
Lay the mains cable from the main switch back through the cable
conduit and attach to the mains-lead cleat.
–
Plug the lead from the set-point generator into socket b80 of the
drive control. See figure page 20.
6.4 Earthing
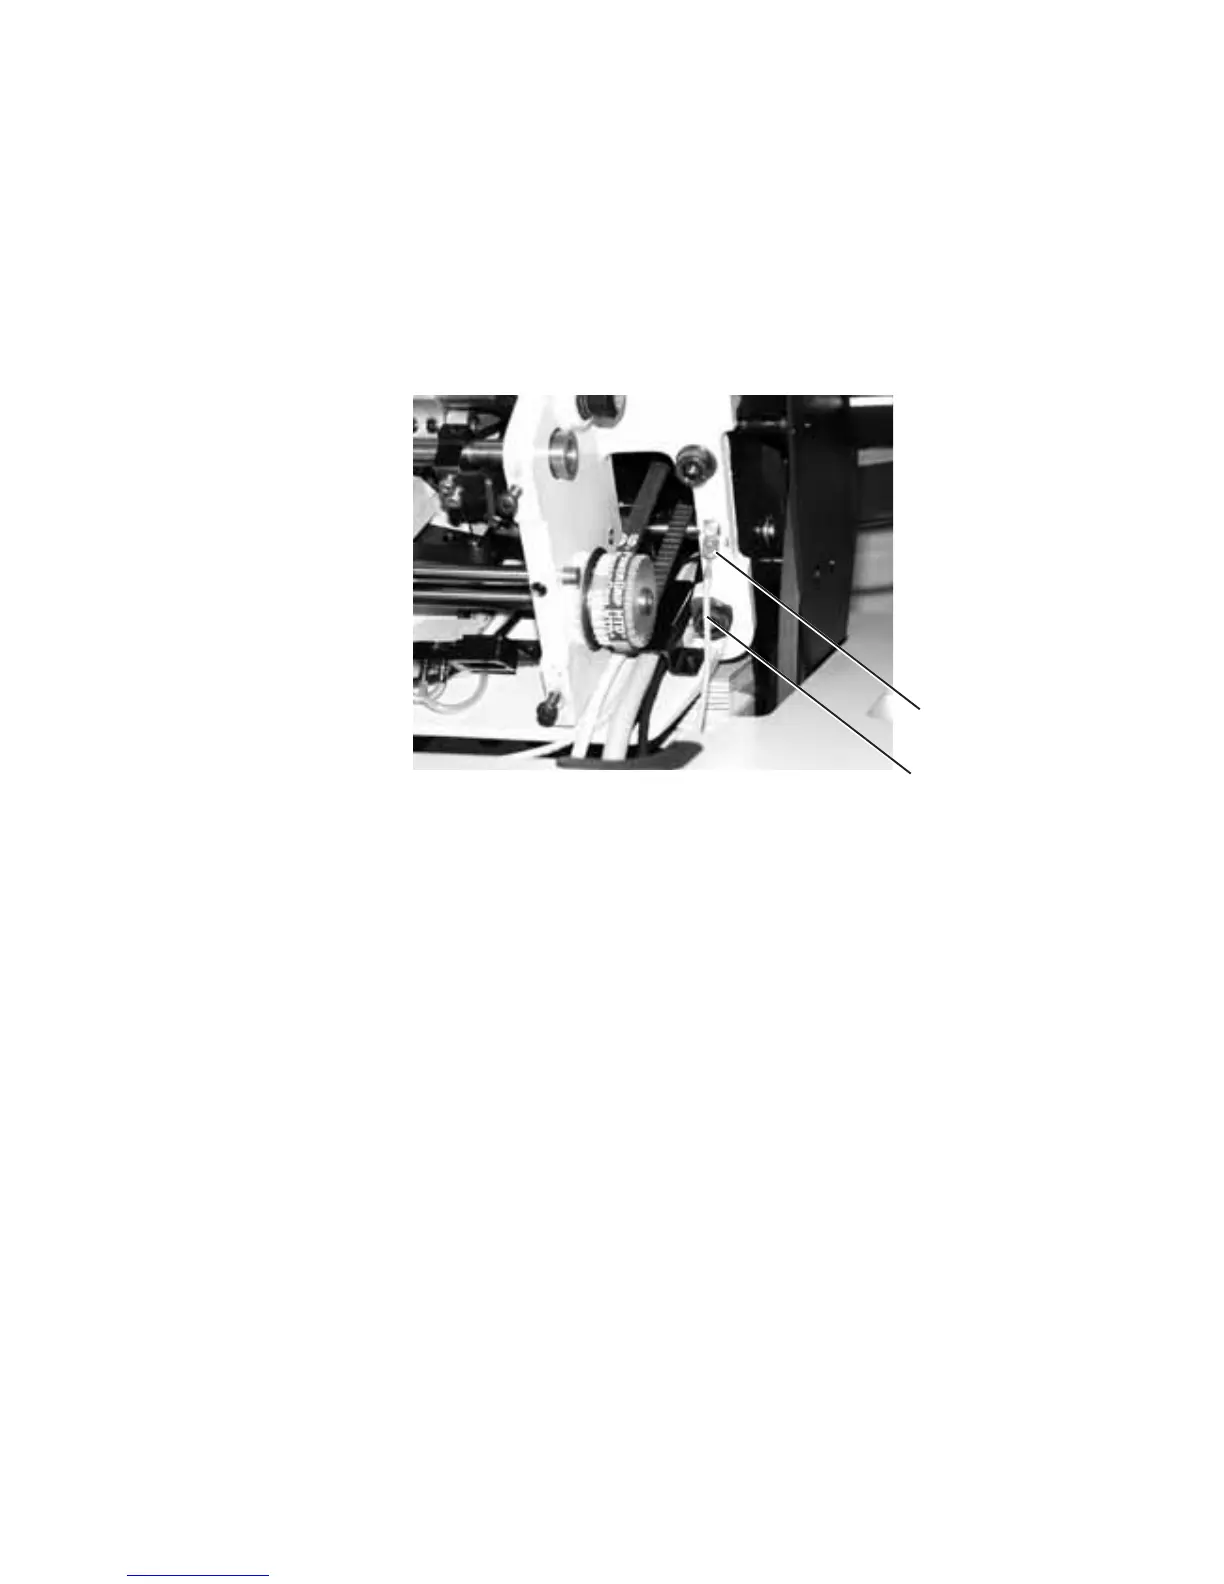
Illustration!!!!!!!!!
The earthing cable 1 is in the machine’s accessory pack.
The earthing cable 1 takes static charges from the machine head to
earth via the motor base.
–
Connect the earthing cable 1 to the flat plug 2 (alredy screwed on
the machine head) and lay it through the cable duct to the motor
base.
–
Screw the earthing cable 1 onto the motor base at the point
provided.
–
Attach the earthing cable 1 under the table plate with the nail
clamps.
Caution!
Please make sure that the earthing cable 1 does not touch the drive
belt.
19
2
1

 Loading...


