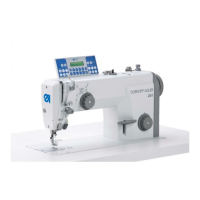
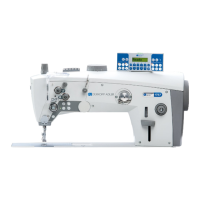
6.10.2.3 Adjusting the positions with the V820 operating panel
Entering the technician-level code number
–
Turn off the main switch.
–
All plugs must be plugged in to the sewing-drive control.
–
Press and hold down the “P”key.
–
Turn on the main switch. “C-0000” appears in the display.
–
Release the “P”key.
–
Enter code no. 1907 with number keys 0 to 9.
–
Press the “E” key. The first technician-level parameter F-100 is
displayed and the first digit flashes.
Setting the reference position
–
After entering the code number press the “E”key.
The first technician-level parameter F-100 is displayed.
–
Set the F-170 parameter with keys 0 to 9.
–
Press the “E”key.“F-170 Sr1" appears in the display.
–
Press the “B”key.“F-170 PoS 0 ( )” appears in the display.
–
Turn the handwheel in the normal direction of rotation until “()”
disappears from the display, then turn it further until the reference
position is reached (needle tip at the level of the upper side of the
needle plate with the needle descending).
–
Press the “E” key. The reference position is saved.
“F- 171” appears in the display.
–
If the reference position has not been saved, an error message -
“InFo E3” - appears in the display. Turn the handwheel again until
the required reference position is reached.
Setting positions 1 and 2
–
The reference position is set (see above).
–
Enter parameter “F-171”.
–
Press the “E”key.“Sr2” appears in the display.
–
Press the “B”key.“F 171 1 xxx” , the parameter value of
position 1, appears in the display.
–
Correct the parameter value * if necessary, either with the “+” and
“-” keys or by turning the handwheel.
–
Press the “E
”key.“F 171 2 xxx” , the parameter value of
position 2, appears in the display.
–
Correct the parameter value * if necessary, either with the “+” and
“-” keys or by turning the handwheel.
–
Press the “E”key.“F 171 1A xxx” , the parameter value of
position 1A, appears in the display.
–
Correct the parameter value * if necessary, either with the “+” and
“-” keys or by turning the handwheel.
–
Press the “E”key.“F 171 2A xxx” , the parameter value of
position 2A, appears in the display.
–
Correct the parameter value * if necessary, either with the “+” and
“-” keys or by turning the handwheel.
–
Press the “P” key twice to stop entering settings and leave
programming level.
–
Check the positions: see section 6.10.4.
* Caution! The parameter values for the positions 1, 2, 1A and 2A can
be found in the parameter sheet (accessory pack).
26

 Loading...


