106
3. Disassembly and Assembly 01/2018 Rev. 1 EA(B)O-6X06
45. Install and tighten the six retaining Torx screws of the
electro-hydraulic control unit. Use a 40T Torx wrench.
NOTE: Tighten screws to the torque of 19-26 N.m
(14-19 Lb.ft).
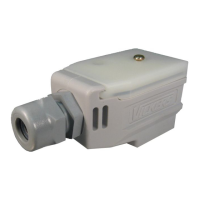
44. Position the electro-hydraulic control unit over the control
opening, tting the pins of the unit into the inner selection
lever (1) and gear selector (2) grooves.
NOTE: Apply Dow Corning 780 sealant onto the
control unit contact surface with the transmission.
6970
6949
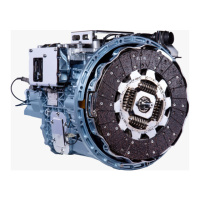
46. Install the adapter plate (3) between the transmission
front case and the clutch actuator cylinder ange (2),
securing the actuator cylinder assembly with four
retaining screws (4).
47. Install the clutch actuator cylinder side cover (1) and the
four retaining screws.
6953
2
3
1
CAUTION! Before installing the
electro-hydraulic control unit on the
transmission, make sure that you
have already adjusted the end play of
mainshaft and countershaft. End-play
measurement and adjustment must be
made WITHOUT the electro-hydraulic
unit installed.
4
4
Transmission Assembly
1
2
 Loading...